
Introduction : The Parallel activity allows multiple activities to execute at the same time. This does not mean the Parallel activity permits parallel processing across multiple threads - only a single thread will execute inside of a workflow. Instead, the Parallel activity allows separate branches inside the activity to execute independently.
Let see how to create Parallel activity :
Step : 1 Create an Workflow Console Application.
- Open Visual Studio.
- Select File->New->Project.
- Select Workflow Console Application.
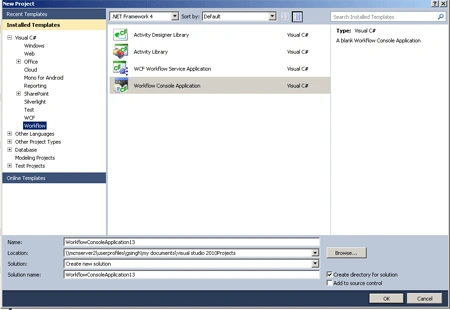
Step : 2 Drag Flowchart activity to the designer to place the different activities anywhere on the palette.

Step : 3 Drag a FlowSwitch activity to the bottom of the Workflow.

Step : 4 Drag a WriteLine activity
to display a standard greeting message and set the Display Name Winter, Spring,
Summer , Autumn and Default.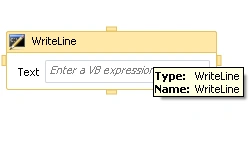
Step : 5 Drag a Parallel activity to the bottom of Workflow. Draw a connection from each of the WriteLine activities to the Parallel activity.
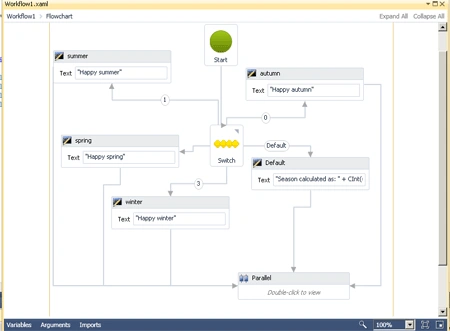
Adding the Branches :
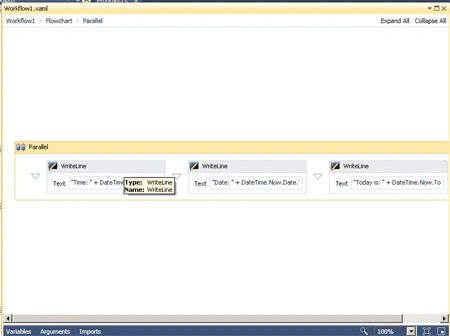
Step : 6 Double click in Parallel activity and drag three WriteLine activities. One of these activities will display the
- Date.
- Time.
- Day of the week.
Enter one of these expression for the Text property on each of the WriteLine activities.
Expression :
"Time: " +
DateTime.Now.TimeOfDay.ToString()
"Date: " +
DateTime.Now.Date.ToShortDateString()
"Today is: " +
DateTime.Now.ToString("dddd")
Step : 7 Open program.cs file
and write a code.
Code :
using
System;
using
System.Linq;
using
System.Activities;
using
System.Activities.Statements;
namespace
WorkflowConsoleApplication11
{
class Program
{
static void
Main(string[] args)
{
WorkflowInvoker.Invoke(new
Workflow1());
Console.WriteLine("Hello");
Console.WriteLine("Press
Enter to exit");
Console.ReadLine();
}
}
}
Step : 8 PressF5 and run
application.

Join the conversation! Your thoughts help the community grow.