

Introduction
In this article we will explore how to use tiles in a Windows Phone 7 application. Here we create two types of tiles; the first one is Default tiles and the other one is User Defined tiles. To start the article, the first question that probably comes to your mind is: what are tiles in a Windows Phone application? Tiles are nothing but a link to an application from the home screen with some options to update the status. To create this application we will use two buttons in the MainPage.xaml file and the click event is used to create the tiles. We will create an instance of the StandardTileData class and set their property Title and BackgroundImage properety. Here we have 2 types of Tile development available:
-
Default Tile: This type is used when the application is pinned to the Start screen by the user for easy access to the application Icon in the application list. Clicking on the tile will navigate directly to the application for easy accessibility.
-
User Define Tile: This type is basically created programmatically by the application based on the user interaction. This type of Tile will be used to navigate to the application and only one instance can be created. We need to use the Create(Uri, ShellTileData) method to create a secondary tile.
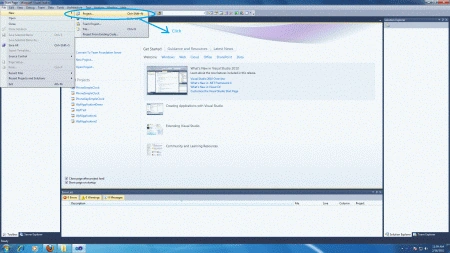
- Select new -> project
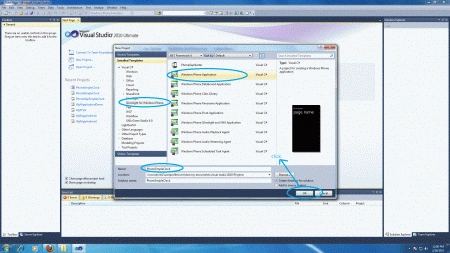
- Select your preferred language
- Select Silverlight for Windows Phone application
- Name the project
- Now the name of the project is "WindowsPhoneApplicationTiles"
Step 2 : Open the Toolbox of the Windows Phone application.
- Drag and Drop from the ToolBox two button controls onto the MainPage.xaml file.
Code
<Grid x:Name="ContentPanel" Grid.Row="1" Margin="12,0,12,0">
<Button Content="Default" Height="226" HorizontalAlignment="Left" Margin="86,48,0,0" Name="button1" VerticalAlignment="Top" Width="300" Click="button1_Click" />
<Button Content="User Define" Height="226" HorizontalAlignment="Left" Margin="86,0,0,88" Name="button2" VerticalAlignment="Bottom" Width="300" Click="button2_Click" />
</Grid>
Step 3 : The whole code of the MainPage.xaml page is:
Code
<phone:PhoneApplicationPage
x:Class="F5debugWp7Tiles.MainPage"
xmlns="http://schemas.microsoft.com/winfx/2006/xaml/presentation"
xmlns:x="http://schemas.microsoft.com/winfx/2006/xaml"
xmlns:phone="clr-namespace:Microsoft.Phone.Controls;assembly=Microsoft.Phone"
xmlns:shell="clr-namespace:Microsoft.Phone.Shell;assembly=Microsoft.Phone"
xmlns:d="http://schemas.microsoft.com/expression/blend/2008"
xmlns:mc="http://schemas.openxmlformats.org/markup-compatibility/2006"
mc:Ignorable="d" d:DesignWidth="480" d:DesignHeight="768"
FontFamily="{StaticResource PhoneFontFamilyNormal}"
FontSize="{StaticResource PhoneFontSizeNormal}"
Foreground="{StaticResource PhoneForegroundBrush}"
SupportedOrientations="Portrait" Orientation="Portrait"
shell:SystemTray.IsVisible="True">
<!--LayoutRoot is the root grid where all page content is placed-->
<Grid x:Name="LayoutRoot" Background="Transparent">
<Grid.RowDefinitions>
<RowDefinition Height="Auto"/>
<RowDefinition Height="*"/>
</Grid.RowDefinitions>
<!--TitlePanel contains the name of the application and page title-->
<StackPanel x:Name="TitlePanel" Grid.Row="0" Margin="12,17,0,28">
<TextBlock x:Name="PageTitle" Text="Tiles" Margin="9,-7,0,0" Style="{StaticResource PhoneTextTitle1Style}"/>
</StackPanel>
<!--ContentPanel - place additional content here-->
<Grid x:Name="ContentPanel" Grid.Row="1" Margin="12,0,12,0">
<Button Content="Default" Height="226" HorizontalAlignment="Left" Margin="86,48,0,0" Name="button1" VerticalAlignment="Top" Width="300" Click="button1_Click" />
<Button Content="User Define" Height="226" HorizontalAlignment="Left" Margin="86,0,0,88" Name="button2" VerticalAlignment="Bottom" Width="300" Click="button2_Click" />
</Grid>
</Grid>
</phone:PhoneApplicationPage>
-
At design time
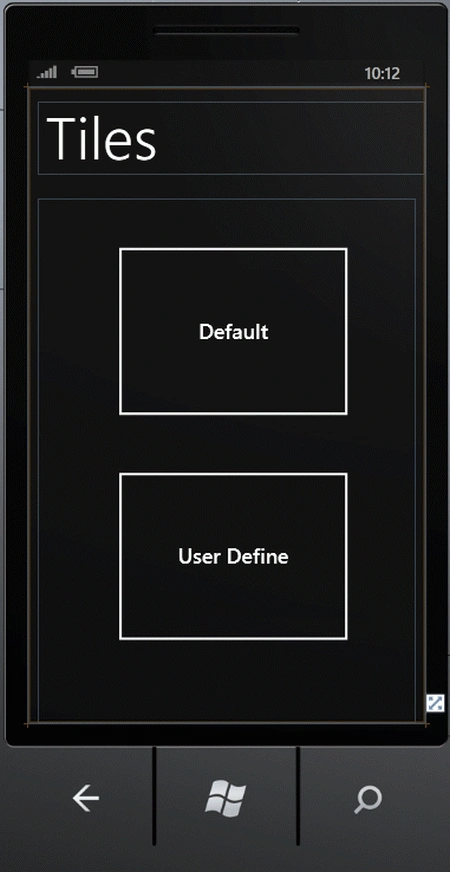
Step 4 : To manipulate the Click event of buttons, we will customize the source code of the MainPage.xaml.cs file.
Code
private void button1_Click(object sender, RoutedEventArgs e)
{
ShellTile AppShell = ShellTile.ActiveTiles.First();
StandardTileData AppTile = new StandardTileData();
AppTile.Title = "App1";
AppTile.BackgroundImage = new Uri("RedTile.jpg", UriKind.Relative);
AppTile.Count= 10;
var URINav1 = "/Page2.xaml?state=App Tile";
ShellTile.Create(new Uri(URINav1, UriKind.Relative), AppTile);
AppShell.Update(AppTile);
}
private void button2_Click(object sender, RoutedEventArgs e)
{
StandardTileData SecTitle = new StandardTileData();
SecTitle.Title = "UserApp";
SecTitle.BackgroundImage = new Uri("BlueTile.jpg", UriKind.Relative);
SecTitle.Count = 70;
var URINav = "/Page1.xaml?state=Sec Tile";
ShellTile.Create(new Uri(URINav, UriKind.Relative), SecTitle);
}
Step 5 : The final source code of the MainPage.xaml.cs file is:
Code
using System;
using System.Collections.Generic;
using System.Linq;
using System.Net;
using System.Windows;
using System.Windows.Controls;
using System.Windows.Documents;
using System.Windows.Input;
using System.Windows.Media;
using System.Windows.Media.Animation;
using System.Windows.Shapes;
using Microsoft.Phone.Controls;
using Microsoft.Phone.Shell;
namespace WindowsPhoneApplicationTiles
{
public partial class MainPage : PhoneApplicationPage
{
// Constructor
public MainPage()
{
InitializeComponent();
}
private void button1_Click(object sender, RoutedEventArgs e)
{
ShellTile AppShell = ShellTile.ActiveTiles.First();
StandardTileData AppTile = new StandardTileData();
AppTile.Title = "App1";
AppTile.BackgroundImage = new Uri("RedTile.jpg", UriKind.Relative);
AppTile.Count= 10;
var URINav1 = "/Page2.xaml?state=App Tile";
ShellTile.Create(new Uri(URINav1, UriKind.Relative), AppTile);
AppShell.Update(AppTile);
}
private void button2_Click(object sender, RoutedEventArgs e)
{
StandardTileData SecTitle = new StandardTileData();
SecTitle.Title = "UserApp";
SecTitle.BackgroundImage = new Uri("BlueTile.jpg", UriKind.Relative);
SecTitle.Count = 70;
var URINav = "/Page1.xaml?state=Sec Tile";
ShellTile.Create(new Uri(URINav, UriKind.Relative), SecTitle);
}
}
}
Step 6 : Press F5 to run the application.
Output
-
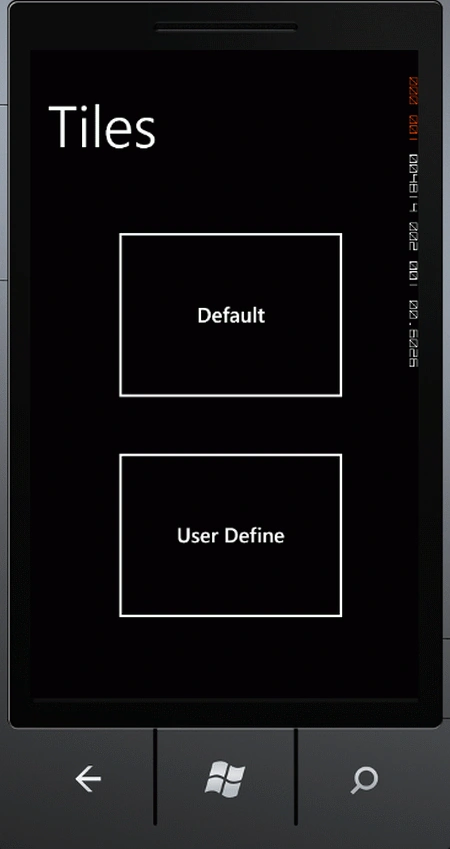
After running, the application looks like:
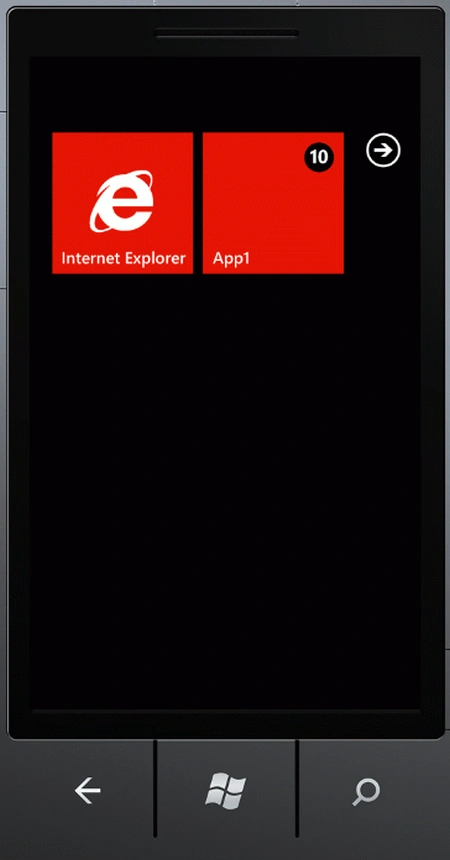
- Click on the default button:
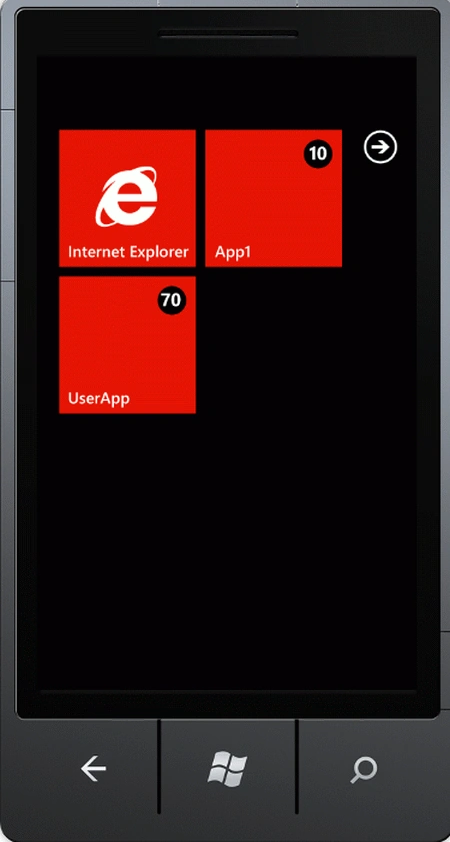
- Again click on the user defined button:
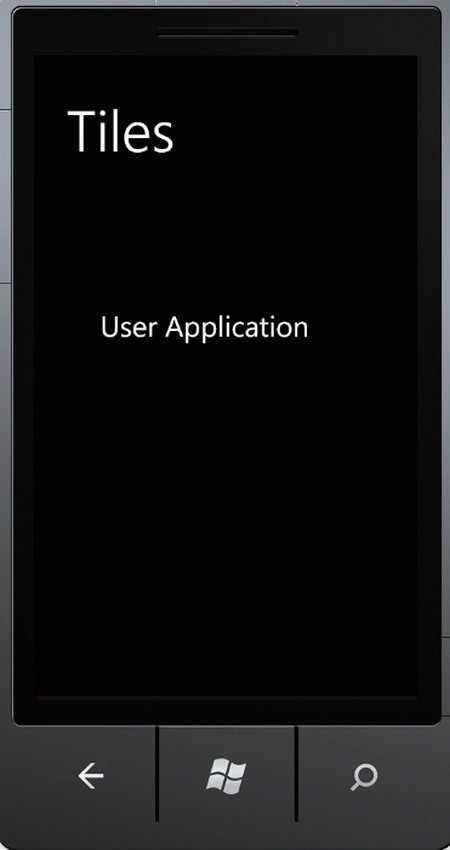
- Click on the user application:
Resources
Lars JonssonPosted Mar 10, 2012, 12:38 PM
Do you know how to create wider tiles i.e. 358x173 px that takes up the place of two regular tiles. I have not found any info on the web about that.