

This article explains how to add and deploy solutions in SharePoint 2013 using PowerShell Commands.
Step 1
SharePoint solution is deployed to a SharePoint server using a solution package (.wsp) file. Get a WSP file from the solution with the following.
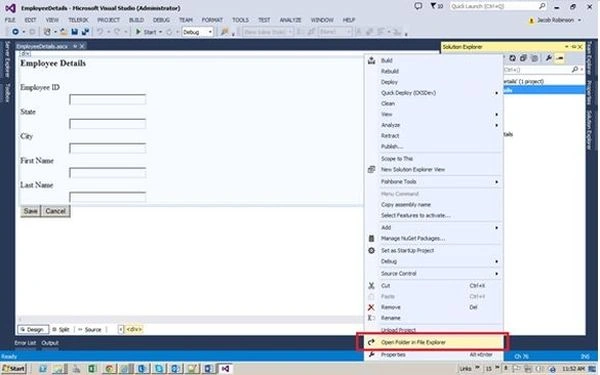
- Right-click your solution and go to Open Folder in File Explorer.
- Open the bin folder.
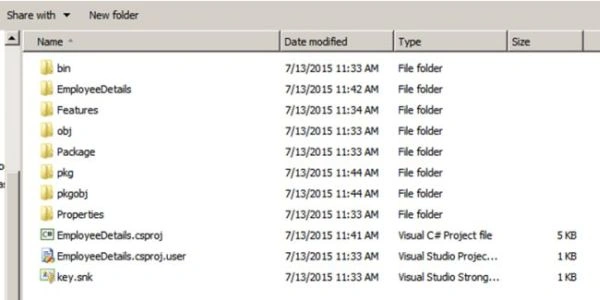
- Open the Debug folder.

- Copy the WSP (EmployeeDetails.wsp).
Step 2
Open SharePoint 2013 Management Shell with Run as administrator. Copy the following command and paste it.
Add-SPSolution “Your WSP Location”\”Your WSP Name”.wsp.
Click Enter.
Step 3
Go to Solution Management in SharePoint Central Administration. Your solution is added to Solution Management.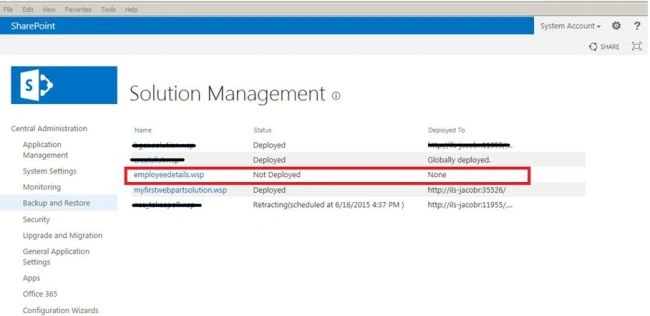
Step 4
Open the SharePoint 2013 Management Shell with Run as administrator. Copy the following command and paste it in.
Install-SPSolution –Identity "WSP Name".wsp –WebApplication "Site Url" –GACDeployment
Click Enter.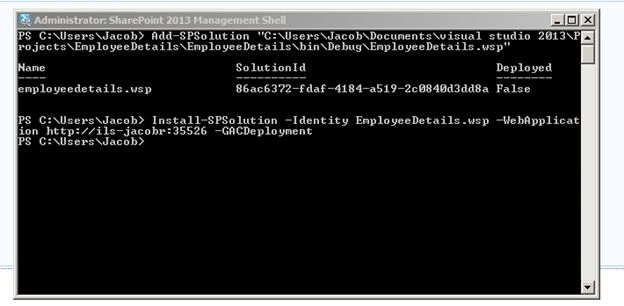
Go to SharePoint Central Administration and open Solution Management. Your solution will be deployed in SharePoint site.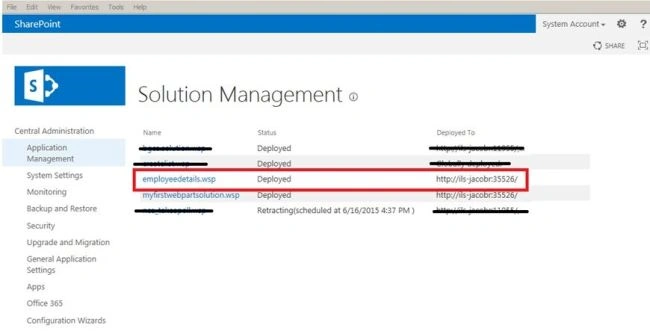
Summary
In this article we have explored how to add and deploy a solution in SharePoint 2013 using PowerShell Commands.
Akash KumharPosted Sep 18, 2018, 3:39 PM
Nice article sir
Sumit DeshmukhPosted Mar 12, 2018, 4:07 AM
very nice.Thanks for sharing.
Santhakumar MunuswamyPosted Jul 13, 2015, 3:02 PM
Nice article! Thanks for sharing
Nilesh JadavPosted Jul 13, 2015, 7:01 AM
Good Article sir
Pankaj Kumar ChoudharyPosted Jul 13, 2015, 5:12 AM
Nice Article Sir........