

In this article we can explore how to auto-fill a TextBox in an InfoPath form within SharePoint 2010.
The Scenario
The following is our Customer List with Code and Name.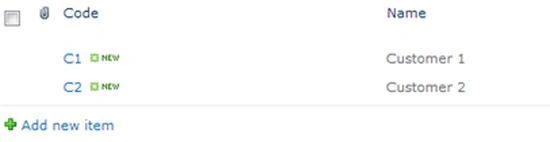
The following is our Product List that has a lookup to Customer Code.
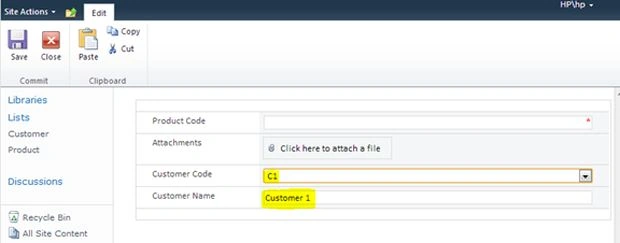
On selection of the Customer Code dropdown list, we need to auto-fill the Customer Name text box.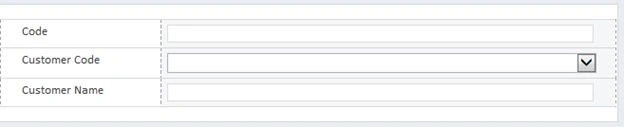
Note
In typical ASP.NET forms we can use JavaScript to do it. But InfoPath web part enabled pages seldom work with JavaScript.
Solution
Use the following procedure to do it.
Step 1: Create Lists
Create the Customer List with 2 columns:
- Code as Text
- Name as Text
Create the Product List with 3 columns:
- Product Code as Text
- Customer Code as Lookup (connecting to Customer > Code)
- Customer Name as Text
Step 2: Create InfoPath form
Open SharePoint InfoPath Designer 2010 from your Start menu.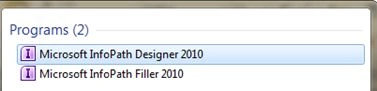
In the Initial Screen choose the SharePoint List and click the Design Form button.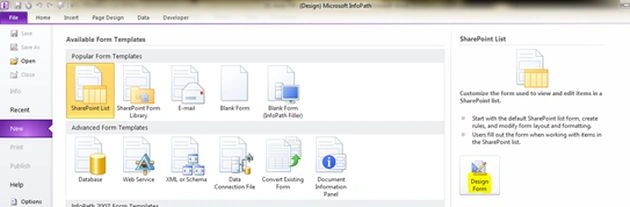
You will get the following wizard. Enter your site URL and click "next" button to continue.
(Please use only the site URL and not the list URL. Enter Credentials if prompted.)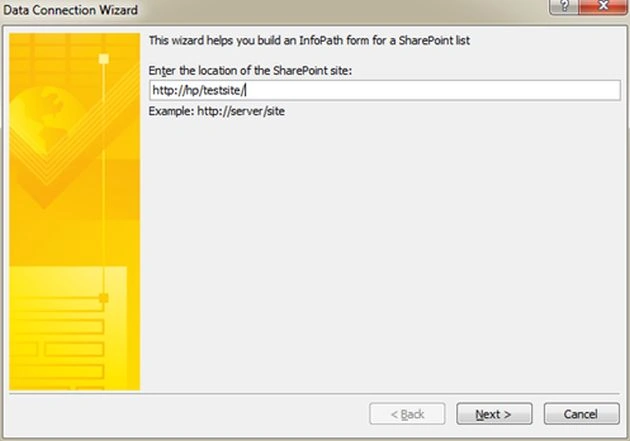
In the next page choose the Customize option and select the Product List. Click the "Next" button continue.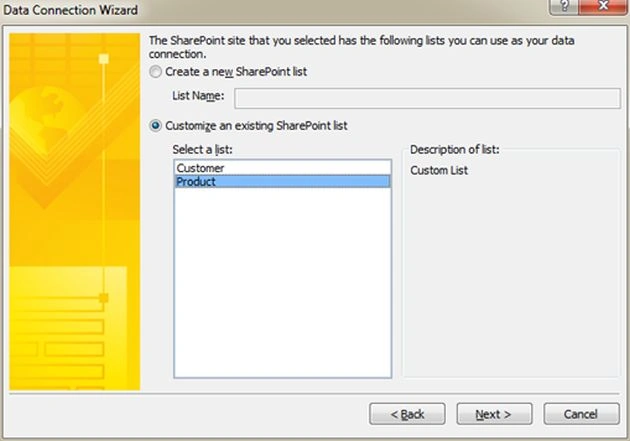
Click the "Finish" button.
You will get the following screen.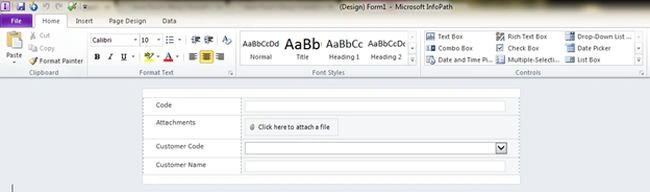
Step 3: Create Data Connection
On change of the Customer Code drop down, we need to use the Code to search in the Customer List and get the Name field. For this, we need a Data Connection.
Choose the "Data" tab and click on the "Data Connections" button.
In the dialog box that then appears click the "Add" button.
Choose the Receive data option and click the "Next" button.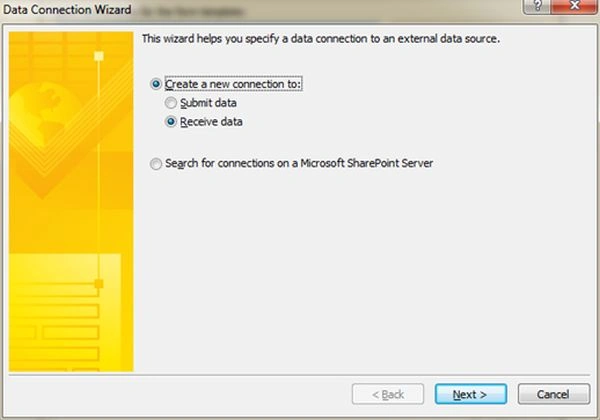
In the next page choose the "SharePoint List" option.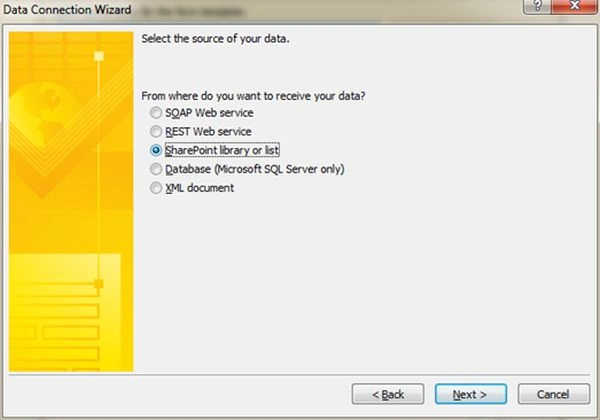
In the next page leave the URL of the site as it is.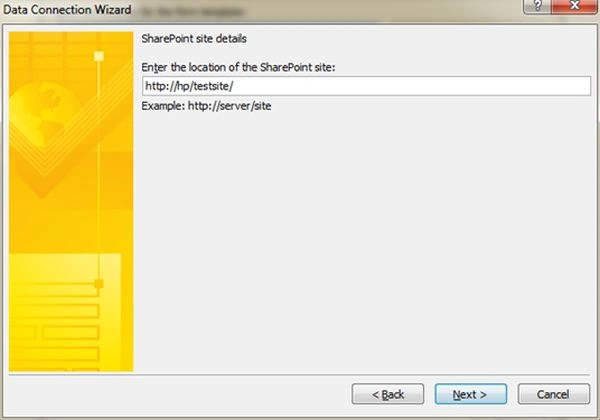
In the next page choose the Customer List as the source.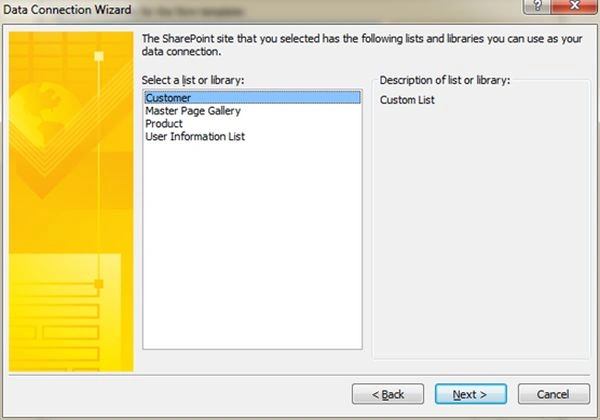
In the next page select the Code and Name properties.
Click the "Next" button and enter the name as "CustomerDS" for the data source.
We are now ready with our Data Source to query against.
Step 4: Modify form
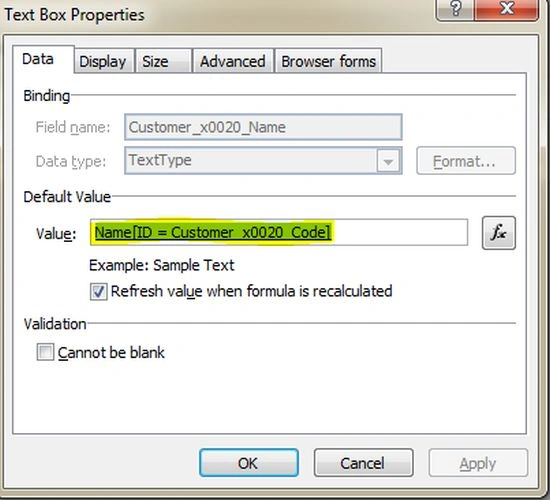
We need to modify the Customer Name TextBox. Right-click on it and choose the TextBox Properties menu. You will get the following dialog.
Choose the Formula Editor that is the highlighted button above. In the dialog that then appears, choose the "Insert Field or Group" button.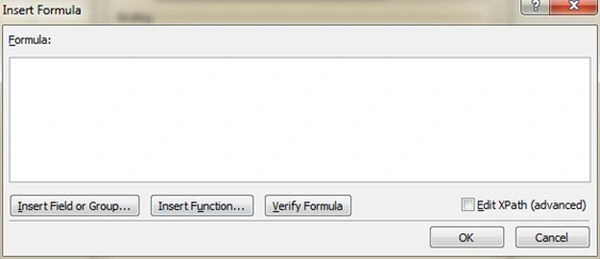
In the dialog box that appears, choose the "Show advanced view" link.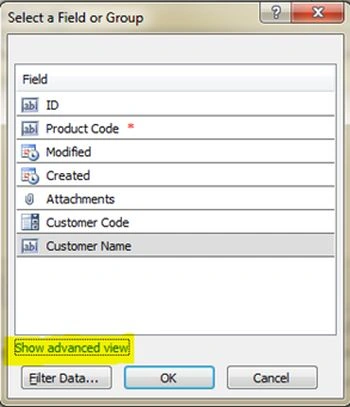
Now you will be able to select the CustomerDS data source. Expand the Data fields below and choose the Name property as shown below. (Do not close the dialog.)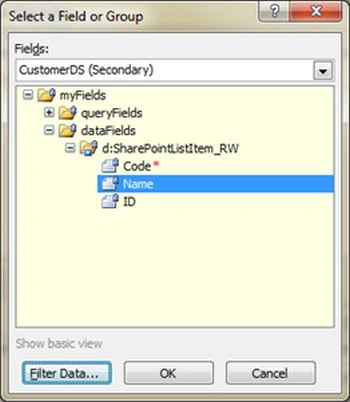
Click the Filter Data button to enter our filter condition. In the dialog box that appears, click the "Add" button to add the filter. Choose the ID property against the Select a field or group. 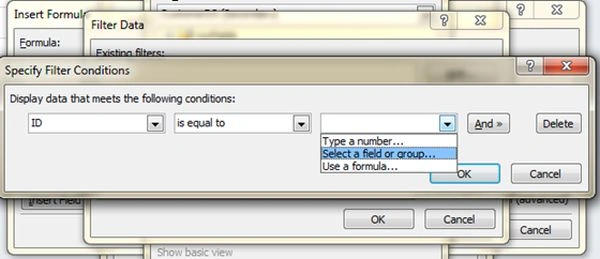
You will get the following dialog box.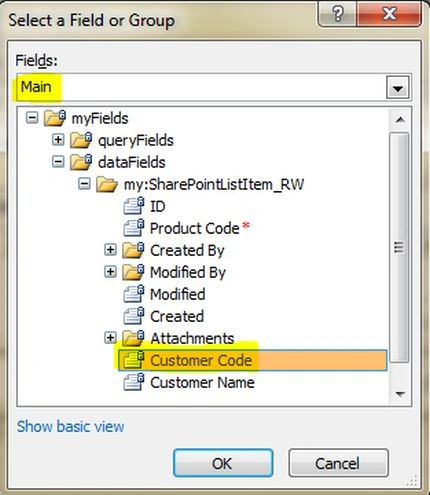
Choose the Main data source and select the Customer Code property. Click the "OK" button. The filter condition looks as in the following.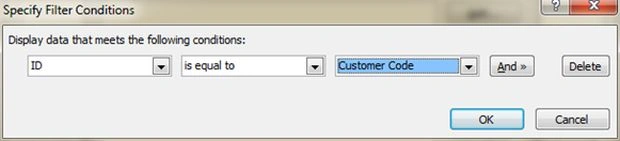
You might be wondering why we are comparing the ID property against the Customer Code:
Join the conversation! Your thoughts help the community grow.