

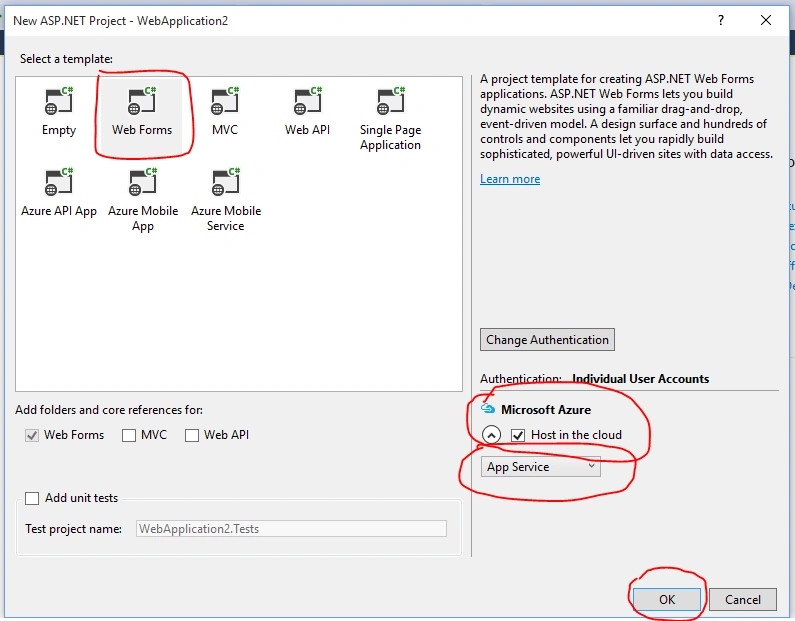
Create a new Project (File -> New Project) and select “Web Forms”. Please make sure that the “Host in the Cloud” checkbox is checked and you select “App Service” in the dropdown beneath the checkbox and click on OK button. (You might have to install Azure SDK).
If you have already logged into your Azure Subscription, you will see a “Create App Service” window as shown below. Please provide a meaningful name for the new App Service select the Subscription, Resource group, and App service plan, and click on the “Create” button. If you haven’t logged in using your Azure Subscription, Visual Studio will prompt you to log into your account.
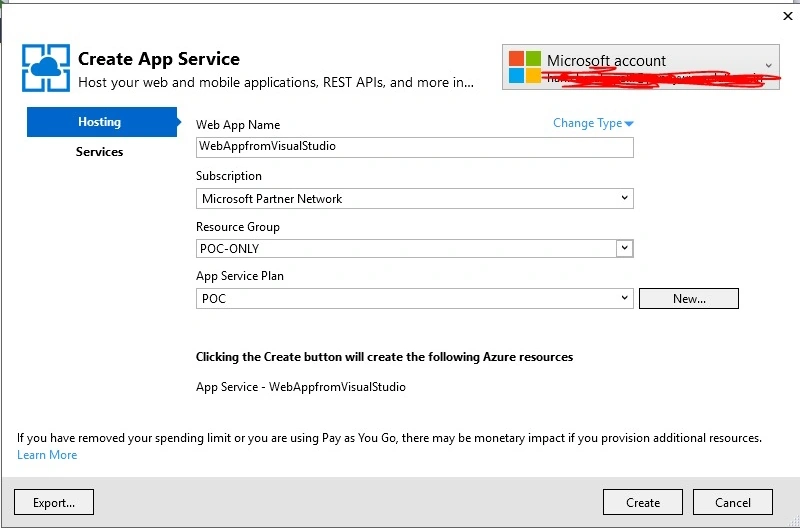
That’s it, you have created a new Web Application in Visual Studio as well as a new App Service in your Azure subscription in just a couple of clicks.
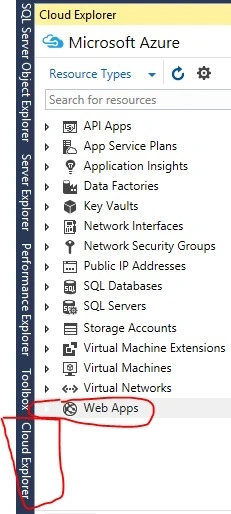
In Visual Studio, click on Cloud Explorer and expand the “Web Apps” section as shown below.
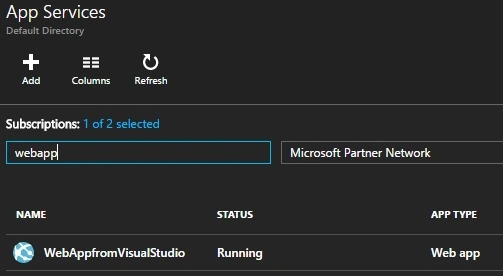
You will see your newly created App Service Web App as shown below in the Visual Studio.

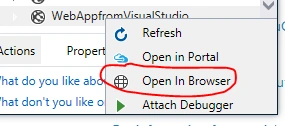
Now, right-click the Web App and select “View in Browser” as shown in the below screen capture to view the application in the browser.
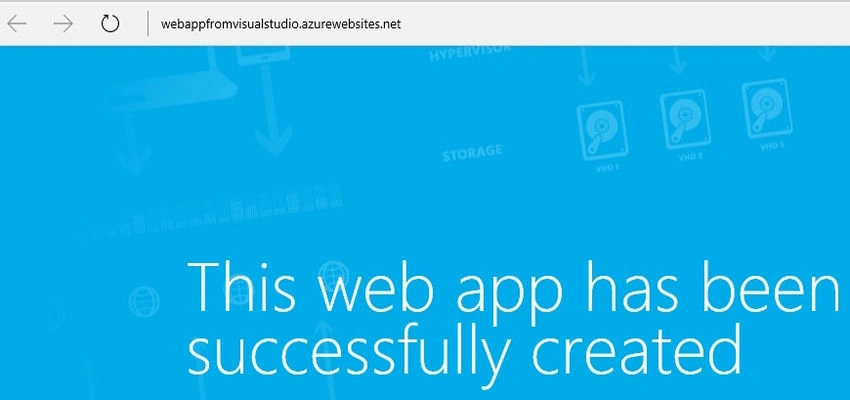
You will see something as shown below.
In the next Article, we will see how to link an existing web application to an App Service.
Praveen SreeramPosted Jun 3, 2016, 11:01 AM
Thanks @Nagaraj
Praveen SreeramPosted Jun 3, 2016, 11:01 AM
Thanks @Bhuvanesh
Praveen SreeramPosted Jun 3, 2016, 11:01 AM
Thanks @Neeraj
Praveen SreeramPosted Jun 3, 2016, 11:01 AM
Thanks @Zeeshan
Praveen SreeramPosted Jun 3, 2016, 11:00 AM
Thanks @Debasis
Praveen SreeramPosted Jun 3, 2016, 11:00 AM
Thanks @Prasanna
Prasanna MuraliPosted Jun 3, 2016, 10:48 AM
Nice one..
Debasis SahaPosted May 20, 2016, 10:53 AM
Good..
zeeshan ahmedPosted May 18, 2016, 4:12 AM
very much useful for beginners..
Neeraj KumarPosted May 17, 2016, 2:54 PM
Nice article
Bhuvanesh MohankumarPosted May 17, 2016, 2:21 PM
Good one
Kuppurasu NagarajPosted May 17, 2016, 10:55 AM
Nice sharing..