

This article is a part of a series of articles related to one of the Azure Compute options “Cloud Services”.
- Azure Cloud Service Introduction
- Azure Cloud Services - Create Hello World Cloud Service Using Visual Studio
- Azure Cloud Service Examine Files
- Azure Cloud Service – Add existing Web Application to Cloud Service
- Azure Cloud Service – Compute Emulator
- Azure Cloud Service - Create Package using Visual Studio
- Azure Cloud Service – Create a new Cloud Service using Azure Management Portal
- Azure Cloud Service – Deploy Cloud Service using Azure Management Portal
- Azure Cloud Service – Create Staging Slot using Azure Management Portal
- Azure Cloud Service – VIP Swap using Azure Management Portal
- Azure Cloud Service – Delete Slot using Azure Management Portal.
- Azure Cloud Service – Scale up Instance Size
- Azure Cloud Service – Scale Out Instances using Visual Studio
- Azure Cloud Service – Enable Remote Desktop using Visual Studio
In our previous articles, we have deployed the package to both of the following slots.
- Production Slot
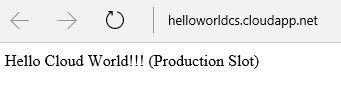
- Staging Slot
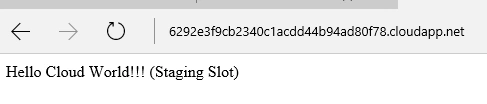
Let’s say, we have validated the functionalities of our changes, located currently in the Staging Slot, and we also got approval from the client to promote the changes to the Production.
In a traditional approach, we used to promote the changes by deploying all the updated files to the production server. But, this is not required in the case of Azure Cloud Service.
Cloud Service provides us an easy way to swap the Production and Staging slots.
Navigate to the Cloud Service for which you would like to promote the Staging slot to the Production slot.
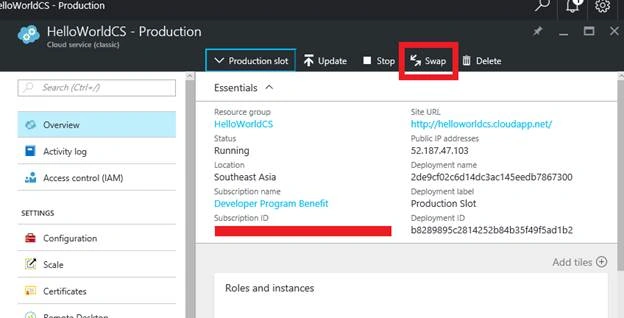
As shown in the above screen capture, click on the “Swap” button to initiate the process of swapping the Slots.
Clicking on the “Swap” button displays a confirmation, as shown below.
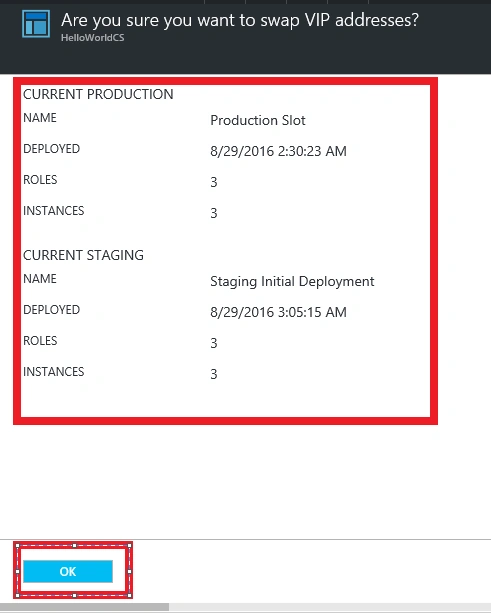
Review the labels of the Deployment Slot and click OK button if you want to swap the slots.
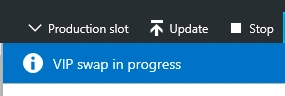
After a few seconds, the Swap process would be completed and the Slots will get interchanged. Let’s navigate to the URLs of the both slots.
- Production Slot
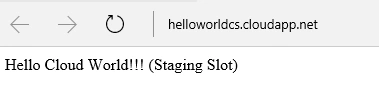
- Staging Slot
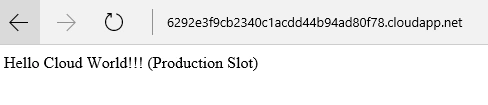
As per the above screenshots, the Swap process is complete and is successful. Now that you are done with promoting the changes to the production, you don’t need to have the Staging Environment on Azure until we get a new requirement. So, in order to reduce the costs, we can go ahead and delete the Staging Environment. We will discuss how to delete the Staging Environment, in the next article.
Hope you enjoyed the article. Your feedback is appreciated.
Bhushan GawalePosted Sep 9, 2016, 1:36 PM
Great series on Cloud services, keep it up!!