

Introduction
In my last article on Blockchain, we learned about setting up Ethereum Blockchain on Microsoft Azure using Consortium leader. It is time for some development now. Before we move on to Smart Contracts and their development, it’s important for us to set up a development environment as a prerequisite. This article will solely focus on setting up the development environment for Smart Contract development. In the next article, we’ll see what smart contracts are and how we can develop those.

Image credit: https://pixabay.com
Tools and Development Environment
We’ll use a list of tools to set up our development environment before we proceed with actual development. I’ll use a fresh Windows installation on Microsoft Azure. You can follow the steps to set up a VM on Azure or can refer to my article on Setting up VM on Azure before we actually start. We’ll install Chrome browser on the fresh machine followed by MetaMask that is a Chrome plugin which will help us in authentication. Microsoft provides Visual Studio code, that is absolutely free and we can use that as a development IDE for our smart contracts development. We’ll install NuGet Package Manager (NPM) and Chocolatey; i.e., also a package manager to get other tools and packages needed for development. We’ll use Git along with NPM and Windows build tools for the purpose of building/compiling the code. We’ll use an in-memory test server known as Test RPC to test the application and lastly, Truffle. We’ll explore more about Truffle when we start development.
Creating VM on Microsoft Azure
Azure
Azure is a cloud platform from Microsoft and provides numerous resources in the context of cloud computing. One of the resources is virtual machine; i.e., a fully functional machine of your choice with the choice of your configurations and operating system could be created within seconds with just a few clicks and you can access the machine remotely from anywhere with your secure credentials and do whatever you want for e.g. hosting your website, developing applications, creating production or test environment for your software etc. Let’s see step by step how we can achieve that.
Azure Account Setup
If one does not have a paid Azure account, one could leverage Azure’s new account’s benefits of giving $200 credits. That means if you are new to Azure and want to play around with its free trial, you’ll get $200 credits that you can use to explore Azure. If you are new to Azure and do not have an account, follow the following process; else, directly log in to your portal.
- Open the Azure web site i.e. azure.microsoft.com
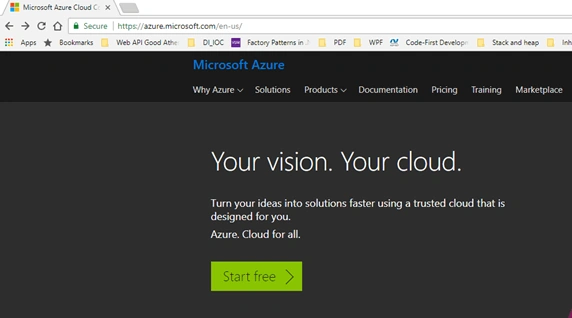
- Click on Start free to create your free Azure account and get $200 as credits.
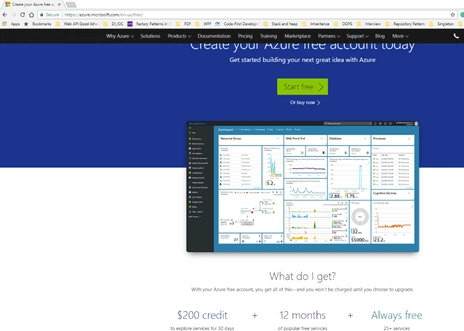
Creating an account and claiming $200 would need your credit/debit card for verification purposes only and will not deduct any amount from your card. You can play around with this credit and account for 30 days. You’ll see the signup page, where you fill all your information and signup step by step. Once signed-up successfully, you’ll see the link to the portal as shown below.

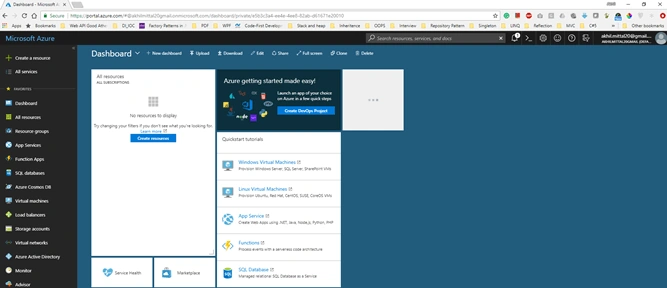
Click on the portal and you will land up on the dashboard and are ready to use/play around with Azure.
Virtual Machine Setup on Azure
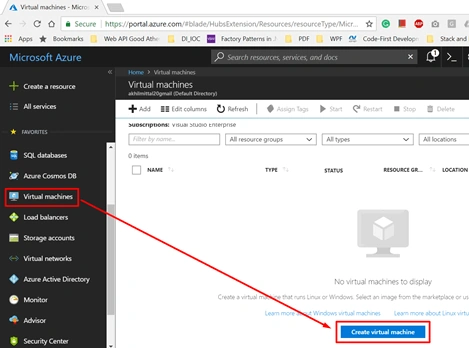
- Once on the dashboard, click on the “Virtual machines” link on the dashboard and a right panel would open where you see all your VMs. Since we are creating new and we do not have existing ones, so it would be blank. Click on “Create virtual machine”.
- Once you click on “Create virtual machine”, you’ll get to see all the operating systems and solution templates that Azure provides to create a machine. You can choose to have Windows or Linux operating system based on requirements, but be careful about costs involved.
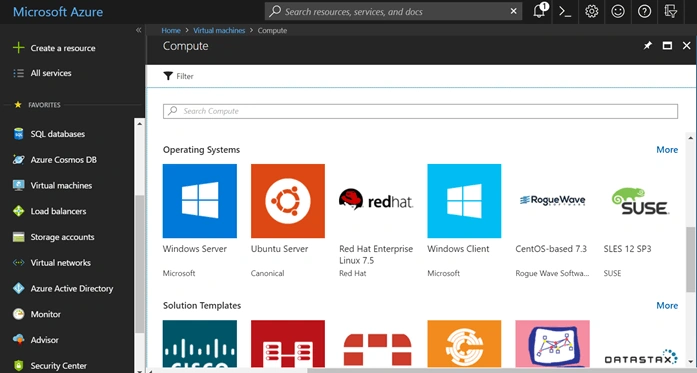
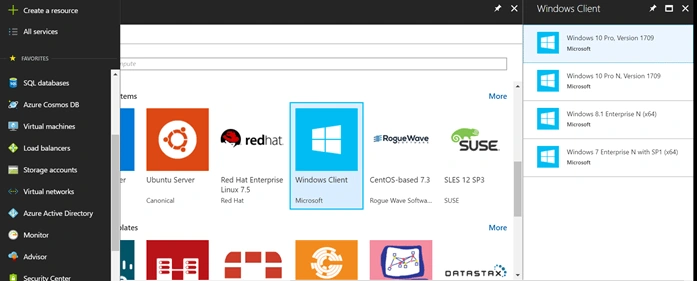
- Since this article is for learning how to create a virtual machine, I’ll choose the Windows client machine with minimal machine configurations, one can choose based on requirements and need. So, choose “Windows Client” as shown in the following image.
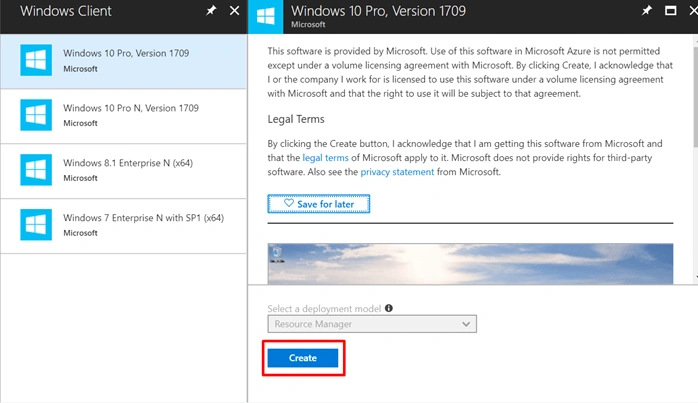
- You’ll get the window of the license agreement and legal Read that carefully and press “Create button”.
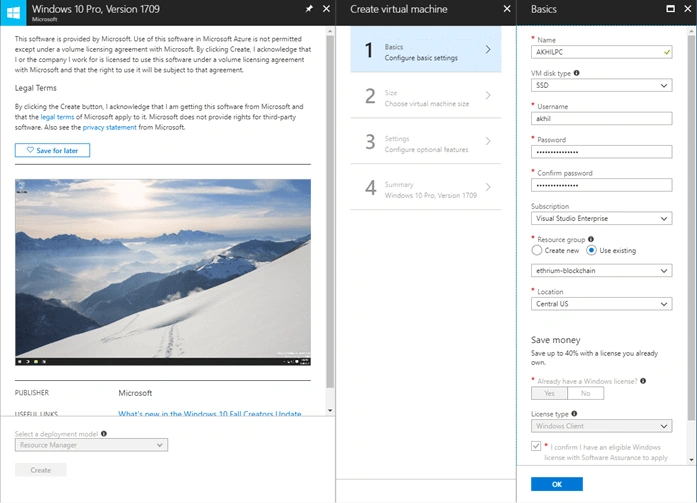
- After clicking Create, you’ll be asked to fill outsome basic requirements as shown below. Give the name as per your choice, for e.g. I gave it “AKHILPC”, leave VM disk type as SSD, or choose as per your need. Provide username and password you would be needing when you connect remotely with the machine. Keep the username and password safe and secure. Choose the subscription, if you have a paid one, choose that else choose the trial subscription that you got. You must provide a resource group. You can create a new or use an existing one. Resource Group gives you a logical separation of all your Azure resources. Since I have an existing resource group created, I am using that. Choose Location, click on confirmation checkbox and click OK.
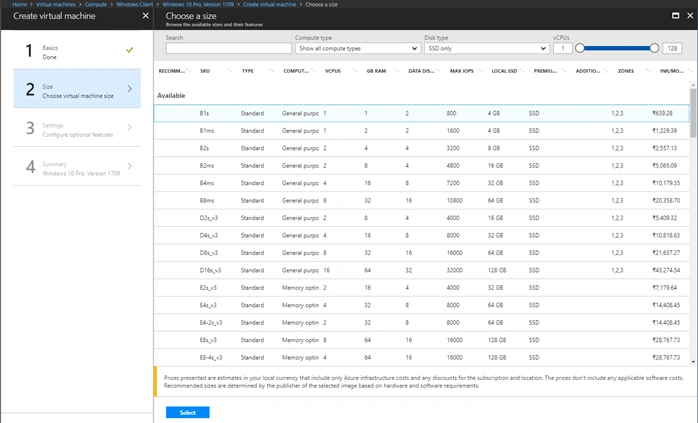
- Once you click OK, you get to see the second section to choose the size of the machine where you see the list of RAMs, Hard disk size, SKU, and zones. Each configuration has a cost associated with it so choose as per your need and budget. For training/tutorial purposes I am choosing the first one that has the minimum cost as shown below.
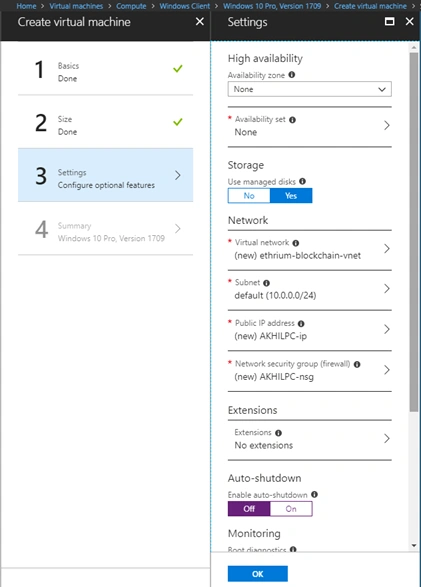
- In the third step, you are needed to choose certain settings related to availability, storage, and network. Choose/Provide the settings as per your discretion.
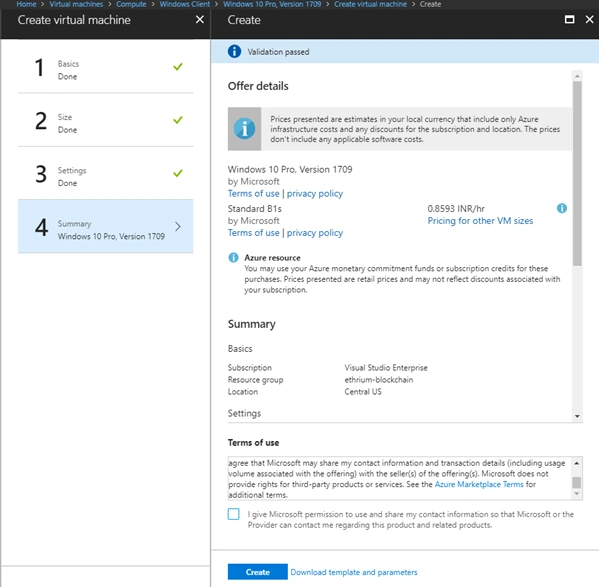
- Once you click OK, you’ll be shown a summary page for all the configurations you choose, cost per hour and OS. Give confirmation if everything looks good by clicking on confirmation checkbox as shown in the below image and click on Create button.
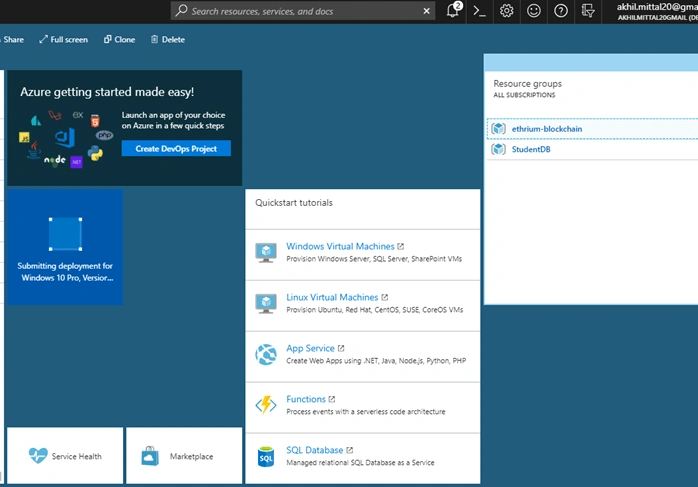
- Once you click Create, it may take a while to create your VM. It will say “Submitting deployment for…”. Wait till the deployment is complete. For me, it took 5~9 minutes.
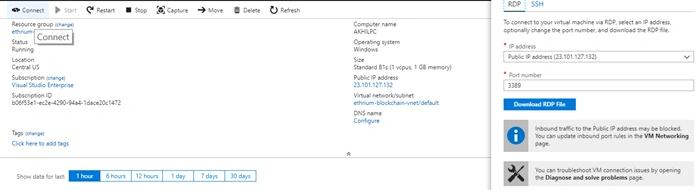
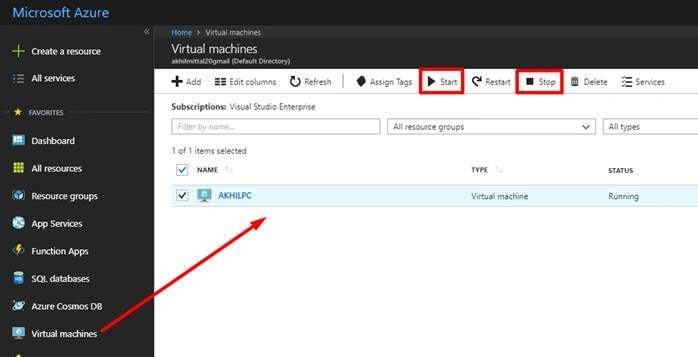
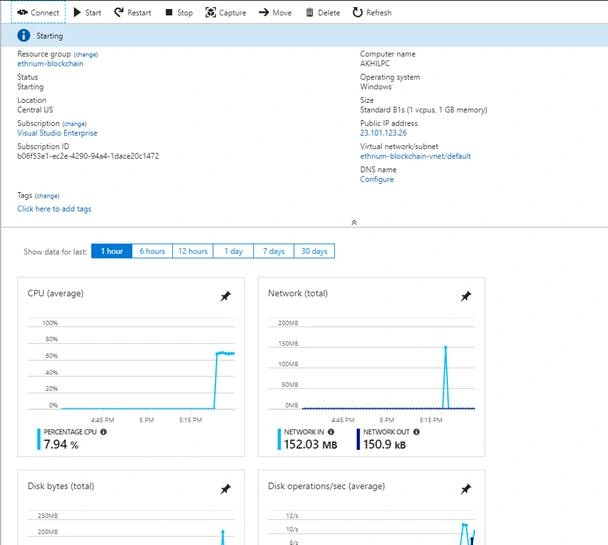
- Once deployment is done, you’ll see the section for your deployed VM, where you can choose to Start, Stop, Restart, Move or Delete your created VM. Clicking on Connect will show you two options in the right panel i.e. RDP and SSH. We’ll choose to connect via RDP, so download the RDP file shown at the right panel. Click the blue “Download RDP file” to get the file. Alternatively, you can directly open RDP connect via an mstsc command on your local machine. You get the IP address as shown below in RDP section.
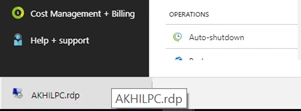
- The downloaded RDP file will be located at your local download location. Click on that to configure RDP connection.
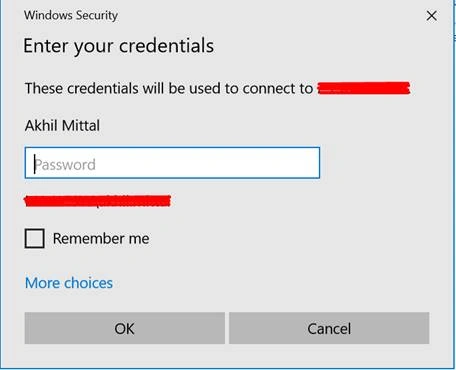
- The IP would automatically be filled, just fill the username and password to connect.
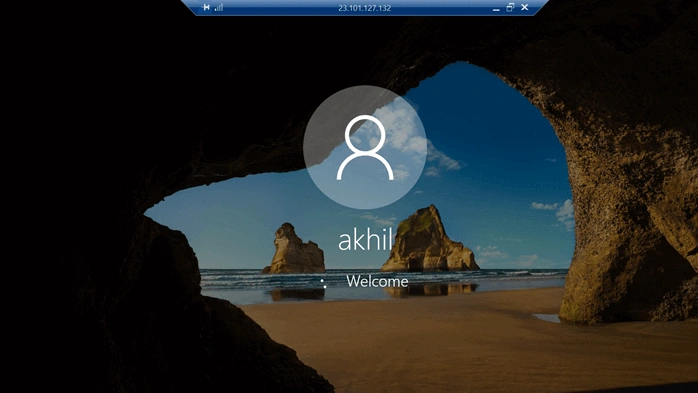
- Once connection is successful, you’ll see the Welcome message while the window loads and configures for first-time use. Please wait for a while.
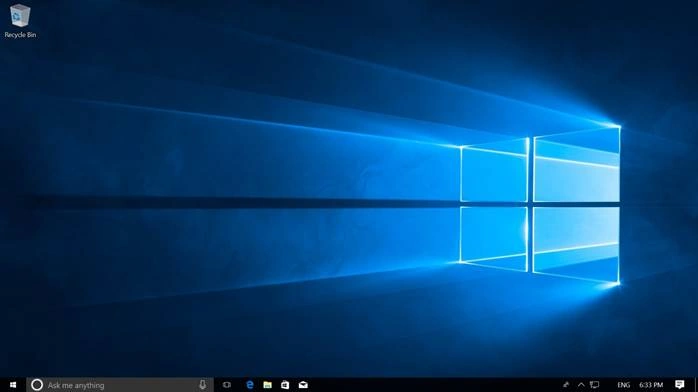
- Once Windows has loaded, you’ll see the desktop as shown below. Now you can choose to do whatever you want with this machine.


Join the conversation! Your thoughts help the community grow.