This step by step tutorial guides you towards how to create a setp for a Windows Forms application using Visual Studio 2005.
Step 1: First of all, create a Windows Forms application.
Step 2: Next add a setup project by clicking on File-> Add-> New Project.
By clicking here the window will open like this:
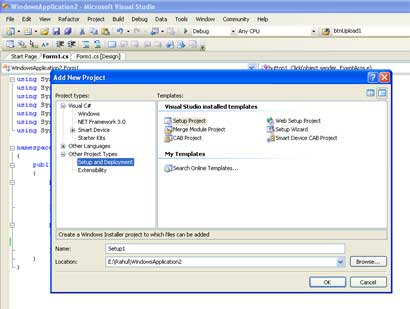
Figure 1:
Step 3: Select here Setup and Deployment in the left side bar in project types.
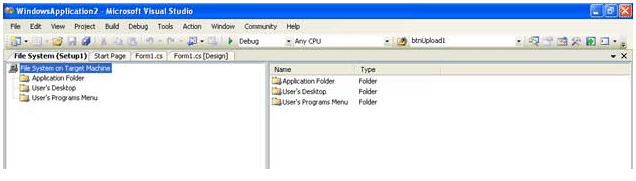
Figure 2:
Here we find three options as following:
-
Application Folder
-
User's Desktop
-
User's Program Menu
Step 4: These three options are the three places where we want to copy our setup fules during the installation process. From here we have to select one option. Suppose I select User's Desktop. Then Right click on User's Desktop option and select Add-> Project Output. The window will look like as.
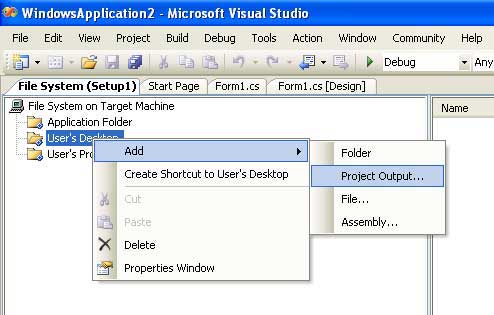
Figure 3:
Step 5: After clicking on Project Output, a new window will open. Here we select first four options. Now click on OK.
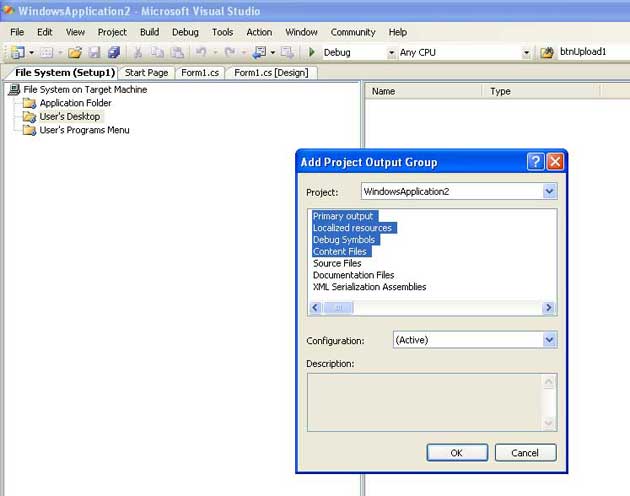
Figure 4:
Step 6: After clicking on OK, Rebuild the Setup from Build option in Menu bar like as.
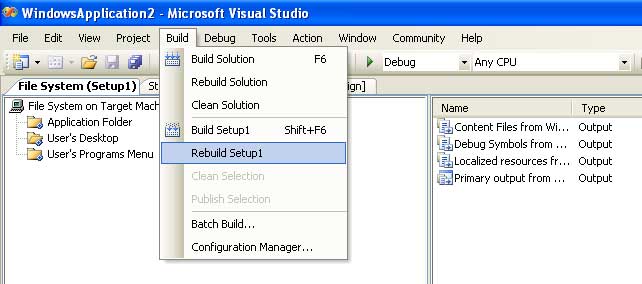
Figure 5:
Step 7: After this, let's test our setup by going right clicing on the setup project in Solution Explorer and click on Install menu item.
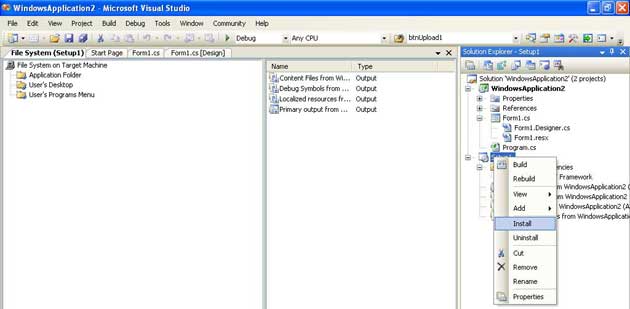
Figure 6:
The setup process will start, which looks like this:
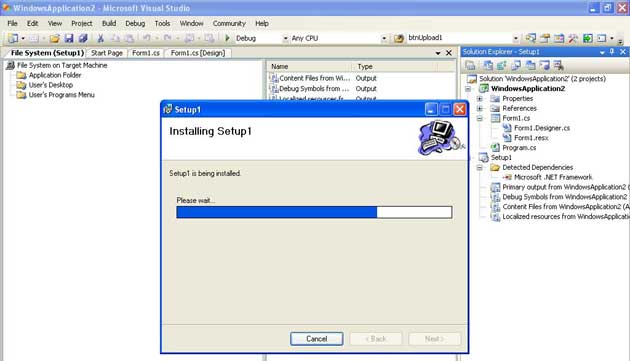
Figure 7:
Step 8: After copmpleting the installation go on desktop there you will find all files you have included in the setup on the desktop.