

Introduction
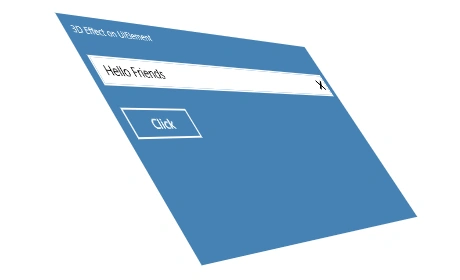
This article explains how to create 3D effects in Windows Store apps. In Windows Store apps you can apply 3D effects to content or control using perspective transforms. For example you can create the illusion that an object is rotated toward or away from you. Another common usage for perspective transforms is to arrange objects in relation to one another to create a 3D effect.
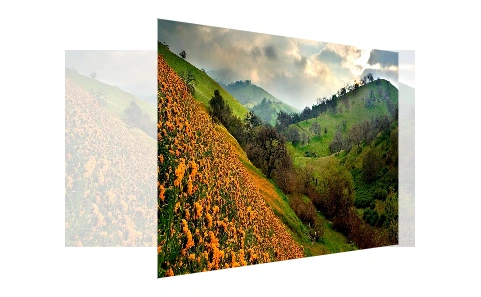
In this example we are using the "PlaneProjection" class to create a 3D effect. The PlaneProjection class can be used to apply a 3D effect to any UIElement by setting the UIElement's Projection property using a PlaneProjection. The PlaneProjection defines how the transform is rendered in space. Here is an example of 3D effects in Windows Store apps.
Start Visual Studio 2012 and start a new Windows Store apps project.
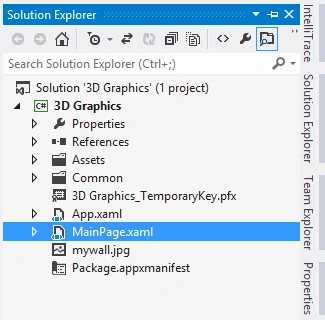
Go to Solution Explorer and click on "MainPage.xaml" to open it.
RotationX
The RotationX property rotates around the x-axis of the center of rotation.
<Image Source="mywall.jpg" Height="250" Width="350" Opacity="0.3" />
<Image Source="mywall.jpg" Height="250" Width="350">
<Image.Projection>
<PlaneProjection RotationX="-45" />
</Image.Projection>
</Image>

RotationY
The RotationY property rotates around the y-axis of the center of rotation.
<Image Source="mywall.jpg" Height="250" Width="350" Opacity="0.3" />
<Image Source="mywall.jpg" Height="250" Width="350">
<Image.Projection>
<PlaneProjection RotationY="-45" />
</Image.Projection>
</Image>

RotationZ
The RotationZ property rotates around the z-axis of the center of rotation.
<Image Source="mywall.jpg" Height="250" Width="350" Opacity="0.3" />
<Image Source="mywall.jpg" Height="250" Width="350">
<Image.Projection>
<PlaneProjection RotationZ="-45" />


divagar kPosted Apr 30, 2016, 7:00 AM
good