

Introduction
Geo-replication is one of the very useful features in the Azure databases. It can protect & backup our data from failures in the database. In a real-world scenario, companies store a large amount of user data in a cloud database and it runs in our nearest region. Unfortunately, some disaster caused in the data center at that time can cause our database to fail during business time. This problem can be solved by using the Geo-replication feature in the database.
Geo-replication is used to create a secondary database for the primary database in another region. If the primary database fails, Azure can automatically switch to a secondary database. Now our business runs without any interruptions.
By reading this article, you will learn about how to configure a Geo-replication in Azure SQL database.
Read my previous articles in Azure SQL,
Prerequisites
-
Azure cloud account
-
Edge (or) Other browsers
-
Stable Internet Connection
-
Minimum knowledge in Database
-
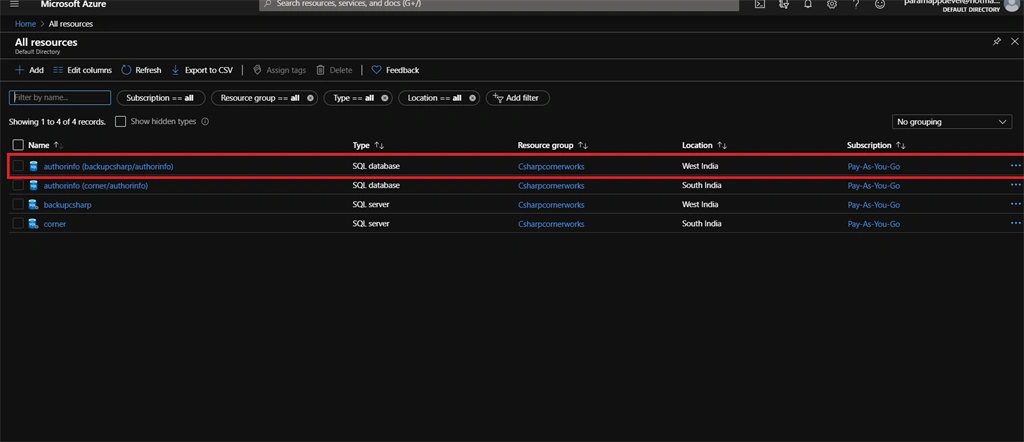
Azure SQL server & database
Step 1
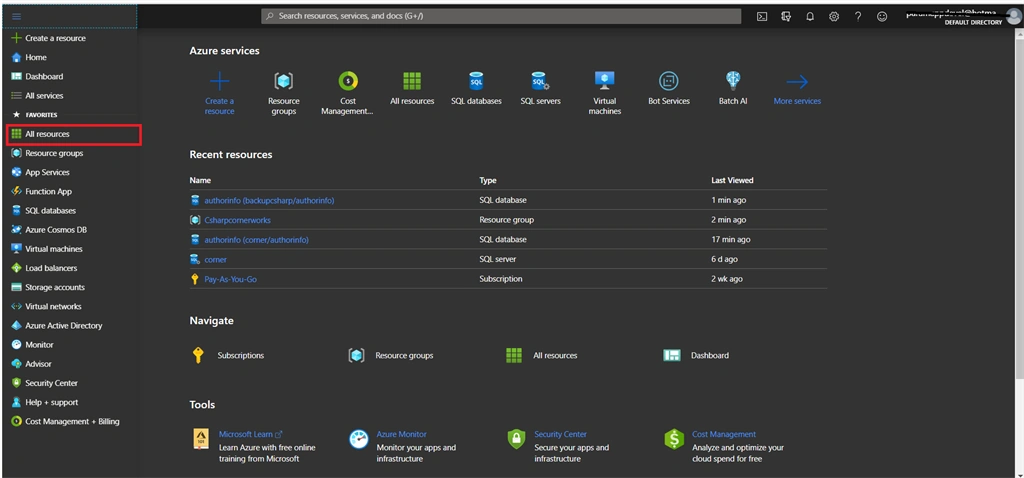
Log in to the Azure portal.
Step 2
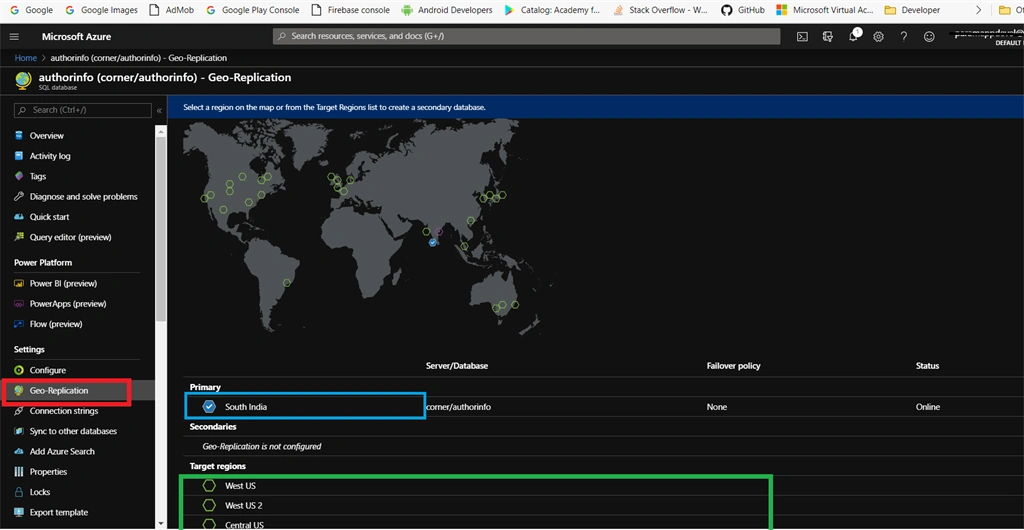
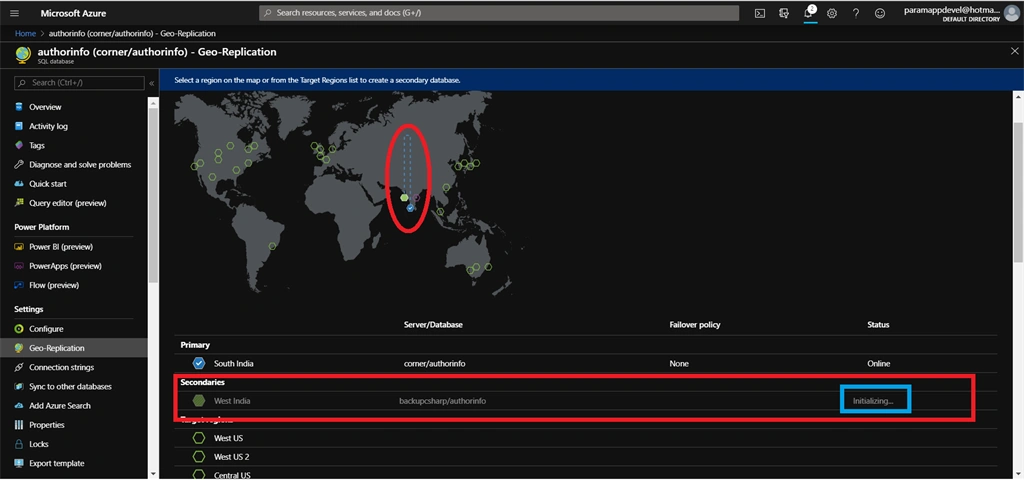
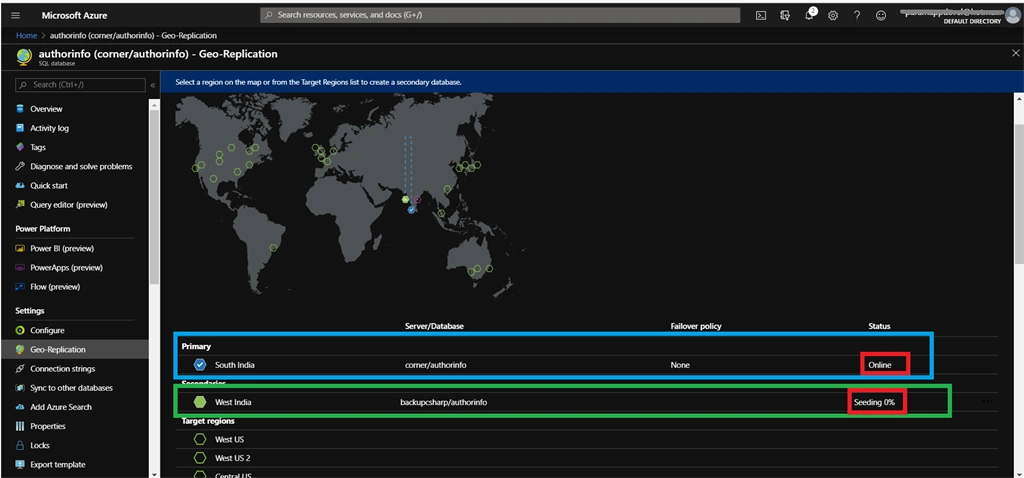
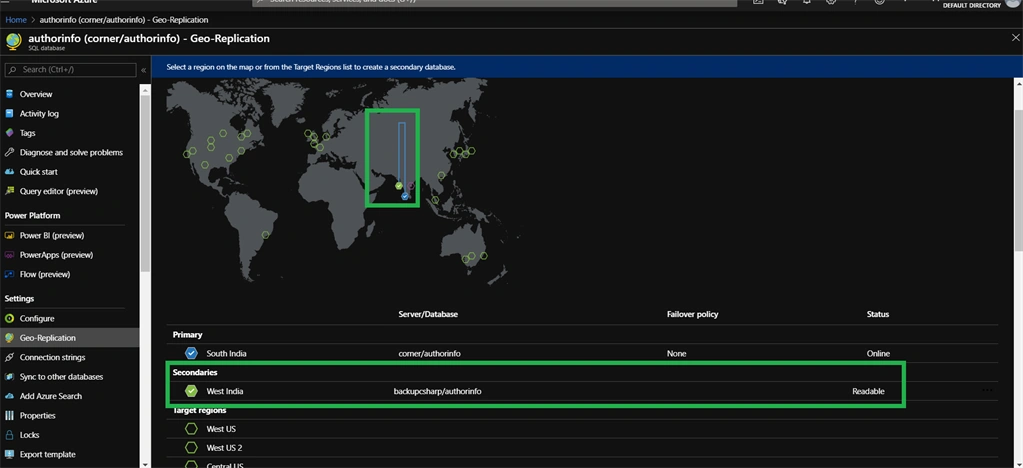
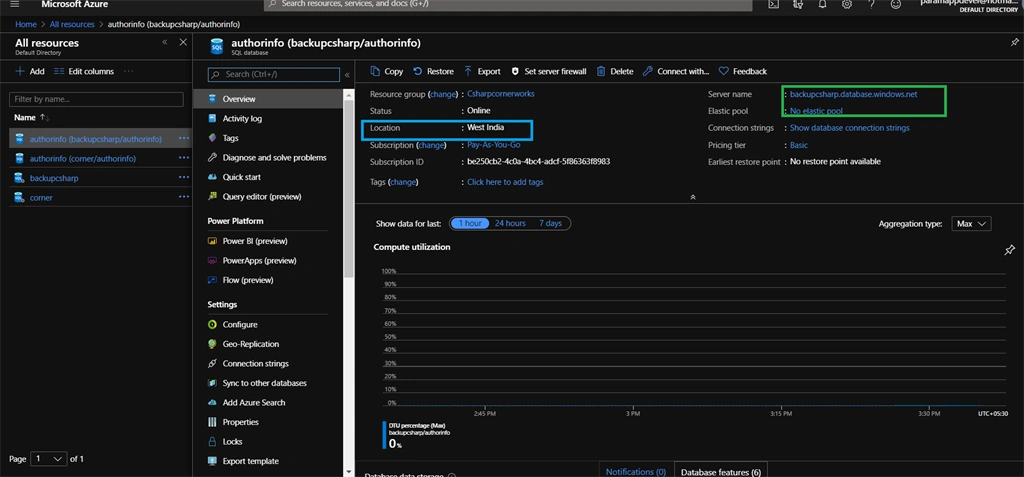
Go to your database Dashboard and then select the “Geo-Replication” option in the settings section from the left pane. In this page, the Primary database is displayed as a blue-colored mark on the map, and the green color marks an available zone for creating a secondary database for replication.
Step 3
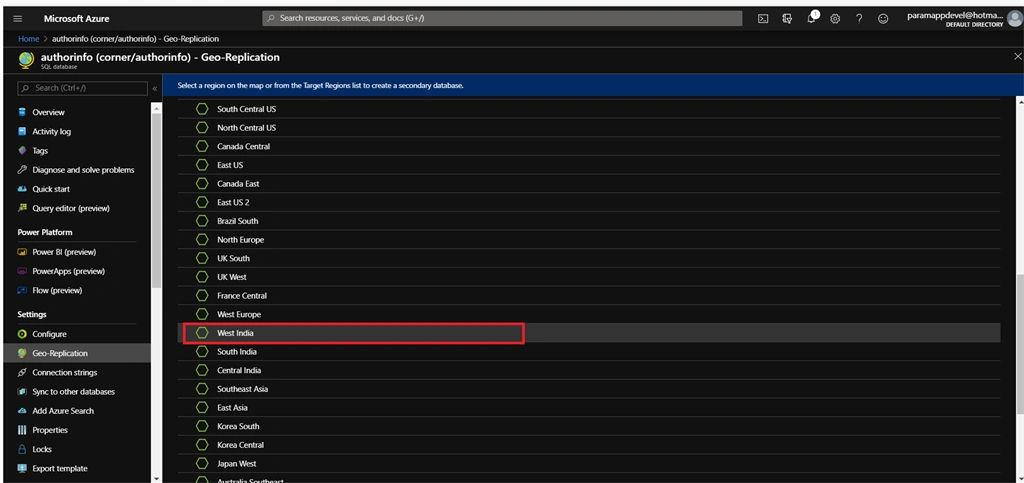
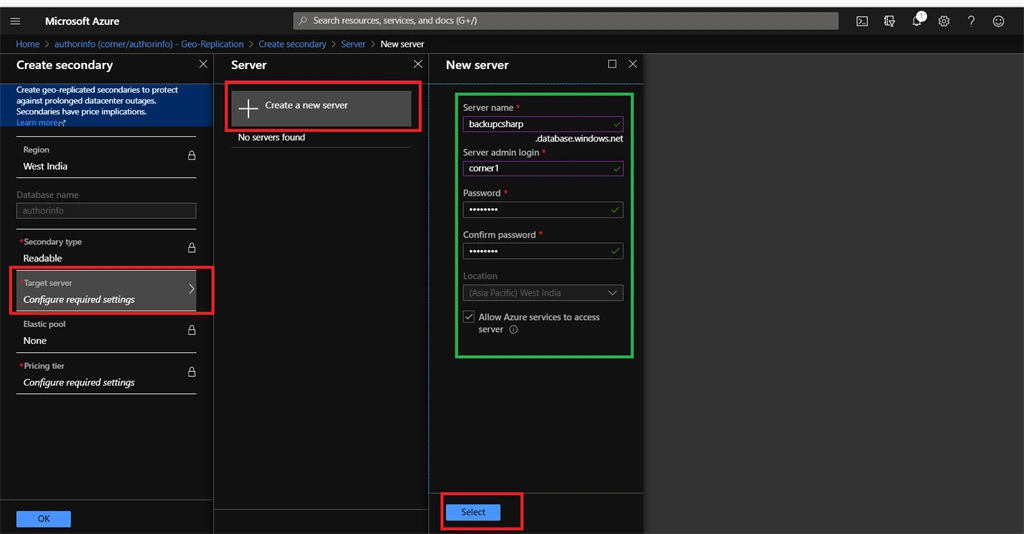
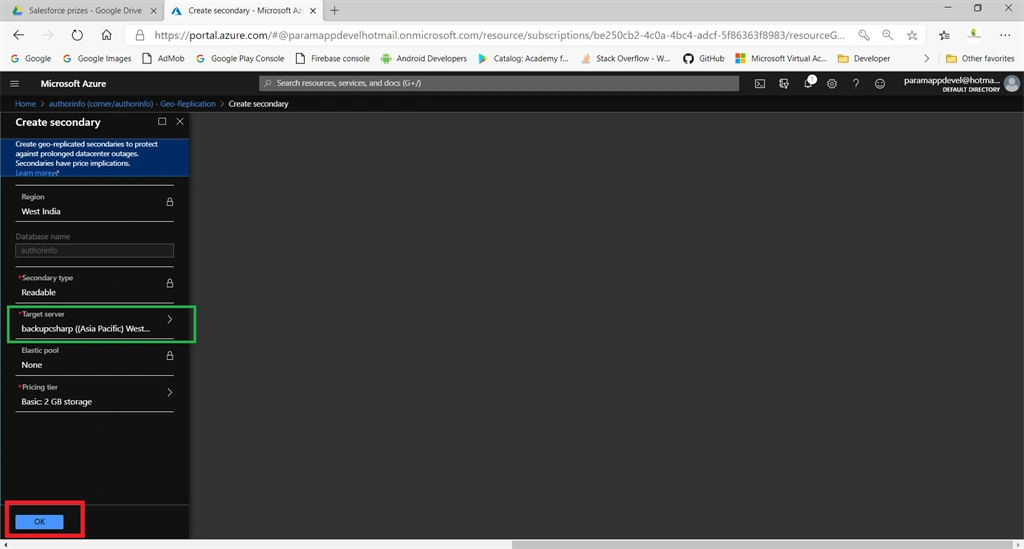
Scroll down and select the nearest zone from the target list. My primary database runs in “South India”. Now I am selecting a replication region as “West India”.
Join the conversation! Your thoughts help the community grow.