

Introduction
Today we are creating a simple animation in Windows. Animations in the Windows Runtime can enhance your app by adding movement and interactivity. By using the animations from the Windows Runtime animation library, you can integrate the Windows 8 look and feel into your Windows Store app.
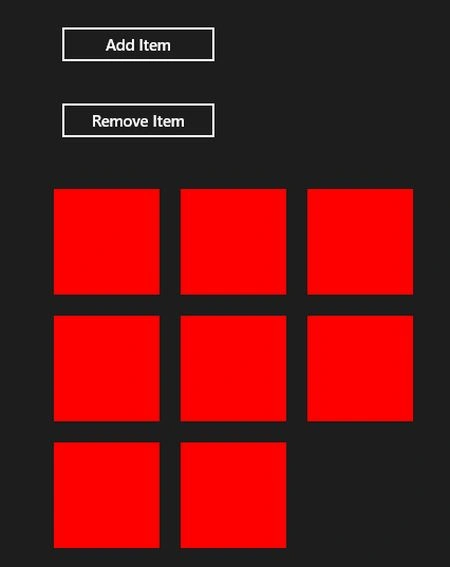
In this example we have two buttons; "Add Item" is for adding an item in the list and another is "Remove Item" to remove an item from the list. To create an animation we are using the two namespaces "Windows.UI" for the fill color and "Windows.UI.Xaml.Shapes" to create a shape at runtime.
Step 1
The first step is to create a new Windows Store App.

Step 2
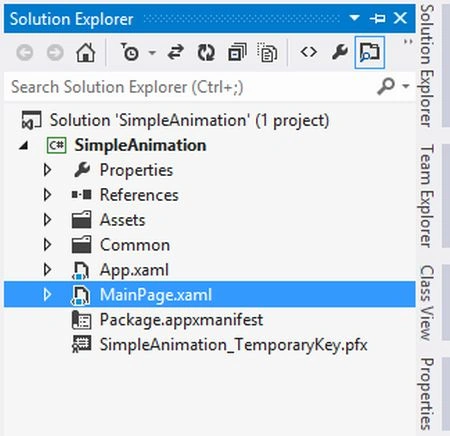
In the second step double-click on "MainPage.xaml":
Step 3
The "MainPage.xaml" is as in the follwoing code:
<Page
x:Class="SimpleAnimation.MainPage"
xmlns="http://schemas.microsoft.com/winfx/2006/xaml/presentation"
xmlns:x="http://schemas.microsoft.com/winfx/2006/xaml"
xmlns:local="using:SimpleAnimation"
xmlns:d="http://schemas.microsoft.com/expression/blend/2008"
xmlns:mc="http://schemas.openxmlformats.org/markup-compatibility/2006"
mc:Ignorable="d">
<Grid Background="{StaticResource ApplicationPageBackgroundThemeBrush}">
<Button Content="Add Item" x:Name="AddItom" HorizontalAlignment="Left" VerticalAlignment="Top" Width="150" Margin="61,286,0,0" Click="AddItom_Click"/>
<Button Content="Remove Item" x:Name="RemoveItom" HorizontalAlignment="Left" VerticalAlignment="Top" Width="150" Margin="61,358,0,0" Click="RemoveItom_Click"/>
<ItemsControl x:Name="RectItom" Margin="46,92,-46,-92">
<ItemsControl.ItemContainerTransitions>
<TransitionCollection>
<RepositionThemeTransition/>
</TransitionCollection>
</ItemsControl.ItemContainerTransitions>
<ItemsControl.ItemsPanel>
<ItemsPanelTemplate>
<WrapGrid Height="400"/>
</ItemsPanelTemplate>
Comments
Join the conversation! Your thoughts help the community grow.