

Creating a simple calculator in Expression Blend
Hi Guys, in this article you will learn how to create a simple calculator in Expression Blend. It is as simple in designing as complex in logical coding. While designing a calculator the only thing to b e kept in mind is the general logic behind every button click and all the possibilities that arise to perform the actions of adding, multiplying, dividing and subtracting.
A few things that is to be kept in mind while coding for the calculations is :
- Text is able to hold the value respective to the button clicked.
- When a number of more than single digit is being used for calculation the text box should be capable of receiving the complete pack of all the digits of a single number i.e. if "1234" is to be entered the text box should hold all digits of 1234 rather than a single digit at a time.
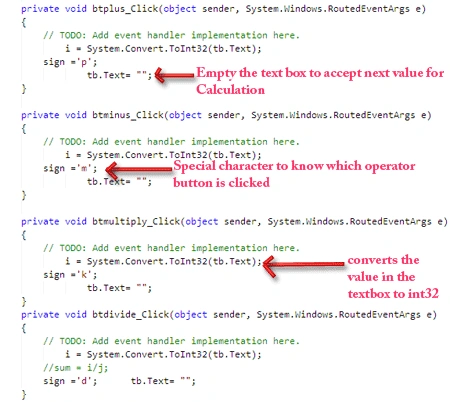
- When operator buttons( +,-,*,/) are pressed the text box should turn empty to hold next number.
That's pretty much enough to let the application run well. So lets start with the application. Follow the steps below.
Step 1 : Create a new WPF project and name it as "Creating a simple Calculator".

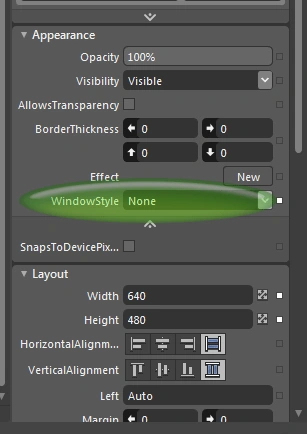
Step 2 : Now In order to give the calculator a better look select the window form the object and timeline palette then go to the appearance property and select the Window Style property to None. This removes the default tools and look of window to a simple one.
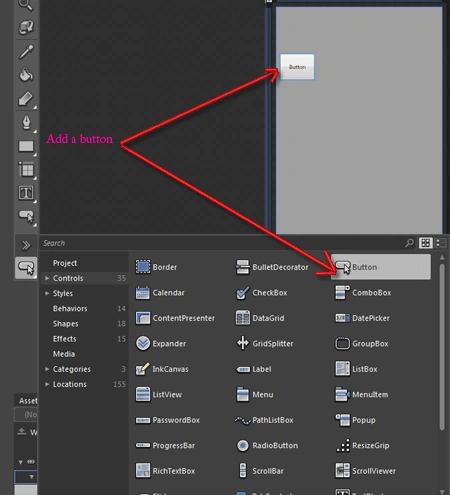
Step 3 : Now add buttons to the layout, for this go to the toolbox or assets and select button and drag it on the artboard. After adding the button go to the selection tool and re size the button according to your wish.
Step 4 : After resizing the button hold the alt button and drag the button to add more button to the artboard, this actually is the short way of copying the control. You can also select many buttons and hold alt button and copy all of them. Bring out the below arrangement of the buttons in your artboard to make it appear more like a calculator.

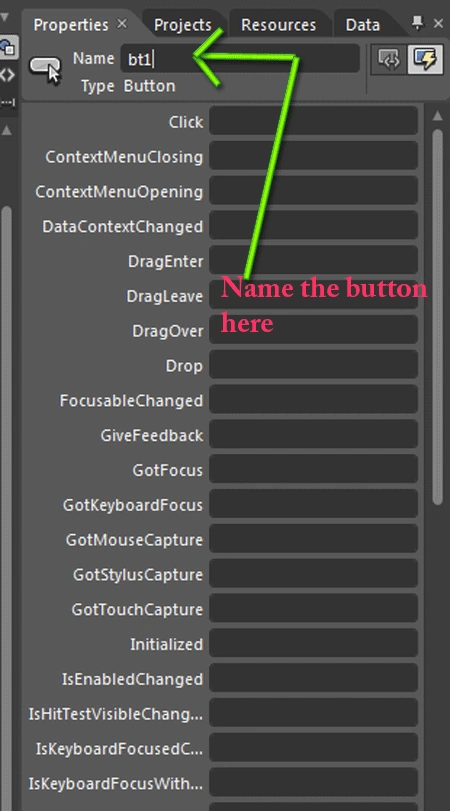
Step 5 : After adding the buttons you have to name the buttons for ease in reference. For this select the button and in the property window type the name of the button at the top of the property window in front of name keyword.
After naming the buttons give the look and feel to the buttons by editing the color, Gradient, Style, etc property of the buttons. I have set the properties to make the buttons look up like this :

Step 6 : Add text on all the buttons by double clicking on the buttons and typing in it the respective number on each button from 1 - 9 and 0. Also One more important thing is to add an Exit button to close the application as the window will now not contain any button to close the application so we have to manually create an exit button. For this add a button and name it as "Exit", then go to the Event property of the button and on the Click event type the name (whatever you like to) of the event and press Enter. The below Figure makes it more clear.

After you press Enter the code behind screen appears and cursor rests on a method which has the same name as that you typed in the click event. In this method write this lines, Here the method is Exitcalculator() :
using System;
using System.Collections.Generic;using System.Text;
using System.Windows;
using System.Windows.Controls;
using System.Windows.Data;
using System.Windows.Documents;
using System.Windows.Input;
using System.Windows.Media;
using System.Windows.Media.Imaging;
using System.Windows.Shapes;
namespace creating_simple_calculator_in_blend
{
/// Interaction logic for MainWindow.xaml
/// </summary>
public partial class MainWindow : Window
{
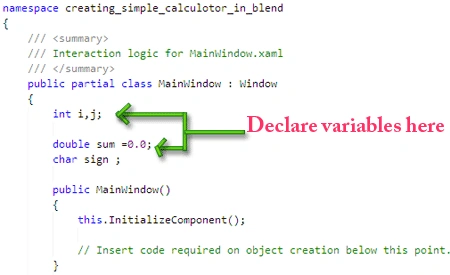
int i, j;
double sum = 0.0;
char sign;
public MainWindow()
{
this.InitializeComponent();
// Insert code required on object creation below this point.
}
private void Exitcalculator(object sender, System.Windows.RoutedEventArgs e)
{
// TODO: Add event handler implementation here.
this.Close();
}
}
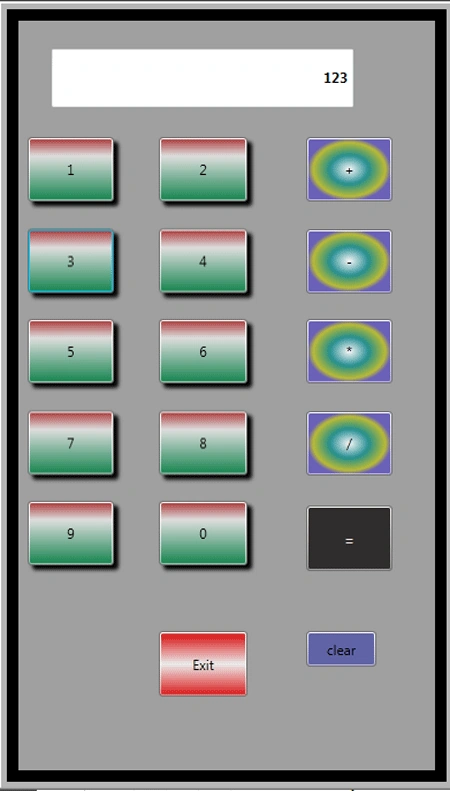
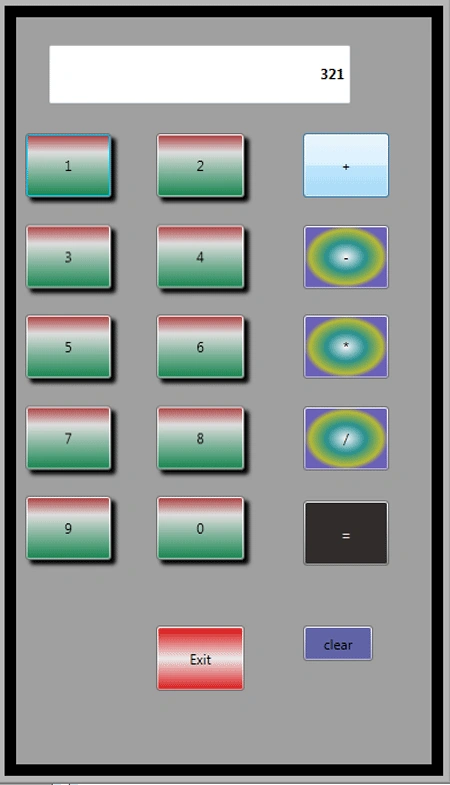
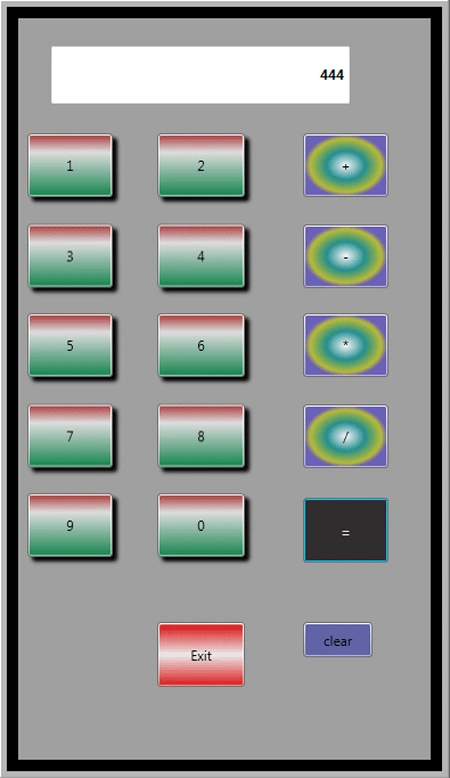
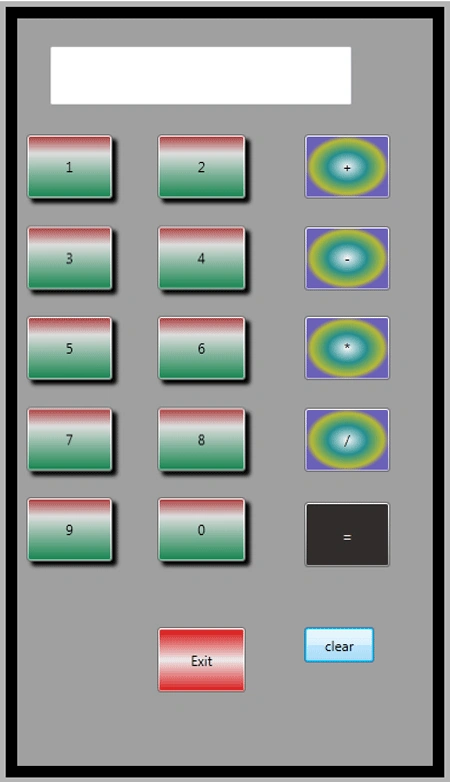
kuldeep mishraPosted Oct 5, 2012, 2:03 PM
Thanks 4 the help .Nice illustrations