Introduction
Run Application provides us quick access to the programs and files in the Windows operating system.
What is Run Application?
Run Application is a functionality provided by the Windows OS to gain quick access to any program, folder, or file. The shortcut key used to open Run Application is Windows Key+ R. Enter the name of any program or path of any file in the textbox then click on OK. It will open that program or file directly.
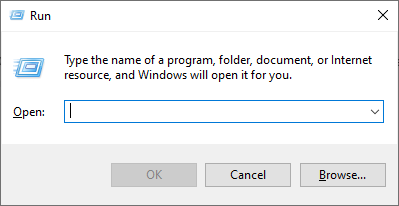
Figure-1
The Run Application of Windows OS is shown in Figure-1.
Creating Windows Forms App
To create Windows Forms App steps are given below.
- Open Visual Studio Code
- Create a new project
- Select Windows Forms App(.Net Framework) template and click on Next.
- Select the proper name of the project and click on Create.
- Now your form should look like as given in figure-2.
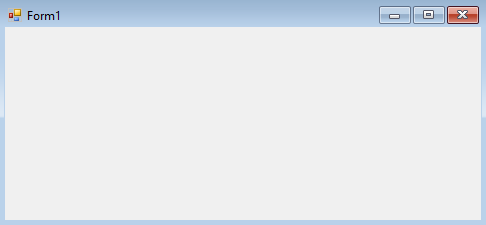
Figure-2
Components we will be using from Toolbox
- A Label
- A Textbox
- Three buttons OK, Cancel, and Browse
- An OpenFileDialog for Browse button
We will add each of the components one by one.
1. Adding a Label
Labels are used to show any text on the Window Forms. If we want to add any text to our form then we use the Label component from the toolbox. Steps to add Label are given below
- Click on the Toolbox on the right side of the form.
- Select Label and drag it to the form design.
- Now change the text inside the label as given in figure-3.
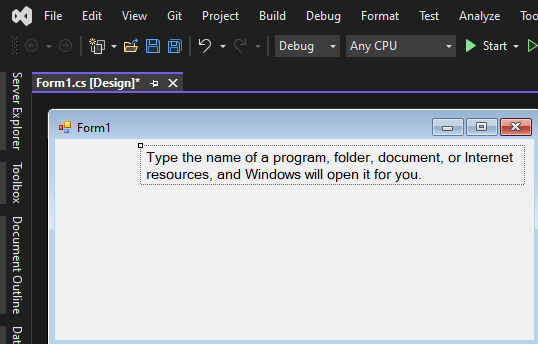
Figure-3
Figure-3 shows the label we have added.
2. Adding a TextBox
The Textbox component is used to input any text at runtime in the form. Steps to add Textbox are given below
- Again click on the Toolbox.
- Select Textbox and drag it to the form design.
- Now change the size according to the Textbox as given in figure-4.
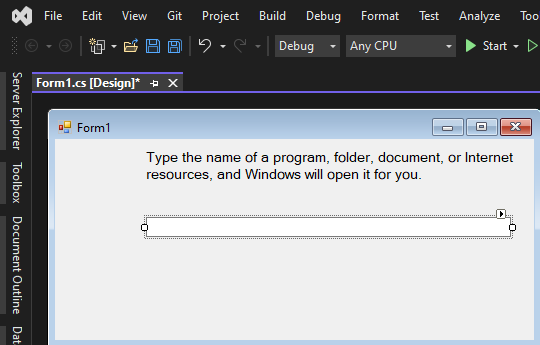
Figure-4
3. Adding three Buttons
Buttons are used to perform actions on the form like submitting the form, closing the form, etc. To add button steps are given below
- Again click on Toolbox.
- Select Button and drag it to the form design.
- Copy the Button two times and place them as given in figure-1.
- Change the text of the Buttons as given in figure-5.

Figure-5
4. Adding an OpenFileDialog
OpenFileDialog is a dialog component used to open files at runtime. To add OpenFileDialog steps are given below
- Again click on Toolbox
- Select OpenFileDialog and drag it to the form design.
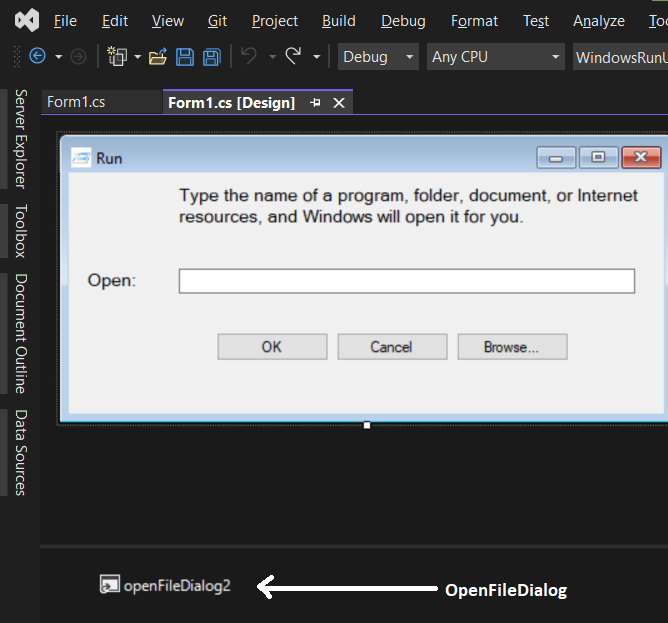
Figure-6
As given in figure-6 we have selected an OpenFileDialog.
Adding Events to the Buttons
Now we will be adding OnClick events to the buttons. All the three buttons have different functions and according to that, we will be adding events to them.
1. Adding Event to the OK Button
OK button is used to open the given program name in the textbox. To add the event to the OK button double click on the button and add the below-given code.
 private void button1_Click_1(object sender, EventArgs e)
 {
   Process.Start(textBox1.Text); //Process.Start() is used to start the given process in textbox
 }
In the above code Process.Start() is used to start the given process. Process class comes under System.Diagnostics namespace. Start is a method of Process class. We are passing the text from the textbox1 inside the Start method.
Output
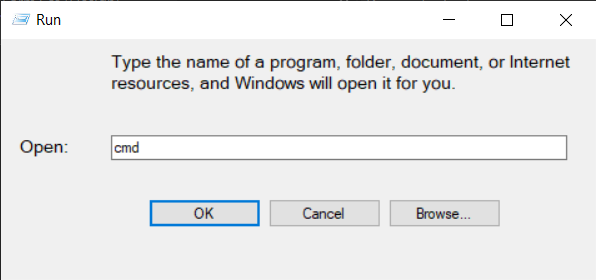
Figure-7
As given in figure-7 enter cmd in the textbox and click OK.
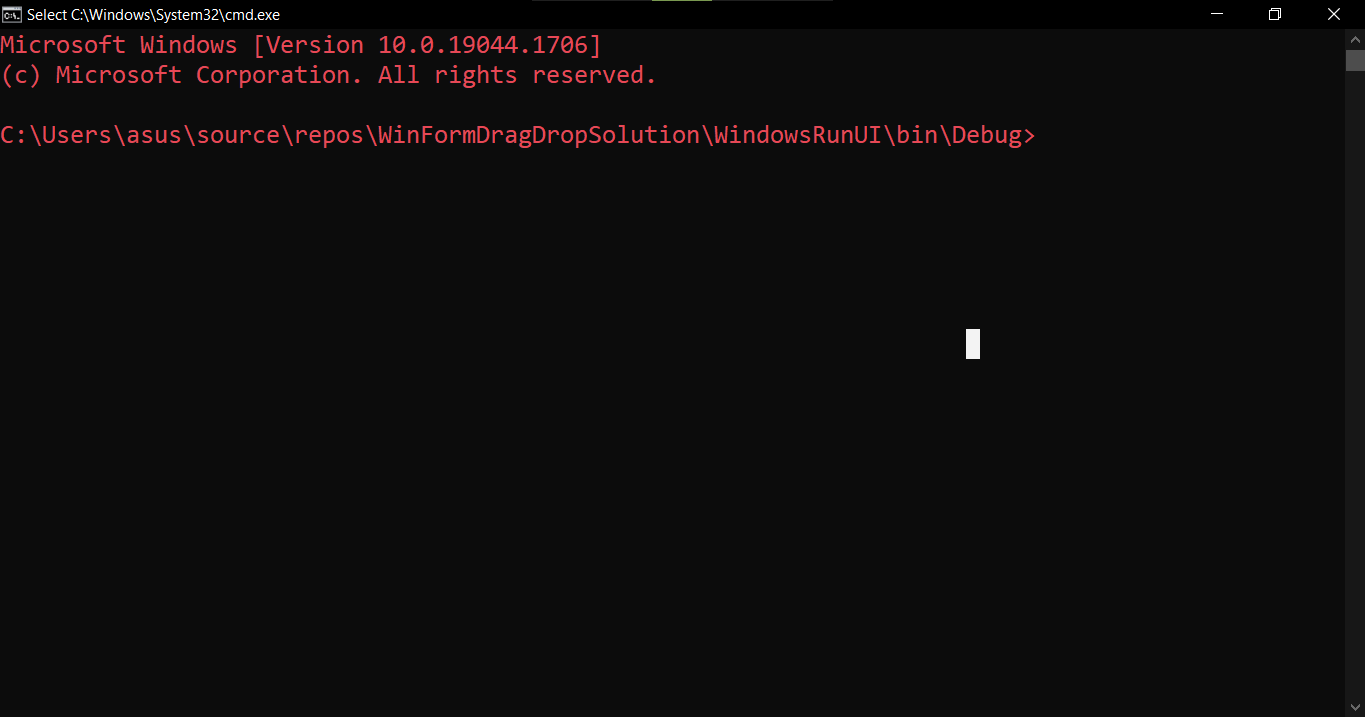
Figure-8
It will open the command prompt as given in figure-8.
2. Adding the Event to the Cancel Button
The Cancel button is used to close the application. To add the event to the Cancel button double click on the button and add the below-given code.
 private void button2_Click_1(object sender, EventArgs e)
 {
    Application.Exit(); //Application.Exit() is used to exit the application
 }
In the above code Application.Exit() is used to close the application. Exit is a method of the Application class.
Output
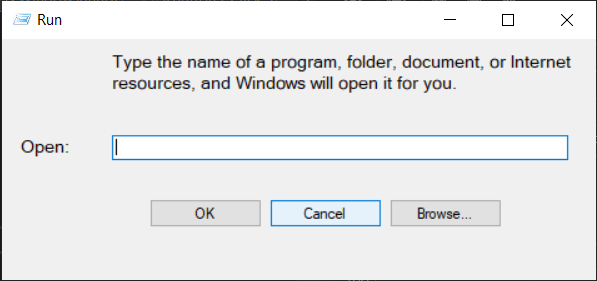
Figure-9
After clicking on Cancel we will be redirected to the code.
3. Adding the Event to the Browse Button
The Browse button is used to give the file path to the textbox so that we do need not type manually in the textbox. To add an event to the Browse button double click on the button and add the below-given code.
 private void button3_Click_1(object sender, EventArgs e)
 {
   openFileDialog2.ShowDialog();     //used to open the dialog

   textBox1.Text = openFileDialog2.FileName; //it gives the path to the textbox from dialog
 }
In the above-given code, openFileDialog2.ShowDialog() is used to open the fileDialog. openFileDialog2.FileName return the file path to the textbox.
Output:
After clicking on the Browse button OpenFileDialog will open as given in figure-10.
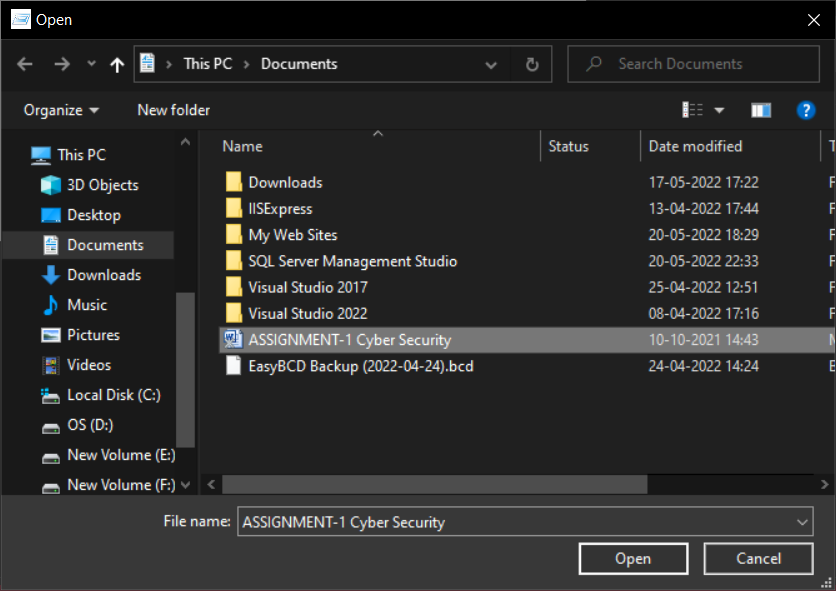
Figure-10
Now select the file and click on Open. You will get the file path in the textbox as given in figure-11.
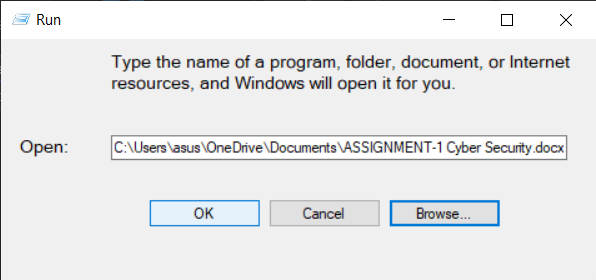
Figure-11
We have got the path of the file in the textbox. Now click on the OK button and the file will be open.
Article In a Nutshell
- Create a Windows Forms App first.
- Add all the Toolbox components in the form as given in figure-1.
- First, add Label at the top, then Textbox, and then three Buttons.
- Now add functions in all the buttons.
- Process.Start() is used to start any given command in a textbox.
- Application.Exit() is used to exit the application process.
- ShowDialog() is used to show the openFileDialog box.
- FileName() gives the path of the file to the textbox.
Thanks for reading this article. Hope you liked it.