

An Azure virtual network (VNet) is a representation of your own network in the cloud. You can control your Azure network settings and define DHCP address blocks, DNS settings, security policies, and routing. You can also further segment your VNet into subnets and deploy Azure IaaS virtual machines (VMs) and PaaS role instances. In the same way, you can deploy physical and virtual machines to your on-premises datacenter. In essence, you can expand your network to Azure, bringing your own IP address blocks.
Source
Step 1
Login into Microsoft Azure (https://portal.azure.com) portal with your credentials.
Step 2
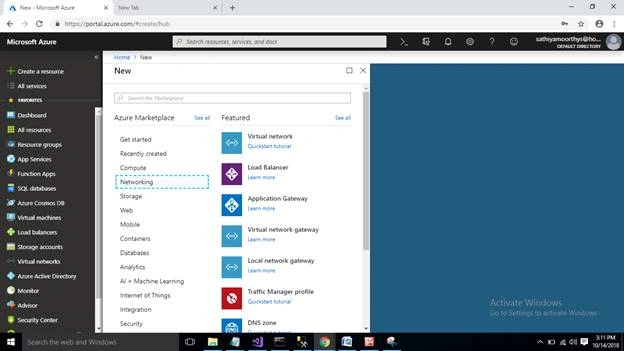
Click on the Create resource button on the left side blade.
Step 3
Select Networking Option and then Click on the Virtual network button.
Step 4
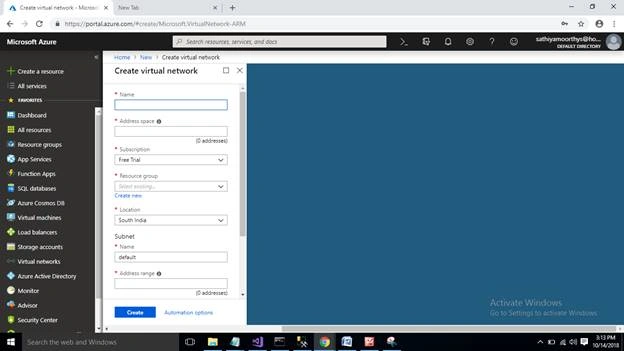
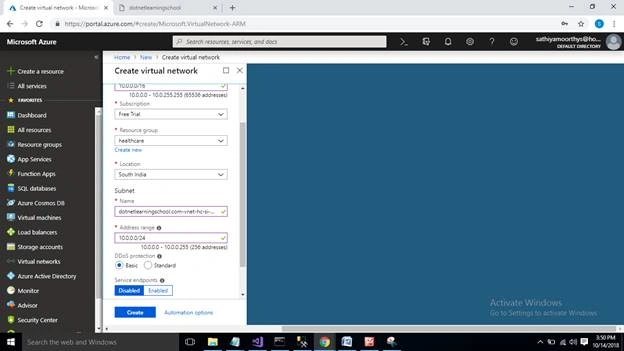
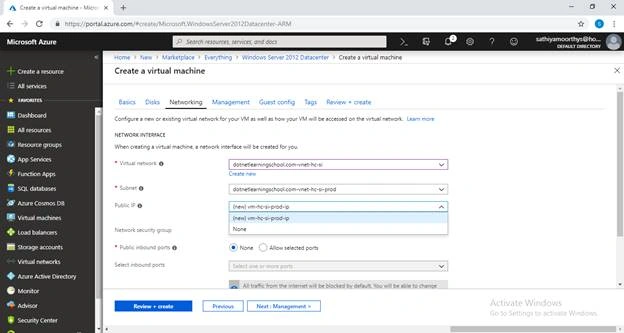
Enter the unique name for the virtual network “dotnetlearningschool.com-vnet-hc-si” (domain –vnet-horizontal group-region)
Step 5
Enter the IP address for the above-mentioned vnet.
Step 6
Select yourAzuree subscription account as of now I am using “Free Trial” account.
Step 7
Create a new/select existing resource group.

Step 8
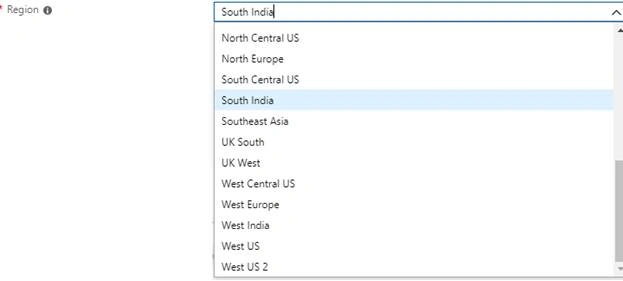
Select any region from location drop-down; here I have selected “South India.”
Step 9
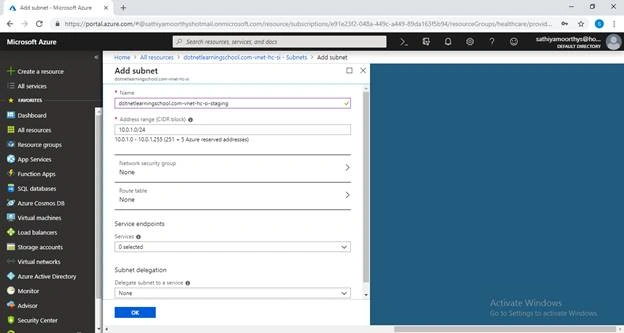
Enter the name for subnet and enter the IP address for the same.
Step 10
Click on the Create button.
Step 11
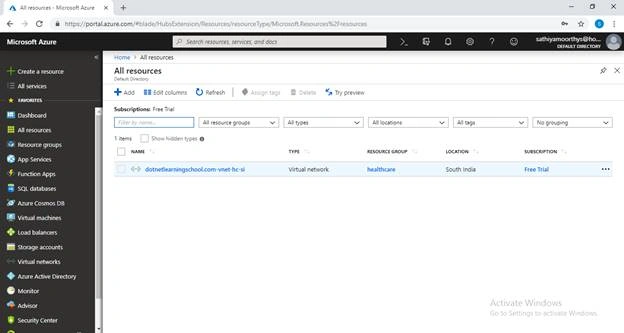
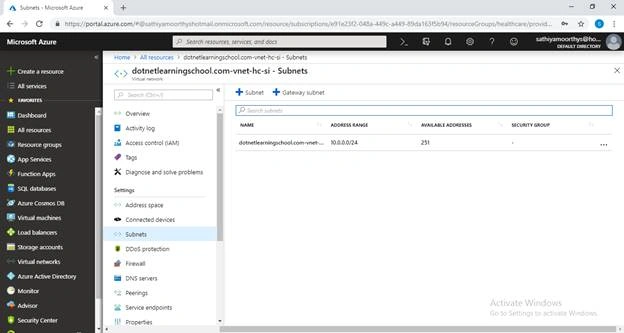
Once vnet is created we will be notified from the Notification Window. Then Click on the Go to resource button in the Notification Window or click on the All resources button in right side blade.

Step 12
Click on the All resources button on the right side blade, then you will get a list of resources.

Join the conversation! Your thoughts help the community grow.