

Introduction
In this article, I will explore how to create a custom left navigation using Out-of-Box, without custom development.
As we know that there are a lot of ways of creating left navigation, here you will see a new approach for creating a custom left navigation in SharePoint 2013.
Scenario
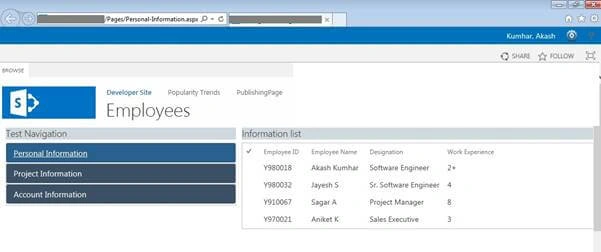
There may be a requirement where we have to create multiple Views of the same list and the names of the Views are given on the left-hand side, like the left navigation. And when we click the links on the left navigation, we get directed to their respective pages on the site.
Solution
Step 1 Creation of lists
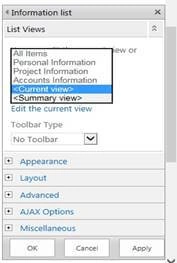
- Here, I have created a custom list (Information List) and the following three Views on the list: Personal Information, Project Information, Accounts Information.
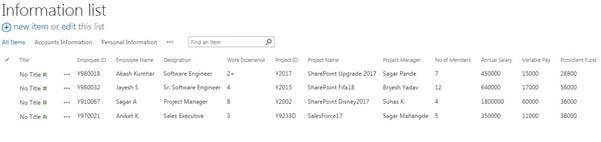
Step 2 Creation of pages
- Click on the gear at the top right of your site and add a page. We are creating pages in the Pages library and not Site Pages.
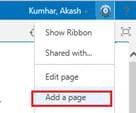
- Give the name of the page (I would recommend that the name of the page should be similar to the name of View you created in the Information List) and "Create".
- Create the pages for all the Views in the list, whose link you need in the left navigation.
- Once the page is created, you will see a blank page. Now, we need to add a layout “TwoColumnLeft” to the page.
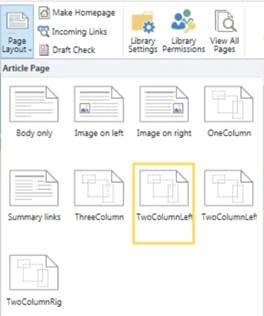
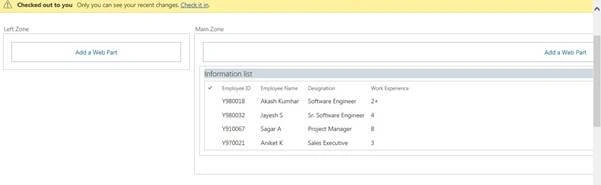
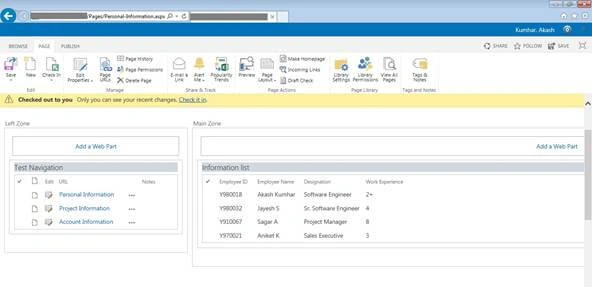
- After adding the Layout, you will see two zones - Main Zone and a Left Zone.

Step 3 Adding Custom List on created pages as webparts
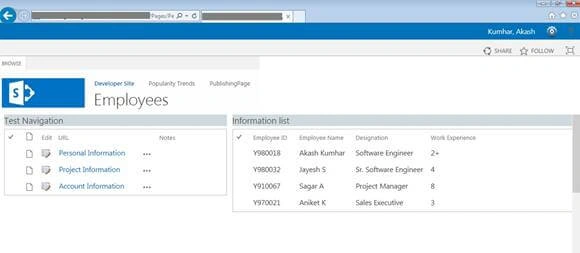
- Add Information List as a webpart in the Main Zone. Click "Add Webpart" and select the List under Apps.
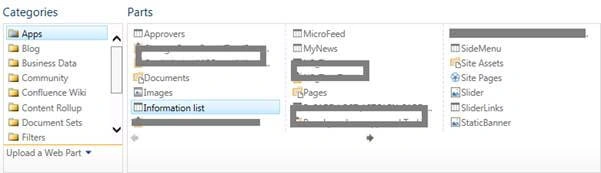
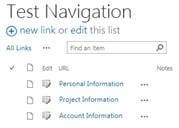
 template.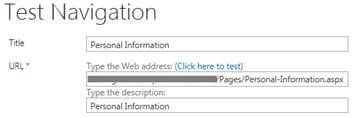
Kiran Kumar TalikotiPosted Sep 9, 2017, 3:17 AM
great article.. helpful for me
Sagar PardeshiPosted Sep 4, 2017, 4:29 AM
Good article Akash...Move on..