

In the previous article, we deployed a Windows VM using the managed disk. In this article, we are going to see how we can deploy a VM using an unmanaged disk. For demo purpose, I am using a Linux VM instead of Windows here. It is for an easy administration. Microsoft introduced the concept of managed disks as it is difficult to manage different storage account in case of more number of servers. That’s why even when you look at the storage accounts section, you can’t find a storage account in case of a VM running by managed disks because it is managed by them.
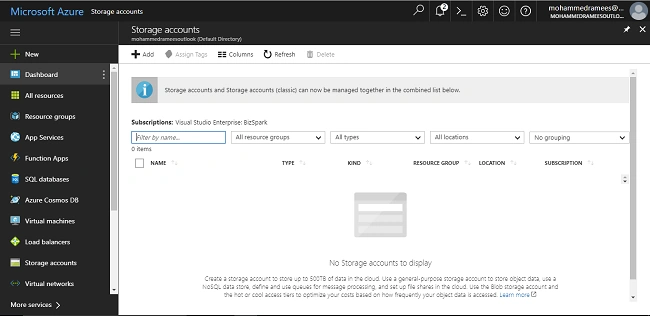
It is possible for you to create a storage account during the creation of the VM itself but here, I will create one first and then the VM.
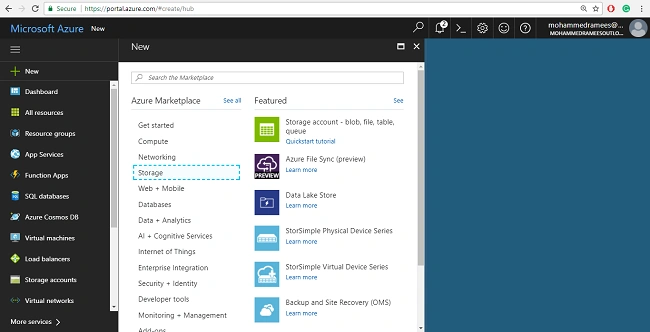
Click on New >> Storage and then select the Storage account.
You have to provide a fully qualified domain name for storage account that lives under core.windows.net. Then, we have to select the deployment model which I am selecting Resource Manager, the default one and recommended.
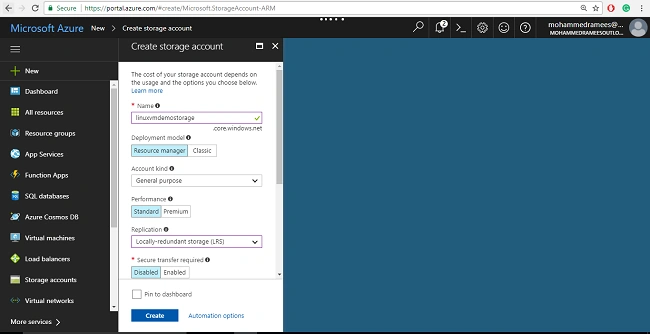
Click on "Create" and after a few seconds, you will get a notification of completeness. On selecting it, you can view the settings for the same.
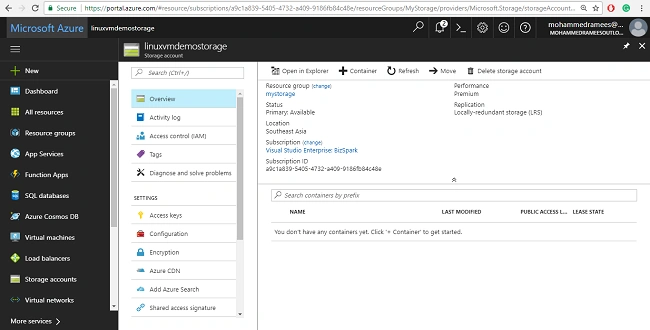
If you look over here, you can see no containers. So, when you try to deploy a virtual machine and say, they use this storage account, the system will build a container in here and it'll put the VHDs in there.
Next, we have to create the VM. For that, I am going to New >> Compute and then select Ubuntu Server this time, which has only one difference from the previous article - authentication where we can have either SSH Public Key authentication or Password.
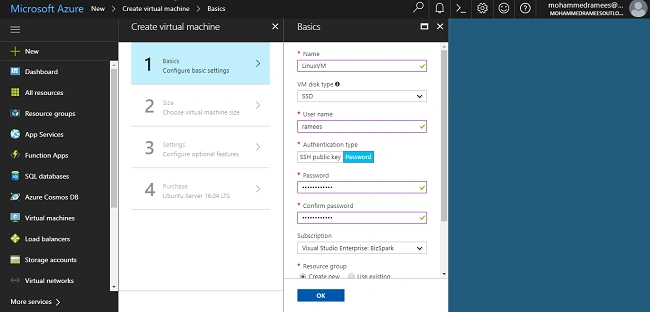
Choose a size according to your requirements and in the third step, select No for Managed Disks which will prompt for selecting the storage account from which you can select the storage account we created.
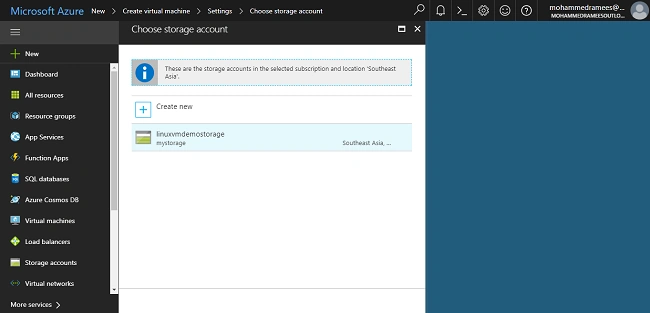
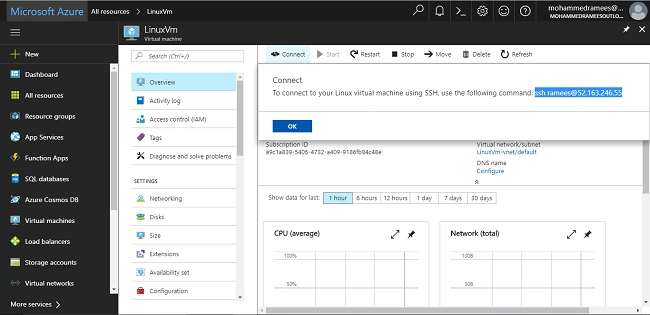
There is an option for creating a new one right here if we haven’t created earlier. Select it and disable the boot monitoring, keeping the remaining as it was, and complete the final validation. As like a Windows Server, we're not going to download an RDP file for our Linux server instead of using SSH command to SSH in.
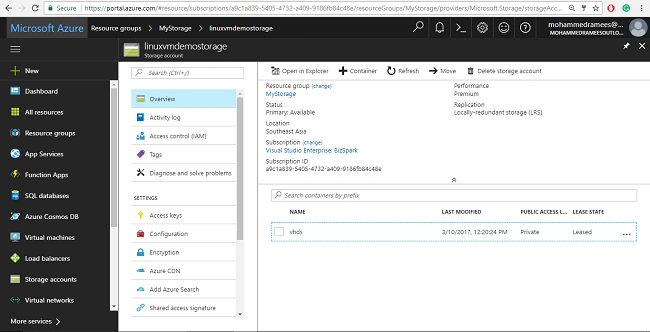
In the storage, you can see that a VHDs container has been added which was not there before deploying the Virtual Machine.
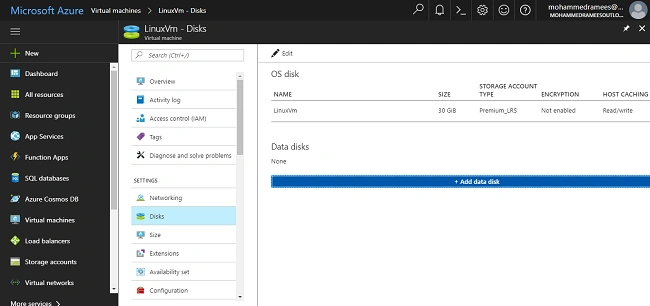
And in the VM disk section, you can see it has created an OS disk. You can add additional data disks as per your requirement.
Join the conversation! Your thoughts help the community grow.