

This implementation is a “basic-item” of our own apps. Now, I’m going to show you the code.
UWP
- Create a new solution in UWP.
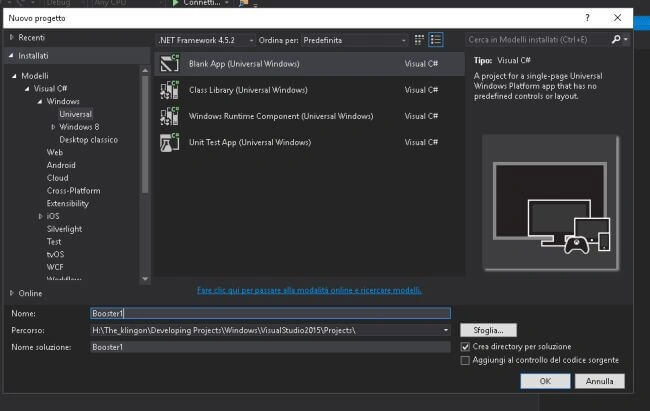
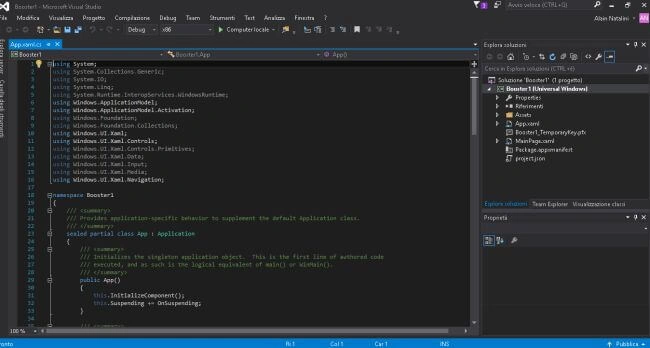
- We’ll have the environment, given below-
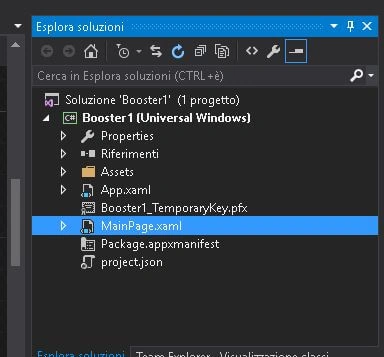
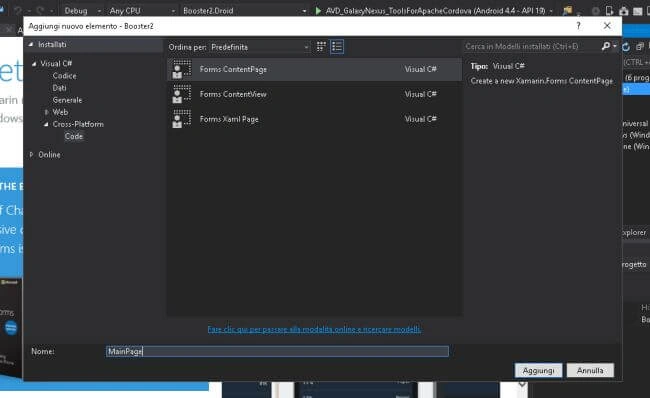
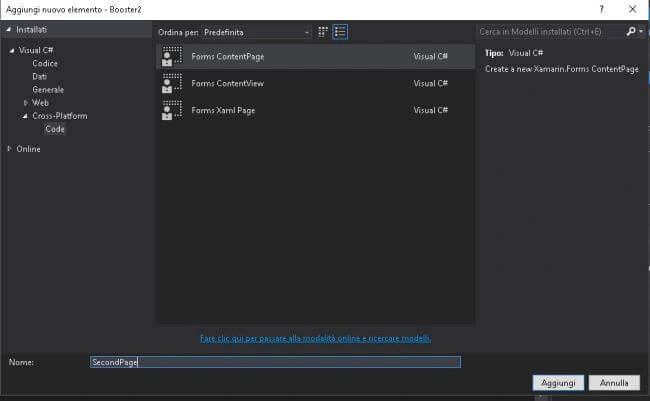
- Add a second page. Right click on the name of the project -> add new item -> blank page (name it SecondPage).
- Now, we are ready to write the code. Double click on MainPage.xaml.
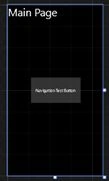
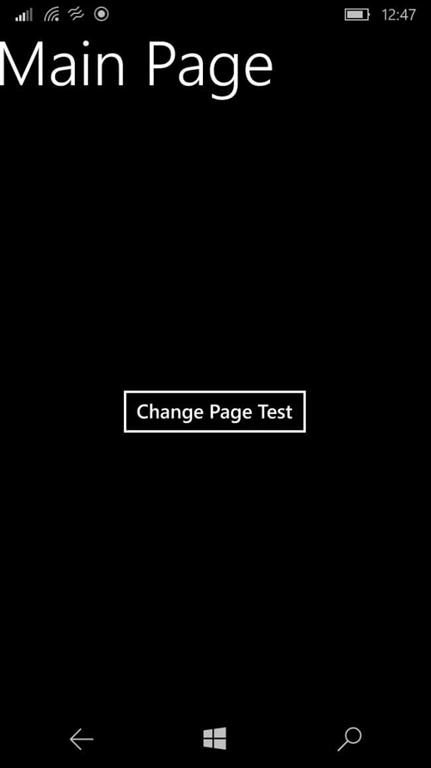
- Now, we are going to replace the auto generated code. Write the code, given below-The output is given below-
- <Page x:Class="Booster1.MainPage" xmlns="http://schemas.microsoft.com/winfx/2006/xaml/presentation" xmlns:x="http://schemas.microsoft.com/winfx/2006/xaml" xmlns:local="using:Booster1" xmlns:d="http://schemas.microsoft.com/expression/blend/2008" xmlns:mc="http://schemas.openxmlformats.org/markup-compatibility/2006" mc:Ignorable="d">
- <Grid Background="{ThemeResource ApplicationPageBackgroundThemeBrush}">
- <TextBlock x:Name="FirstPage" Text="Main Page" HorizontalAlignment="Left" VerticalAlignment="Top" Height="60" Width="250" FontSize="40" />
- <Button x:Name="button" Content="Navigation Test Button" HorizontalAlignment="Center" VerticalAlignment="Center" Height="95" Width="187" Click="button_Click" />
- </Grid>
- </Page>
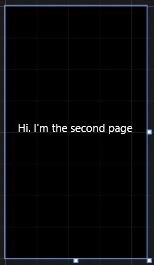
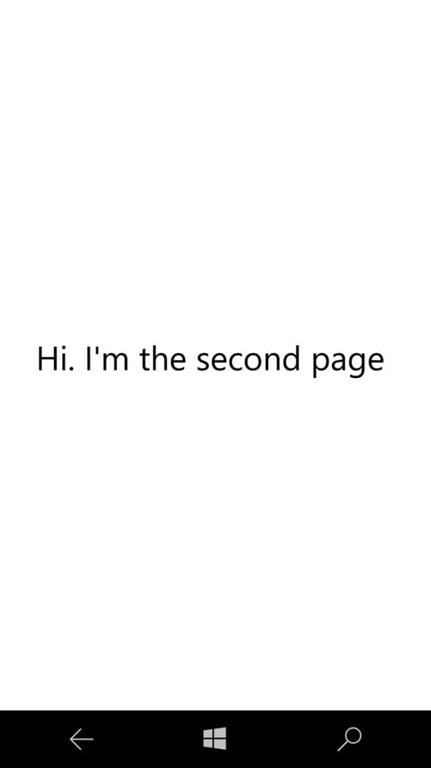
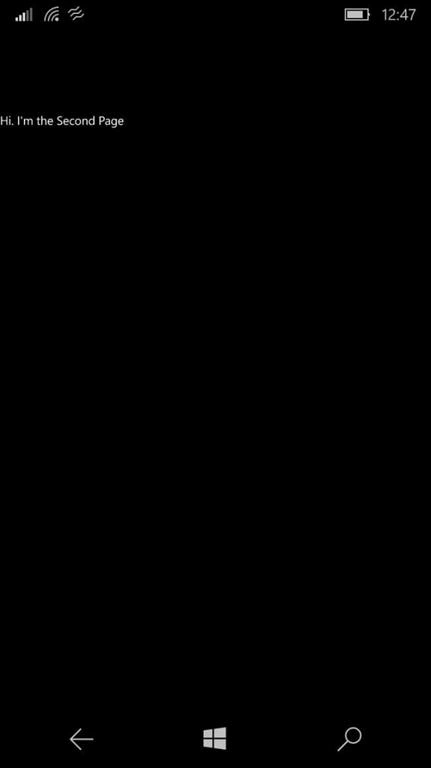
- Now, we’ll write the customized code for the second page. Double click on SecondPage.xaml. Delete the auto generated code and write the code, given below-The output is given below-
- <Page x:Class="Booster1.SecondPage" xmlns="http://schemas.microsoft.com/winfx/2006/xaml/presentation" xmlns:x="http://schemas.microsoft.com/winfx/2006/xaml" xmlns:local="using:Booster1" xmlns:d="http://schemas.microsoft.com/expression/blend/2008" xmlns:mc="http://schemas.openxmlformats.org/markup-compatibility/2006" mc:Ignorable="d">
- <Grid Background="{ThemeResource ApplicationPageBackgroundThemeBrush}">
- <TextBlock x:Name="Main Page" Text="Hi. I'm the second page" HorizontalAlignment="Center" VerticalAlignment="Center" Height="60" Width="300" FontSize="28" />
- </Grid>
- </Page>
- Now, we’ll write the code at the backend to manage the logic. Open MainPage.xaml.cs by splitting the MainPage.xaml node and double click on the name of file.
- Delete the code and write the following (bold blue for the most important line)-
- using System;
- using System.Collections.Generic;
- using System.IO;
- using System.Linq;
- using System.Runtime.InteropServices.WindowsRuntime;
- using Windows.Foundation;
- using Windows.Foundation.Collections;
- using Windows.UI.Xaml;
- using Windows.UI.Xaml.Controls;
- using Windows.UI.Xaml.Controls.Primitives;
- using Windows.UI.Xaml.Data;
- using Windows.UI.Xaml.Input;
- using Windows.UI.Xaml.Media;
- using Windows.UI.Xaml.Navigation;
- // The Blank Page item template is documented at http://go.microsoft.com/fwlink/?LinkId=402352&clcid=0x409
- namespace Booster1 {
- /// <summary>
- /// An empty page that can be used on its own or navigated to within a Frame.
- /// </summary>
- public sealed partial class MainPage: Page {
- public MainPage() {
- this.InitializeComponent();
- }
- private void button_Click(object sender, RoutedEventArgs e) {
- this.Frame.Navigate(typeof(SecondPage));
- }
- }
- }
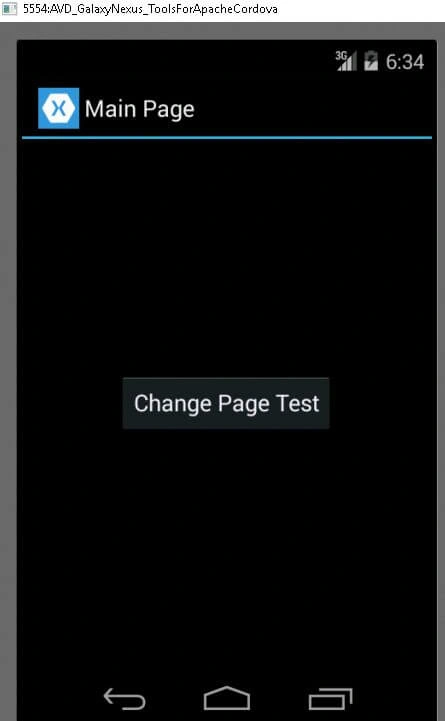
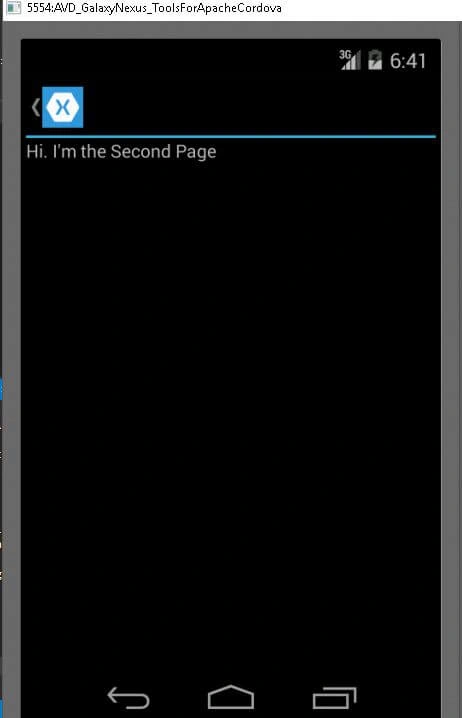
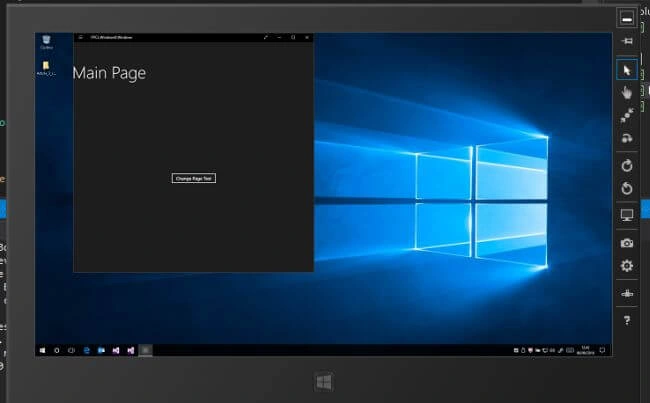
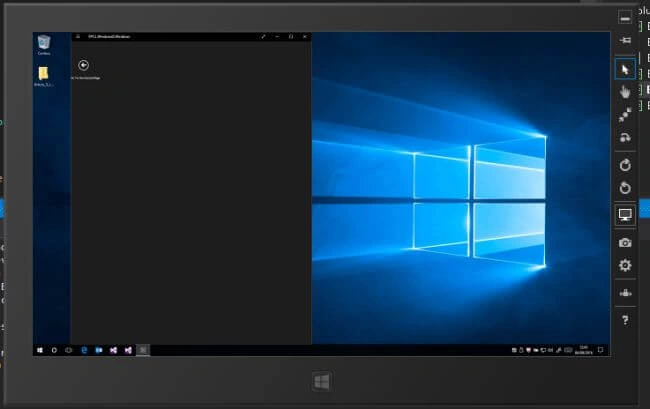
- Now, if we worked well, we’ll have, after the deployment (CTRL+5), the following outputs-
Windows 10 Desktop simulator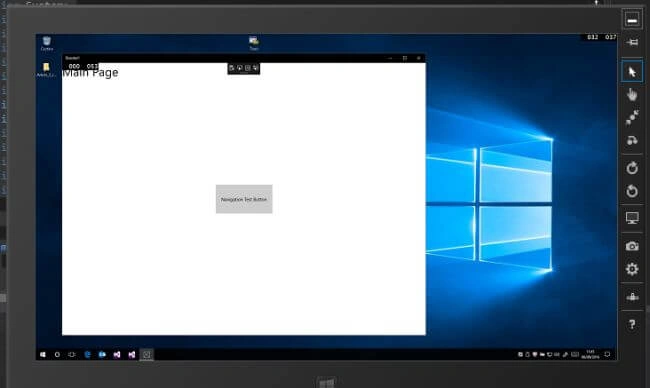
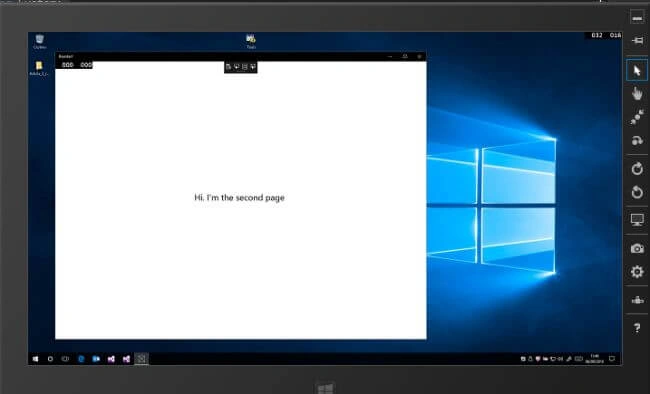
Windows 10 Mobile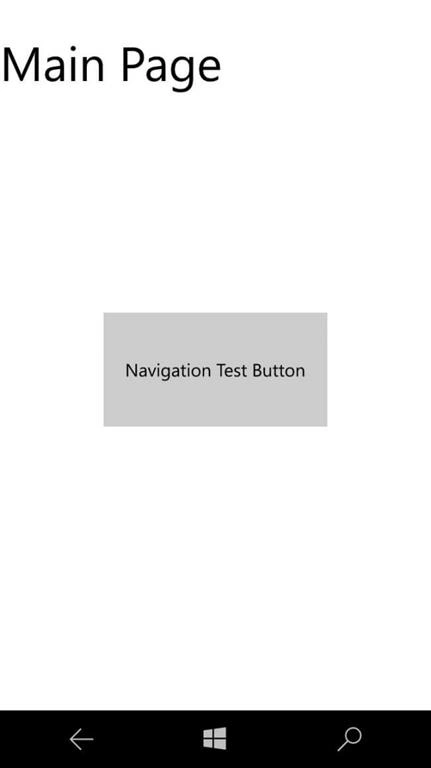
Join the conversation! Your thoughts help the community grow.