

Introduction
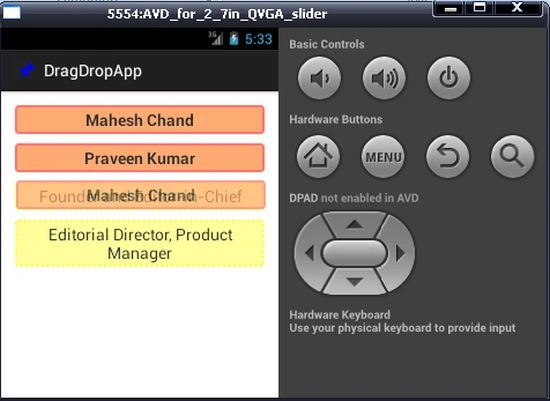
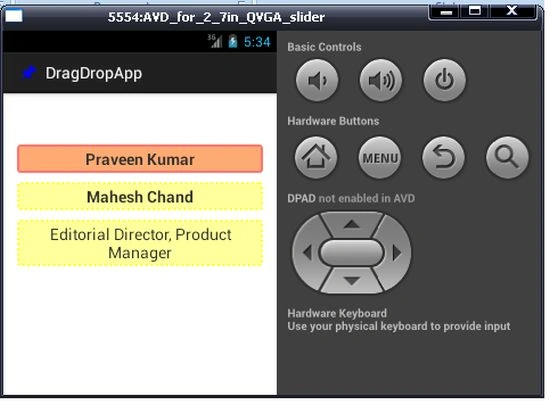
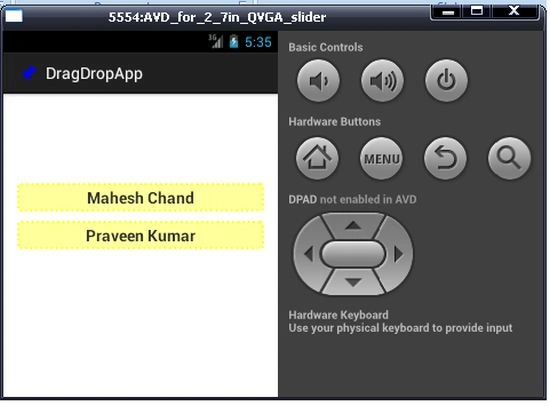
Somewhere we played a game of dragging objects to an appropriate location. We will develop something like this with the same functionality. I have created a mockup of our application.
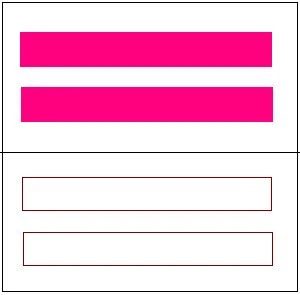 So let's start with our new application. You know very well how to create a new project and which type of parameter you need to pass. If not then visit http://www.c-sharpcorner.com/UploadFile/88b6e5/first-application-in-android-studio/.
Note: This project requires a minimum SDK version of 12 or greater.
Step 1:
Open your "values/strings.xml" file. We need to create some string resources inside it.
Strings.xml
So let's start with our new application. You know very well how to create a new project and which type of parameter you need to pass. If not then visit http://www.c-sharpcorner.com/UploadFile/88b6e5/first-application-in-android-studio/.
Note: This project requires a minimum SDK version of 12 or greater.
Step 1:
Open your "values/strings.xml" file. We need to create some string resources inside it.
Strings.xml
- <string name="intro">Place following persons in Appropriate Position.</string>
- <string name="option_1">Mahesh Chand</string>
- <string name="option_2">Praveen Kumar</string>
- <string name="choice_1">Founder and Editor-in-Chief</string>
- <string name="choice_2">Editorial Director, Product Manager</string>
Step 2:
To provide a background color effect, we need to create a custom shape and will pass this to option views. So use the following procedure.
Click on "Project" then open the "res" directory then right-click and select "New" -> "Android Resource File".
Then enter the name "option.xml" and select "drawable" from the drop-down list.
Option.xml
Step 3:
- <shape xmlns:android="http://schemas.android.com/apk/res/android"
- android:dither="true" >
- <solid android:color="#ffffaa77" />
- <corners android:radius="2dp" />
- <stroke
- android:width="2dp"
- android:color="#ffffaa77" />
- <padding
- android:bottom="5dp"
- android:left="10dp"
- android:right="10dp"
- android:top="5dp" />
- </shape>
To provide a background color effect, we need to create a custom shape and pass it to choice views. So use the following procedure.
Click on "Project" then open the "res" directory then right-click and select "New" -> "Android Resource File".
Then enter the name "choice.xml" and select "drawable" from the drop-down list.
choice.xml
- <shape xmlns:android="http://schemas.android.com/apk/res/android"
- android:dither="true" >
- <solid android:color="#ffffff99" />
- <corners android:radius="2dp" />
- <stroke
- android:dashGap="4dp"
- android:dashWidth="2dp"
- android:width="2dp"
- android:color="#ffffff00" />
- <padding
- android:bottom="5dp"
- android:left="5dp"
- android:right="5dp"
- android:top="5dp" />
- </shape>
Step 4:
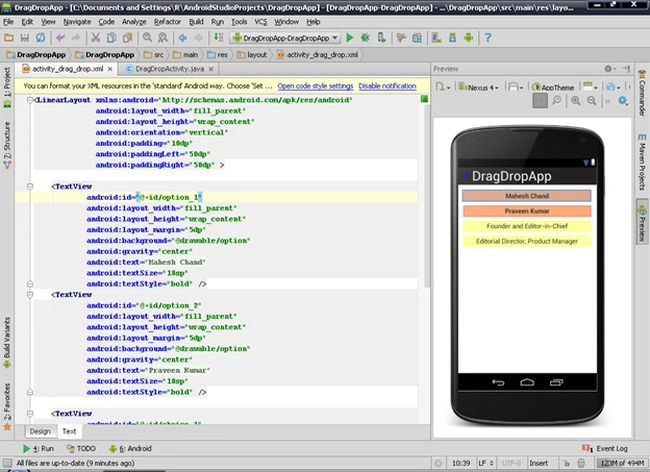
Now, open your layout file and paste in the following code.
Activity_drag_drop.xml
- <LinearLayout xmlns:android="http://schemas.android.com/apk/res/android"
- android:layout_width="fill_parent"
- android:layout_height="wrap_content"
- android:orientation="vertical"
- android:padding="10dp"
- android:paddingLeft="50dp"
- android:paddingRight="50dp" >
- <TextView
- android:id="@+id/option_1"
- android:layout_width="fill_parent"
- android:layout_height="wrap_content"
- android:layout_margin="5dp"
- android:background="@drawable/option"
- android:gravity="center"
- android:text="@string/option_1"
- android:textSize="18sp"
- android:textStyle="bold" />
- <TextView
- android:id="@+id/option_2"
- android:layout_width="fill_parent"
- android:layout_height="wrap_content"
- android:layout_margin="5dp"
- android:background="@drawable/option"
- android:gravity="center"
- android:text="@string/option_2"
- android:textSize="18sp"
- android:textStyle="bold" />
- <TextView
- android:id="@+id/choice_1"
- android:layout_width="fill_parent"
- android:layout_height="wrap_content"
- android:layout_margin="5dp"
- android:background="@drawable/choice"
- android:gravity="center"
- android:textSize="18sp"
- android:text="@string/choice_1" />
- <TextView
- android:id="@+id/choice_2"
- android:layout_width="fill_parent"
- android:layout_height="wrap_content"
- android:layout_margin="5dp"
- android:background="@drawable/choice"
- android:gravity="center"
- android:textSize="18sp"
- android:text="@string/choice_2" />
- </LinearLayout>
Comments
Join the conversation! Your thoughts help the community grow.