

This article shows how to establish a relationship between two tables in a LightSwitch application using Visual Studio 2012.
In my previous article I described how to simply create a List and Detail Screen; see: http://www.c-sharpcorner.com/uploadfile/18ddf7/creating-list-and-detail-screen-application-in-lightswitch-2/,
The following is the procedure for establishing a relationship between two tables.
Step 1
Right-click on the Application Data to add another table.
Step 2
The table appears.
Step 3
Click on the "Relationship" button placed at the top of the table designer screen. 
Step 4
The Add New Relationship dialog box appears on the screen.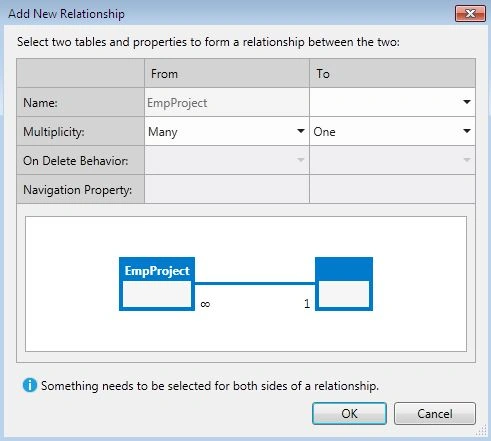
Step 5
Establish the relationship between the two tables and then click the "OK" button.
Step 6
Now we can easily see the relationship diagram.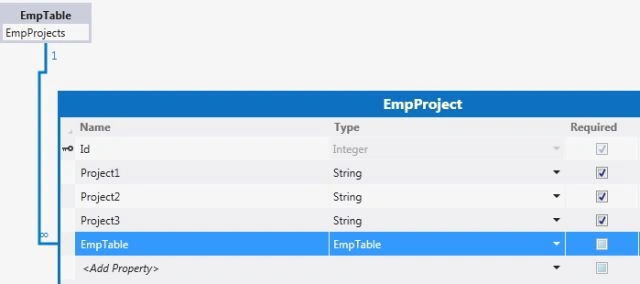
Step 7
In order to remove the previous List Detail Screen, go to the Solution Explorer and right-click on the EmpTablesListDetail screen and choose the "Delete" option.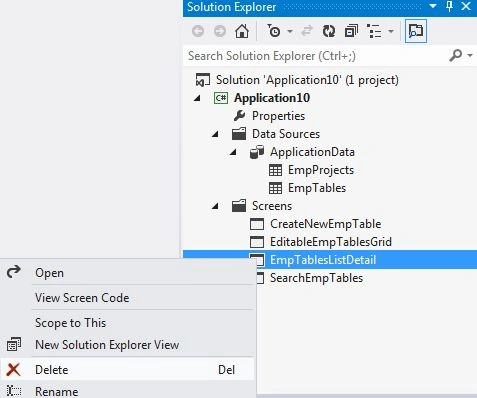
Step 8
Now once again add a new List and Detail Screen. Select all the Tables from the Screen and click the "OK" button.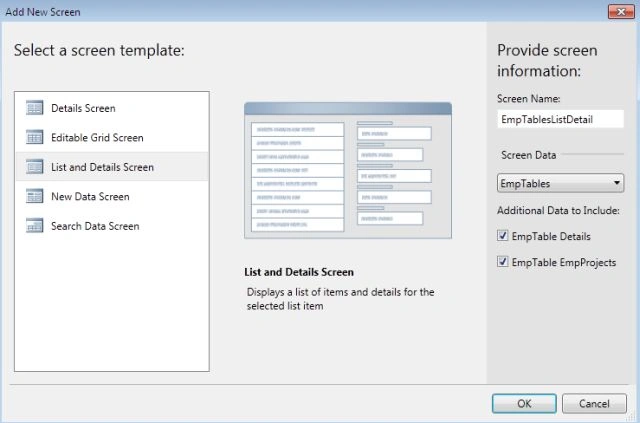
Step 9
Once you have clicked the "OK" button, the screen designer appears inside the Visual Studio IDE and we will see that the EmpProject also has been added to the screen.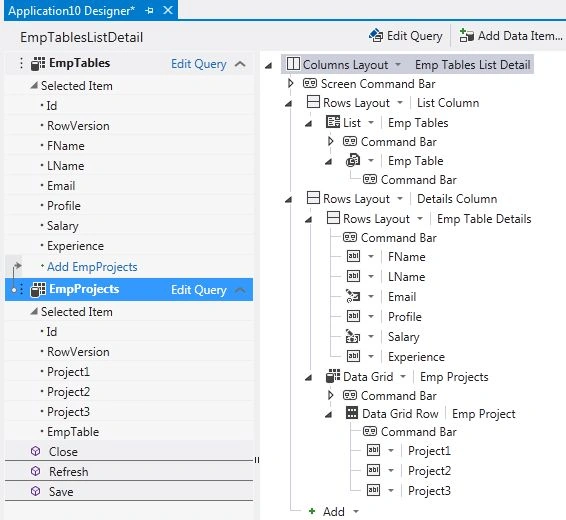
Step 10
Press F5 to run the application.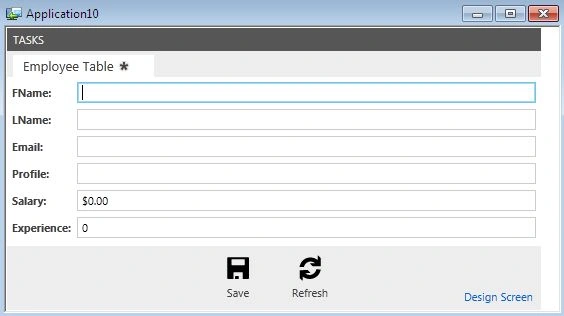
Step 11
Click on the Tasks option in the menu and choose the Emp Tables List Detail.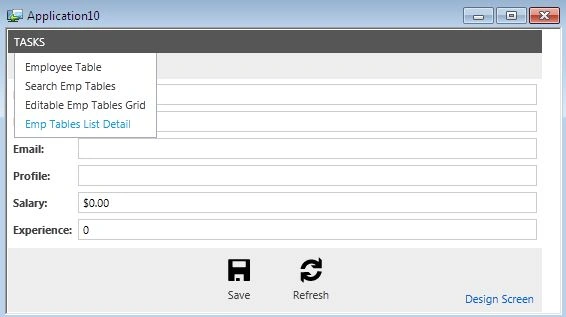
Step 12
This will open the "Emp Tables List Detail" screen as a new Tab.
The left side panel only shows the FName from the table. and the right panel, is divided into two sections. The top section shows the records of the selected one. The following section shows the records from the second table.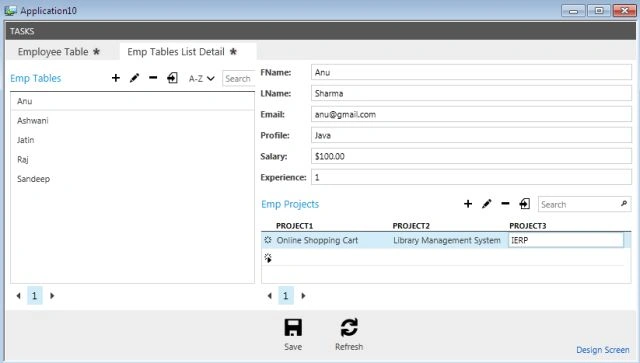
Join the conversation! Your thoughts help the community grow.