

This article explains how to fill an AutoCompleteBox with values using a LightSwitch Application (Visual C#) in Visual Studio 2012.
The following is the procedure for filling in an AutoCompleteBox with values.
Step 1
Open the Solution Explorer.
Step 2
In the Solution Explorer, right-click on the Server and choose the "Add Table" option.
Step 3
In this way we will add two tables (one is an Employee table and another is an Item table). The tables appear as in the following.
Employee Table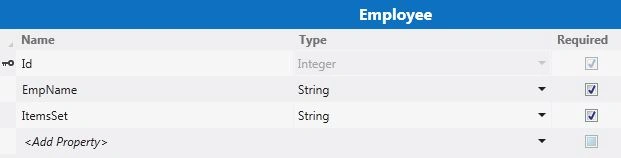
Item Table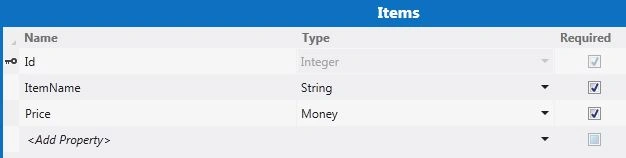
Step 4
Here, we will not add any relationship between the two tables.
Step 5
In the Solution Explorer, right-click on the Screens and choose "Add Screen".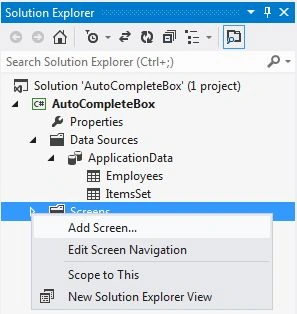
Step 6
The Add New Screen dialog box appears. Select the "New Data Screen" from the Screen Template, under screen information, choose "Employees" under screen data and provide some name to the Screen and click the "OK" button.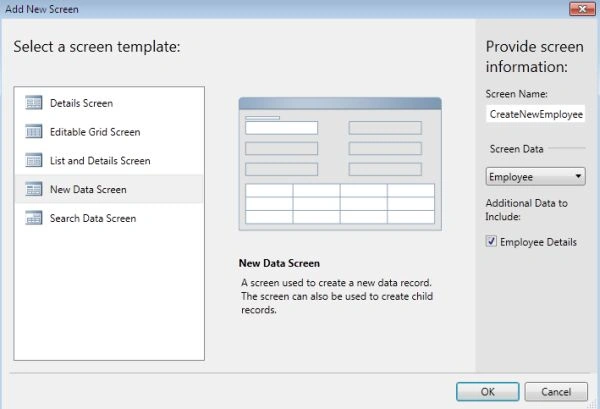
Step 7
In the Menu bar click on "Add Data Item" button.
Step 8
The "Add Data Item" dialog box appears on the screen.
Step 9
Now we will delete the ItemsSet TextBox from the screen.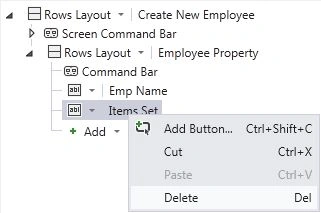
Step 10
After deleting, the Solution Explorer will look as in the following:
Drag the prop node from the left side and put it onto the screen.
Step 11
In the menu bar, click on "Write Code"; a drop down list will appear and choose the "_Saving" method.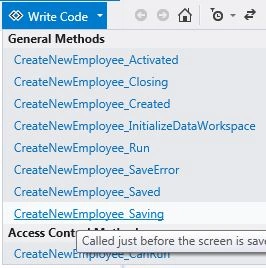
using System;
using System.Linq;
using System.IO;
using System.IO.IsolatedStorage;
using System.Collections.Generic;
using Microsoft.LightSwitch;
using Microsoft.LightSwitch.Framework.Client;
using Microsoft.LightSwitch.Presentation;
using Microsoft.LightSwitch.Presentation.Extensions;
A APosted Nov 7, 2017, 4:19 AM
How can i do the opposite, i.e. set the autocomplete box to a value in the database.