

Introduction
In this article, we deal with images using the GUI Builder to produce source code for including and displaying the image on our application. This article will introduce you to how the NetBeans IDE functions for including an image and how it works on an image.
Step 1:
Create the project using the following procedure:
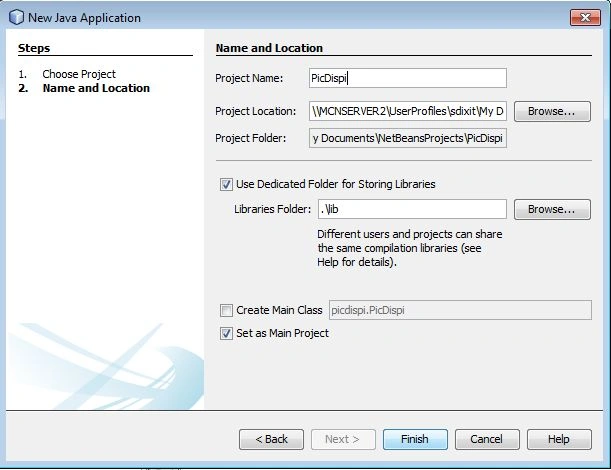
- Select "File"->"New Project"
- A window named "New Project" will appear before you.
- Select "Java" in categories and "Java Application" in project.
- Write the name of your project as "PicDisp".
- Unmark the Create Main Class checkbox, and click the button "Finish".
Step 2:
Use the following procedure to create the JFrame Form:
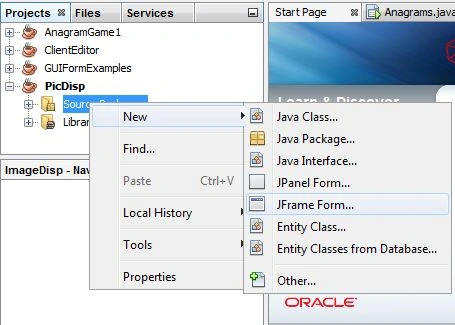
- Expand the "PicDisp" node in the project window.
- Right-click on the "Source Package" node and Select "New" -> "JFrame Form" from the popup menu.
- Write the class name as "PicDisp" and the Package name as "org.me.mypicdisp".
- Finally, click on the button "Finish".
Adding Jlabel to the Form
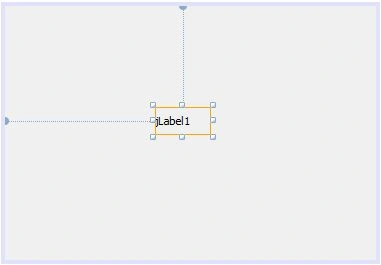
To add a Jlabel to the Form, from the palette window select "Label" and then drag it to the frame. The screenshot is as in the following:
Step 3:
Including a Package for Image
Normally when we want to use an image or any other file in an application we need to create a separate package for that resource.
The following is the procedure for creating a package:
- Right-click on your application package, "org.me.mypicdisp", in the project window.
- Select "New" -> "Java Package" from the popup menu.
- After that a window named "New Java Package" write resources on the textfield labelled as "Package Name".
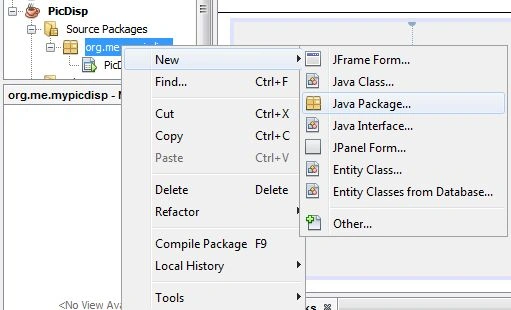
- You can see in the screenshot below that a new package appears inside the source packages.
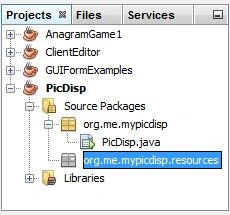
Step 4:
The following is the procedure for showing the image on the Label:
- Select the Label that we placed previously on the GUI Builder
- In the property, window click on the properties and select Icon Properties.
- Click on the ellipses ("...") button just next to JLabel. After clicking on it, the icon property window will appear.
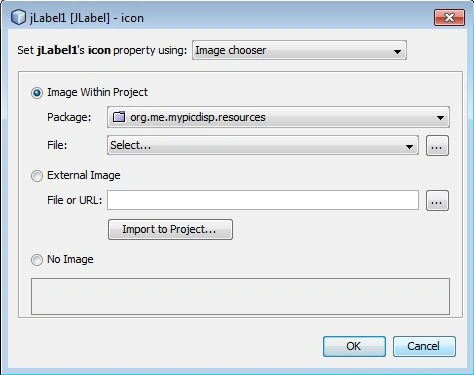
- In this window click on the button "Import to Project".
- In the file, navigator chooses an image from your system.
- Select newpackage in the Select target Wizard. Finally, click the "Ok" button.
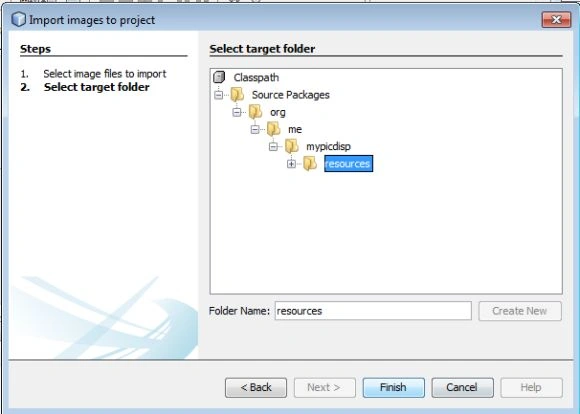
The image appears on the JFrame.
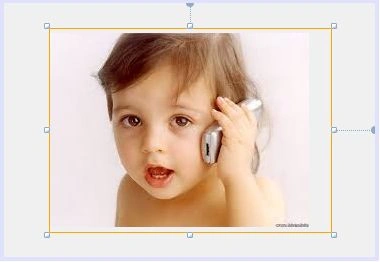
- Now you can select the text properties and delete the JLabel from the JFrame.
Step 5:
Running the Application
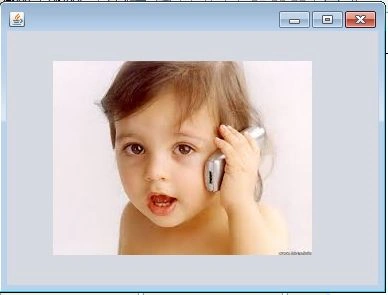
Run the application as usual. The output snapshot is shown below:
Join the conversation! Your thoughts help the community grow.