

Installing and Configuring Hexo Blog Framework
To set up the hexo blog framework in your machine, you need to have the latest node.js and Git on your machine. After you have installed node.js and git on your machine, run the following command to install the Hexo framework.
- npm install -g hexo-cli
- $ hexo init <folder>
- $ cd <folder>
- $ npm install
After the installation is done, the basic project folder will be created with the following structure.
- $ hexo init <folder>
- $ cd <folder>
- $ npm install
- .
- ├── _config.yml
- ├── package.json
- ├── scaffolds
- ├── source
- | ├── _drafts
- | └── _posts
- └── themes
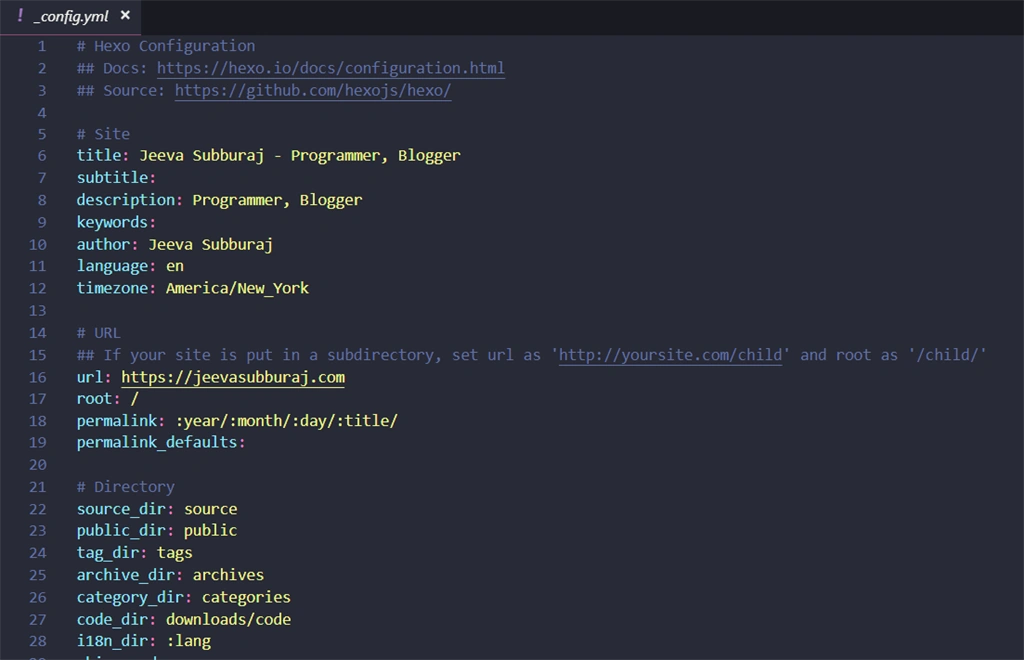
_config.yml will hold all the configuration-related data for your blog. You can modify the blog title, description, keywords etc. This also holds the details of the current theme, and additional plugin details installed in your website.
Setup and Configure Hexo Theme - Next
There are plenty of themes available for Hexo and I decided to go with one of the most popular themes, called Next. I also liked the icarus theme but since it has a three column layout, I decided to go with the Next theme. It has four different theme layouts to customize and also a light and dark mode for code blocks. To install, use the following command.
- $ git clone https://github.com/theme-next/hexo-theme-next themes/next
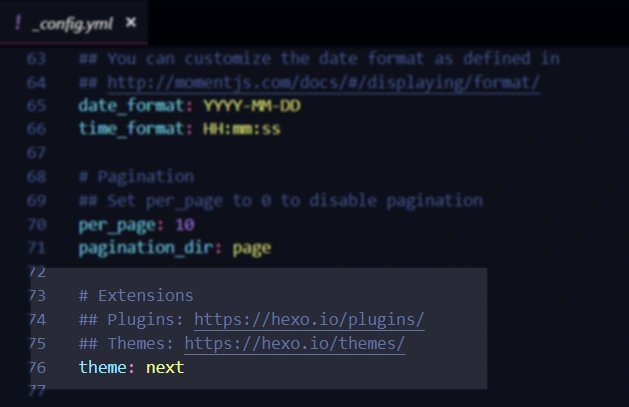
Once the theme is installed, change the theme name to Next in _config.yml in the site root directory.
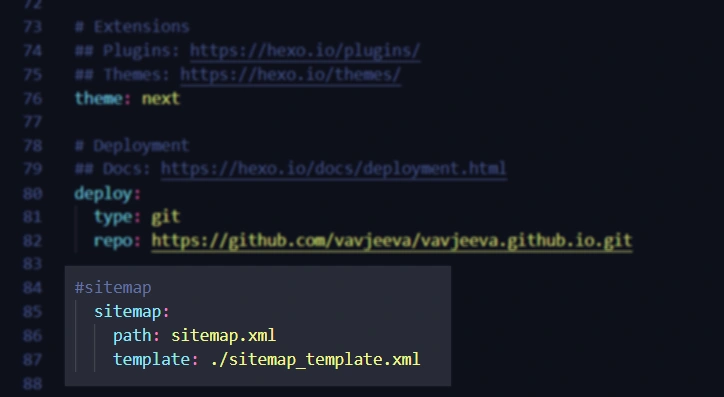
Install and Configure Additional Plugins
Create a New Post and Run Locally
- $ hexo new [layout] <title>
Post is the default layout, but you can put page if you want to create a new page. You can also change the default layout by editing the default_layout setting in _config.yml.
Once the new post is created, the markdown (.md) file will be created under source\_posts folder with the default front matter. You can use any markdown editor to start creating articles. Here are some of the online and offline markdown editors which are most popular among users.
- stackedit.io (Online Editor)
- https://typora.io/ (Offline Editor)
After we create the article, we can generate static HTML by running the following command.
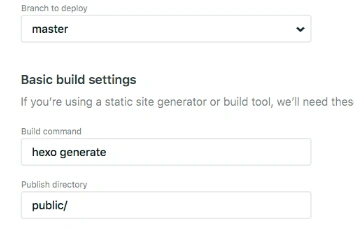
- hexo generate
This command will generate the static HTML files and all the necessary supporting files (JavaScript, CSS) in the public folder. We can run it locally to verify the page by running the following command.
- hexo server
This will run the node.js server on default 4000 port. You can verify your blog by running http://localhost:4000 in the browser.
Setup Automatic Deployment to Netlify
Signing up with Netlify is pretty straightforward. You just have to link with your GitHub account to sign up the account.
After you signup with Netlify, create a new repository in GitHub to push the code base into GitHub. Once the repository is created, copy the remote repository URL to set up the remote origin branch from local.
Navigate the local root directory and initialize as a Git repository.
- git init
Add all the files from your local repository and commit it locally
- git add .
- git commit -m 'Initial commit'
Now, set up the remote origin with the following command.
- git remote add origin Git_Repository_URL
Now, you can push your local changes to the git repository with the following command.
- git push -u origin master
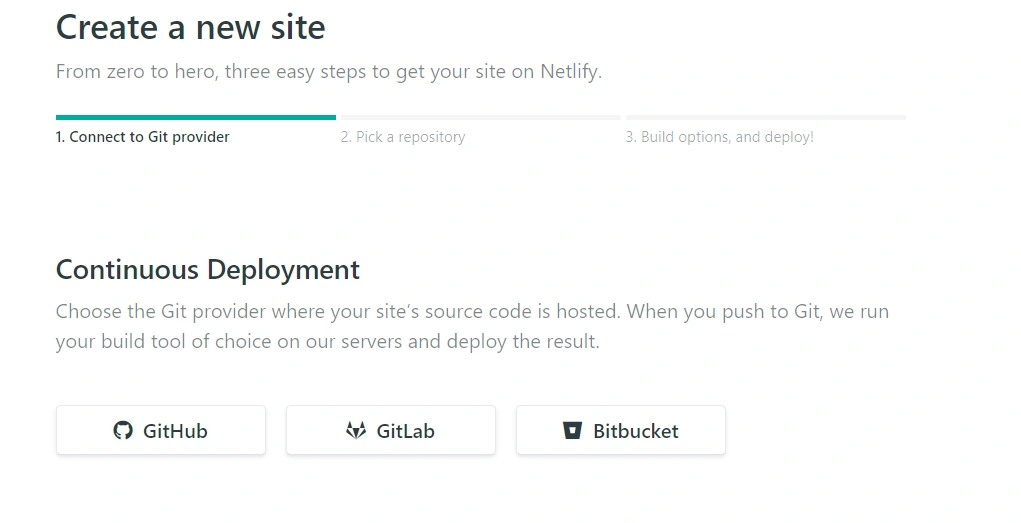
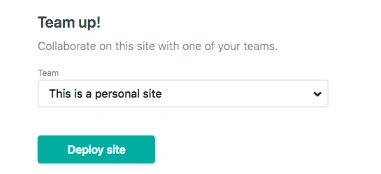
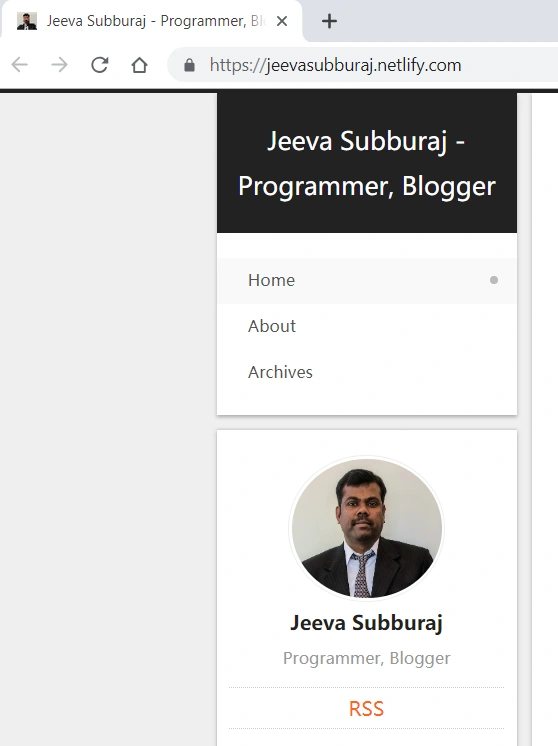
Now, login to Netlify and click create a new site by clicking the "New Site from Git" button.

Set up the custom domain name for the blog
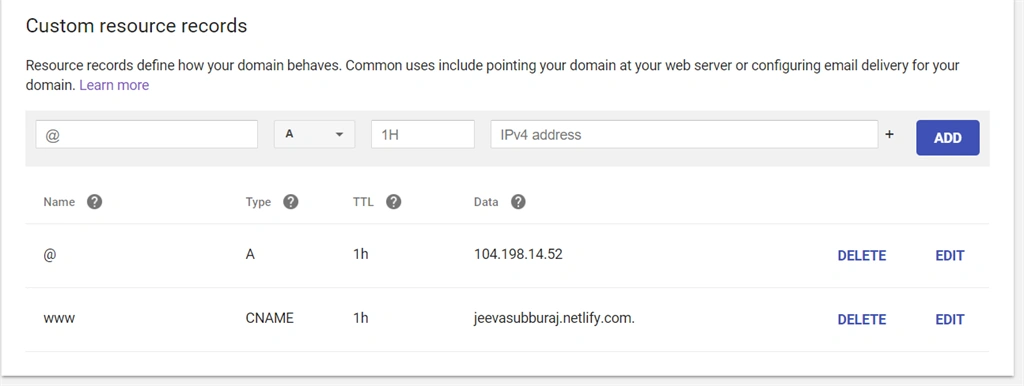
We have now successfully completed setting up the static web site using hexo and netlify; it's time to set up our custom domain for our blog. I purchased my domain with Google Domains and it costs 12$ per year. You can go with any domain service that works well for you.
In my Google domain account, I have to create the A record with Netlify load balance IP and CNAME record with the Netlify alias name.
Conclusion
This articles covered the basics of creating a personal blog site using Hexo static HTML generator framework and deploying it to Netlify automatically using continuous deployment. I created this blog entry using the Typora editor, and it's so easy to create with no hassle.
Geo J ThachankaryPosted Mar 28, 2019, 10:03 AM
Thanks for the post. I am also running my blog using Hexo and Netlify. I am using the icarus theme for my blog. Also, Netlify provides free SSL to all users out of the box with its integration with Let's Encrypt.
Mithun PattankarPosted Mar 28, 2019, 9:21 AM
Thanks, Jeeva for the post. Only domain name has to be paid, everything else is free. my website run's using HEXO & Netlify from last one year. I am kind of happy with it.