Introduction
Continuous Integration is an important part of DevOps, and Jenkins is the most famous and widely used tool for Continuous Integration.

What is Jenkins, and why do we use it?
Jenkins is a self-contained Java-based program with plugins built for continuous integration. Jenkins is used to build and test your software projects continuously, making it easier for developers to integrate changes.
How to Install Jenkins on Windows?
1) To start configuring Jenkins on Windows, you first need Java Development Kit(JDK).
2) Set the Environment Variable path for JDK.
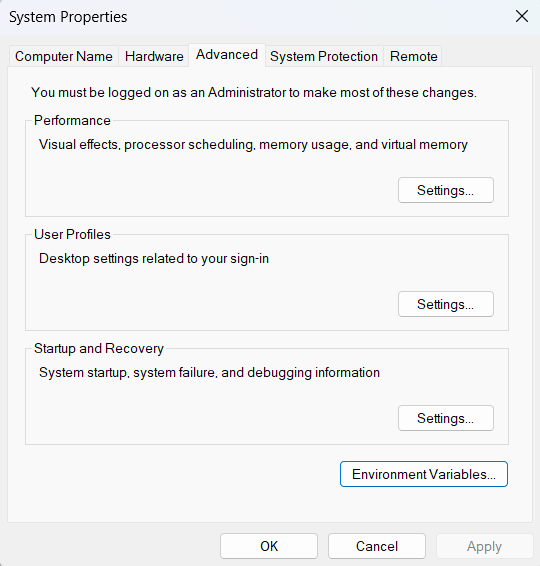
- Search for Environment Variable in the Task Bar and click on “Edit the system environment variables”
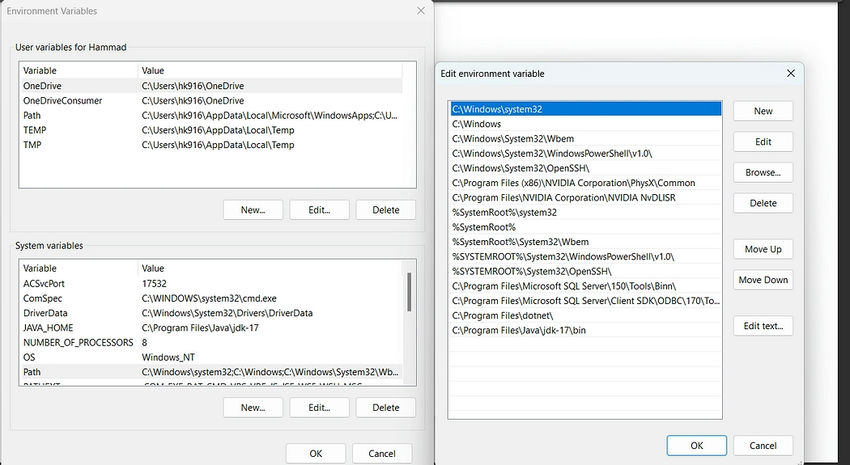
- Under the system variables, select the “Path” variable and click on “Edit”. Click on “New” then paste the Path Address of your JDK i.e. C:\Program Files\Java\jdk-{YOUR_JDK_VERSION}\bin. Click on “OK”.
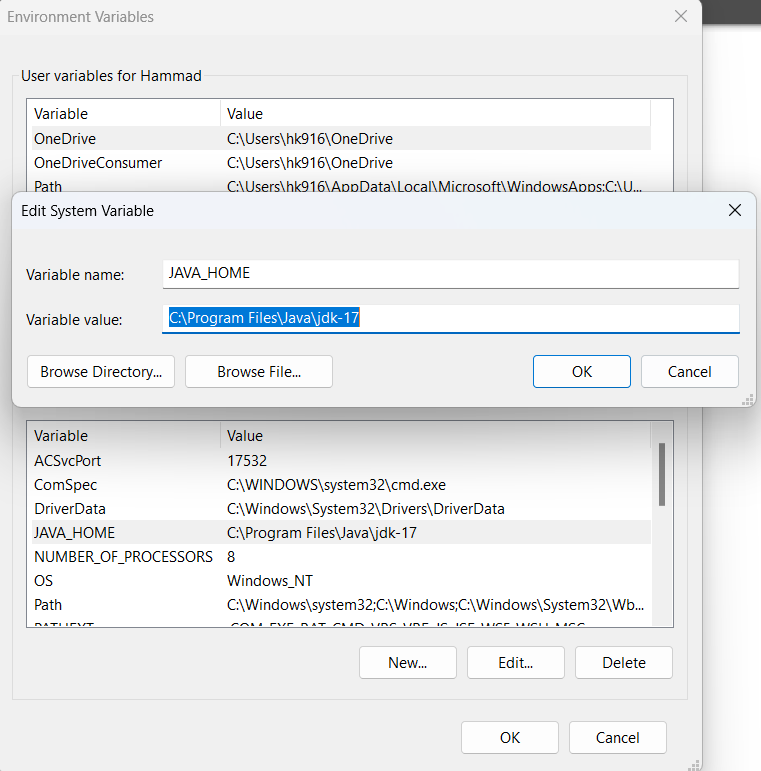
- Now, in the Environment Variables dialogue, under System variables, click on “New” and then under Variable name: JAVA_HOME and Variable value: paste address i.e. C:\Program Files\Java\jdk-{YOUR_JDK_VERSION}. Click on OK => OK => OK.
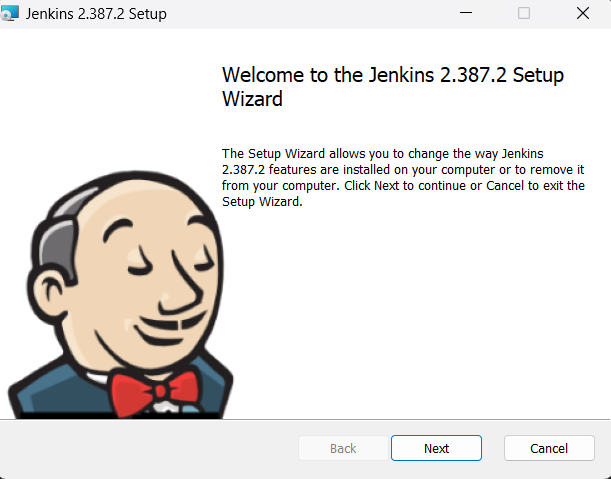
3) Now that we have installed JDK, we have to download Jenkins LTS.
- Once it is downloaded, it will open a wizard on your screen. Click “Next” to start the Jenkins installation.
- Click on change, and I would advise you to keep things simple and don’t change the path.

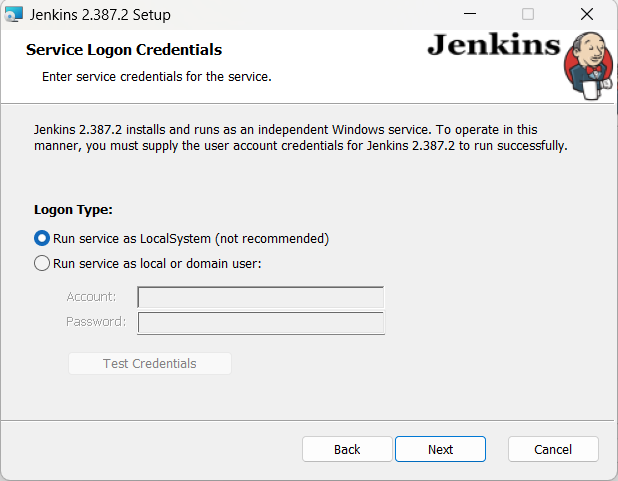
- Select ‘Run service as LocalSystem” or you can also select the second option, ‘Run service as local or domain user’. I am .moving forward with the first option
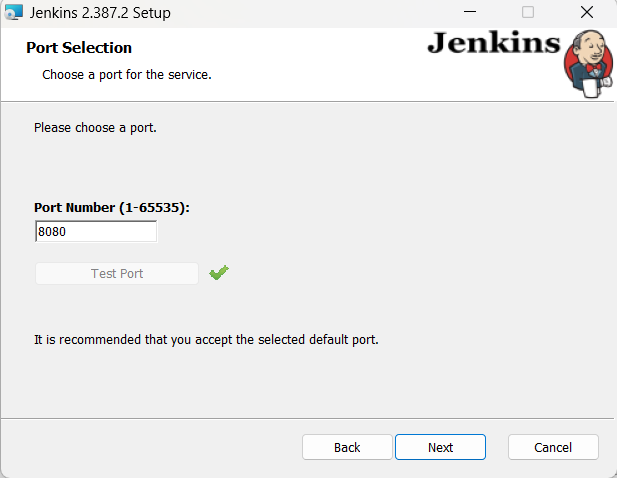
- It is recommended that you accept the selected default port. Test the port and click on the “Next” button.
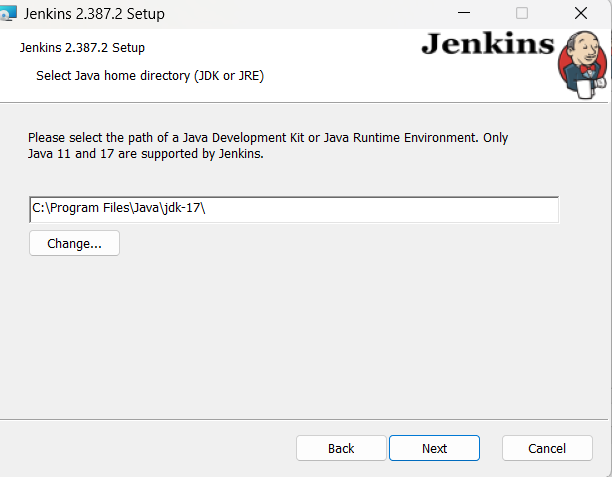
- Select the Java home directory, and then click on the “Next” button.
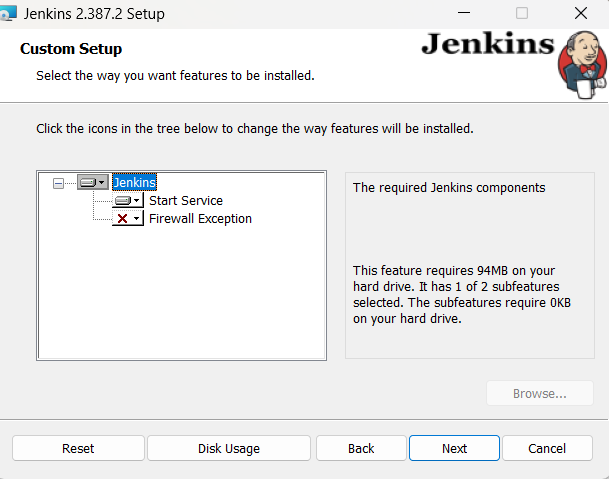
- Click on the “Next” button.
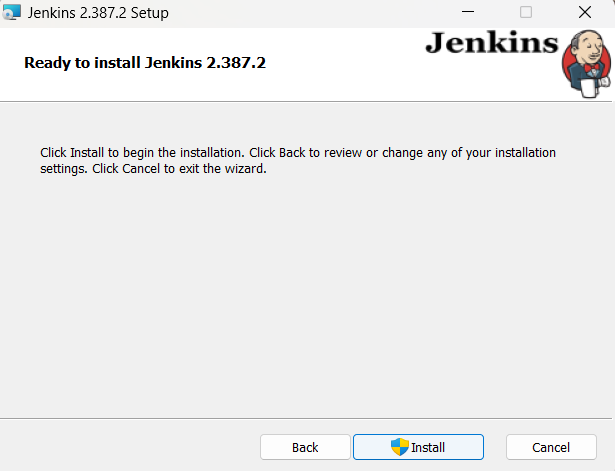
- Click on the Install button to start the installation process.
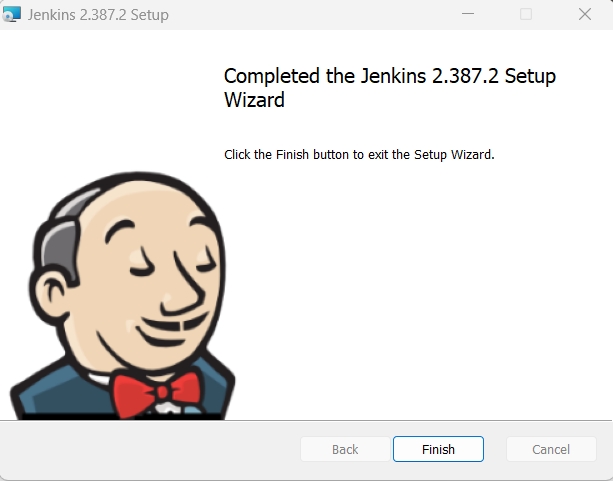
- When done, click on “Finish” to complete the installation process. Now that the installation process is out of the way, you need to follow a few more quick steps before you start using Jenkins on Windows.
Unlock Jenkins For Windows
- Paste the URL http://localhost:8080 in a browser or change the port if you changed it in the installation process.
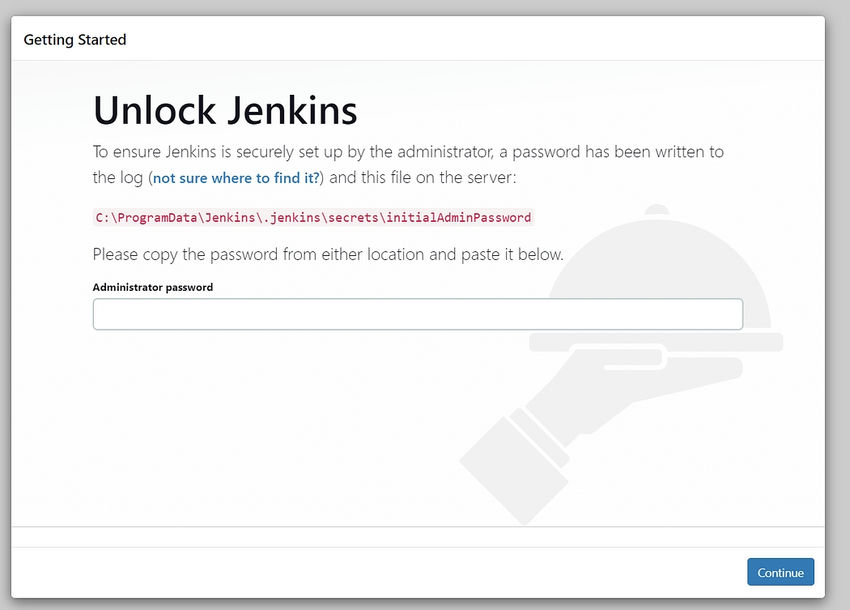
- Go to the path specified, you will get the initial password there, paste it here and click on the ‘Continue’ button.
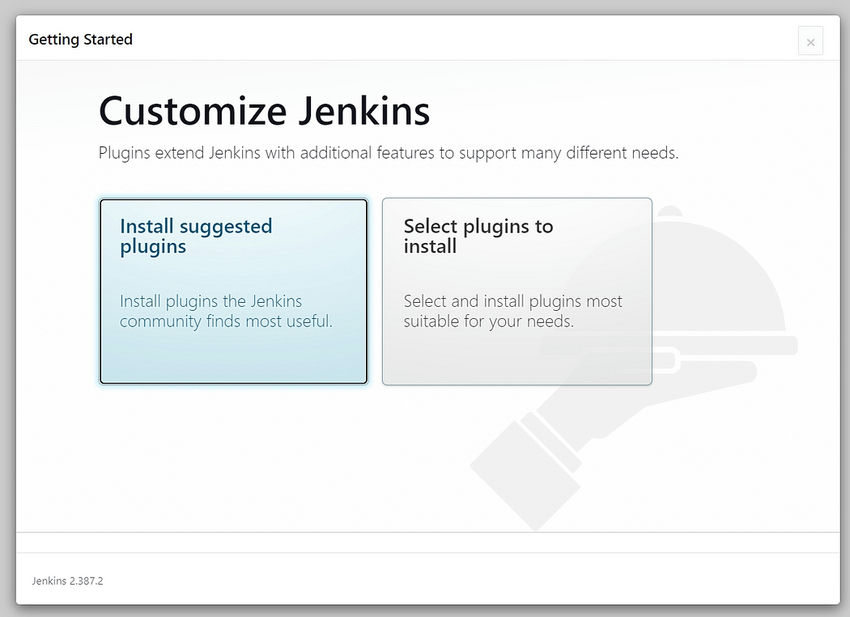
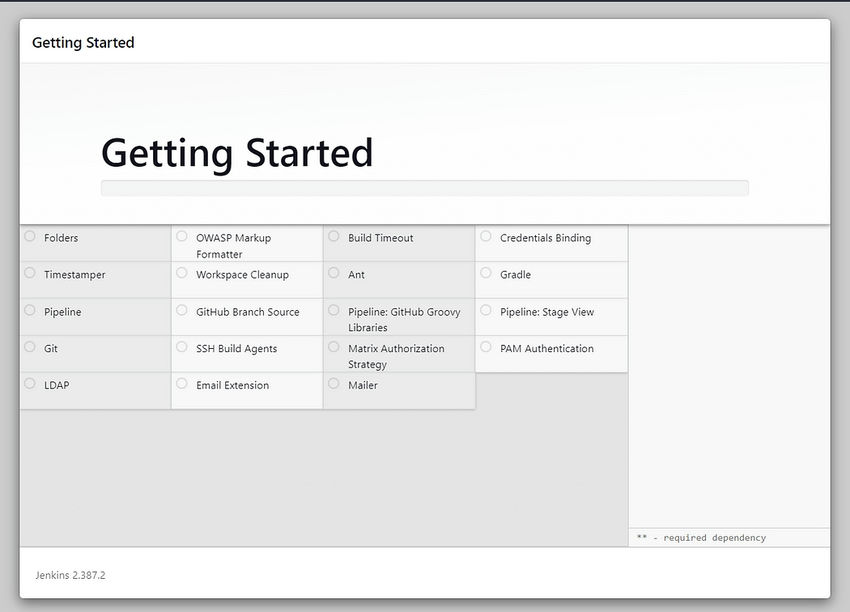
- Next, Install the suggested plugins
- The plugins will be installed and will take some time, be patient.
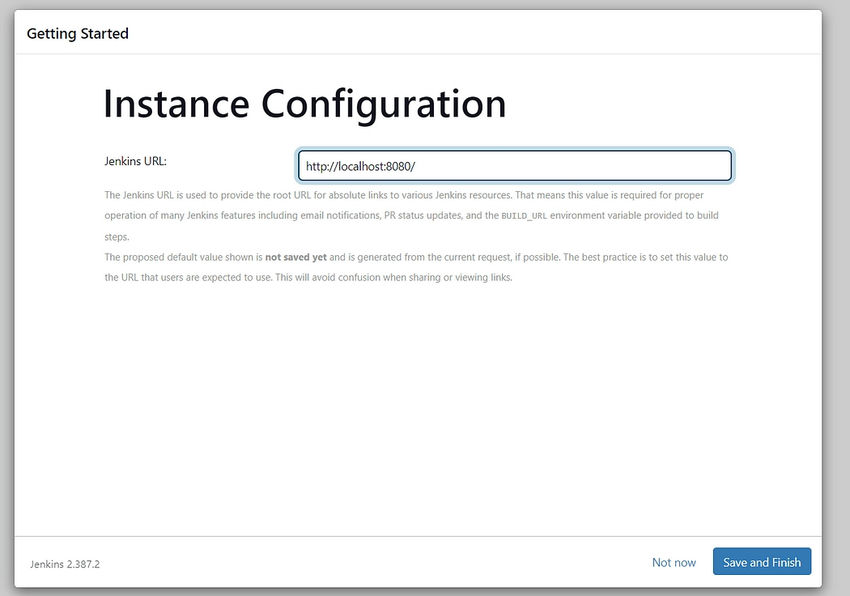
- Click on ‘Save and Finish’ button and you will be redirected to the admin page of Jenkins.
- Finally, here is the default Jenkins page. Jenkins is now installed and running on Windows, and you are ready to start building your CI/CD pipeline.
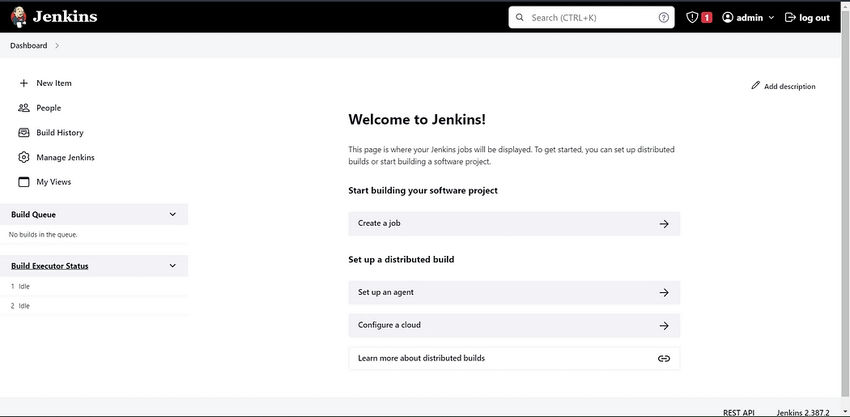
- Finally, here is the default Jenkins page. Jenkins is now installed and running on Windows, and you are ready to start building your CI/CD pipeline. ( The initial password used above is the admin password.)
Conclusion
Now, you can install Jenkins on Windows and start creating your continuous integration pipeline. You are well on your way to becoming a DevOps and CI/CD expert.