

Welcome to my new article series of CSS3. In my previous article series, you learned about HTML5 Canvas for both beginners and advanced users.
Let's start.
A Little History about CSS
In 1994, CSS was introduced as a web styling language to solve the problems that occur in HTML. At the same time, there were some other styling languages introduced, like style sheets for HTML but CSS won the first battle.
In 1998, W3C recommended CSS2 and since then many changes were made on the internet. In 2011 a revision was made and CSS2.1 came into existence, but experts said that it's not the final version because many necessary features were still not there. In fact, many people didn't know that development on CSS3 was started after the submission of its first version. In other words, the W3C has been working on CSS3 since 1999, which is more than 10 years until the first stable version of CSS3 was released.
Introduction
CSS3 is the successor to CSS2 and it is one of the best web technologies available for web developers at present. A CSS3 document is a Cascading Style Sheet to control the layout and style of Web Pages. It has more features than previous versions of CSS that includes more graphic functions, shadow effects, gradients features and it also allows you to select more tags of HTML.
Vendor Prefix
Today nearly all major browsers support CSS3 features but some CSS rules still won't work properly without the vendor prefix because they help browsers to interpret the code. So, we need to use them with our CSS so that the browser in which you are testing is able to read the code. Have a look at all the vendor prefixes for all major browsers:
- -moz- : Mozilla Browsers (Firefox)
- -ms- : Internet Explorer
- -o- : Opera
- -webkit-: Webkit browsers such as Safari and Chrome
All CSS3 rules don't work with all browsers; you can check the support of CSS3 on caniuse.com.
- Selectors
- Box Model
- Backgrounds and Borders
- Text Effects
- 2D/3D Transformations
- Animations
- Multiple Column Layout
- User Interface
1. CSS3 Borders
You guys might have already heard about "border-radius" many times. It's really easy to use and is also supported by all the major browsers. You can create rounded borders, add shadow to boxes and you can also use an image as a border without using any design tool like Illustrator or Photoshop. There are the following three important border properties:
- border-radius
- box-shadow
- border-image
Browser Support

1. border-radius
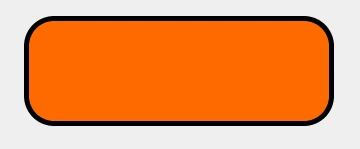
It's very easy to create rounded corners in CSS3. We can use the "border-radius" property to create rounded corners. Before we get started, it's important to know that there are three main syntaxes that you'll need to use as in the following:
- border-radius: size;
- -moz-border-radius: size;
- -webkit-border-radius: size;
Here, the first one is for the un-prefixed version browsers that support it, which includes Opera, Safari 5 and IE9.
Example:
- #round{
- border: 5px solid #000;
- padding: 50px 0;
- margin: 50px;
- width: 300px;
- background: #888888;
- border-radius: 30px;
- -moz-border-radius: 30px; /* Mozilla */
- -webkit-border-radius: 30px; /* Chrome */
- }
Output
2. box-shadows
In CSS3, we can create a shadow using the "box-shadow" property. Let's have a look at its syntax:
- box-shadow: offset_x offset_y blur_radius color;
- -moz-box-shadow: offset_x offset_y blur_radius color;
- -webkit-box-shadow: offset_x offset_y blur_radius color;
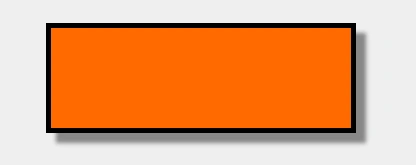
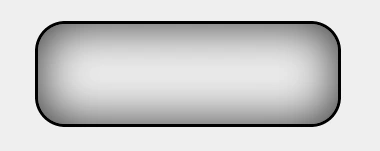
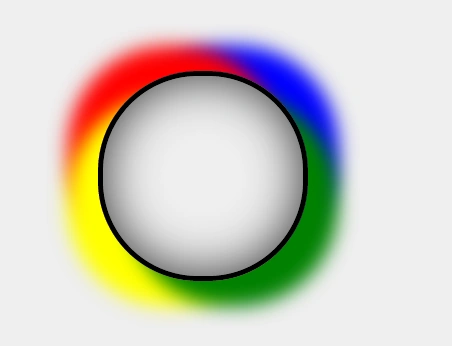
Here again, we need to use the vender prefixes for Mozilla and Webkit. Now in the box-shadow property, we have some pre-defined parameters. Here, the first two parameters are the offset positions that start from the left and top co-ordinates of the element. If you set a positive value then these properties move the shadow to the right and down from the element, and if you set a negative value then it moves the shadow to the left and up from the element. In the third parameter, we have a "blur radius" to apply the blur to your shadow. And the fourth parameter is a color property by which you can add color to the shadow. Now have a look at this example in which we apply a CSS3 effect to our div.
Example:
Join the conversation! Your thoughts help the community grow.