

Introduction
In this article, we discuss Gradle and also have a look at its features, the installation guide, its advantages and create a simple program using Gradle.
What is Gradle
Gradle is built automation evolved. Gradle is a build system that offers you ease, power and freedom. You can choose the balance for yourself. It has powerful multi-project build support. It can automate the building, publishing, testing, deployment and more of software packages or other types of projects such as developing static websites, documentation or indeed anything else.
Gradle combines the power and flexibility of Apache Ant with the dependency management and conventions of Apache Maven into a more effective way to build. Powered by a Groovy DSL instead of the more traditional XML form of declaring the project configuration and packed with innovation, Gradle provides a declarative way to describe many kinds of builds through sensible defaults. Gradle is quickly becoming the build system of choice for many open source projects, leading-edge enterprises and legacy automation challenges. The initial plug-in is primarily focused around Java, Groovy and Scala development and deployment, but more languages and project workflows are on the roadmap.
To learn more about Gradle, including what it makes, get started with Gradle right now.
Download Gradle from the following link:
Gradle Installation
Step 1- First of all Gradle requires a Java JDK to be installed on your system. It requires a JDK 1.5 or higher version. It has its own Groovy library, so they don't require any other Groovy library. Any existing Groovy installation is ignored by Gradle.
It uses whichever JDK it finds in your path (for checking Java version, use the command "java -version"). Alternatively, we can set the JAVA_HOME environment variable to point to the install directory of the desired JDK.
For example:
JAVA_HOME=C:\Program Files\Java\jdk1.7.0_21;Step 2- Unpacking the zip file
After unpacking the downloaded zip file, the full distribution contains:
- Gradle binaries files.
- User guide file (in HTML and PDF formats).
- DSL reference guide.
- API documentation (Groovydoc and Javadoc).
- Extensive samples.
- The binary sources. This is for reference only.
Step 3- Set the environment variable for Gradle.
To run Gradle, we must add GRADLE_HOME (the folder path of where we copied Gradle) to our PATH environment variable. Usually, this is sufficient to run Gradle.
In the path environment variable simply add GRADLE_HOME/bin (for example "E:\gradle\bin;").
Step 4: How to run or check the installation work or not?
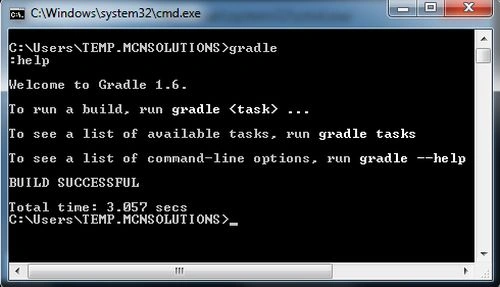
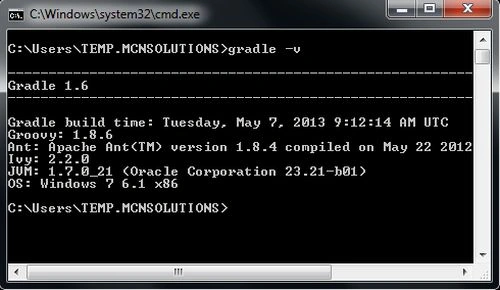
To run Gradle we must use the "gradle" command. For checking that Gradle is properly installed just type "gradle -v". That shows the Gradle version and also the local environment configuration (Groovy and JVM version, etcetera). The displayed Gradle version should match the distribution you have downloaded.
Join the conversation! Your thoughts help the community grow.