
This article shows how to perform various operations on a table using LightSwitch Visual Studio 2012.
Procedure showing various operations that can be performed on a table.
Step 1
Open the LightSwitch Application in Visual Studio 2012 and go to the Solution Explorer.
Right-click on "Data Source" and choose "Add Table".
The table appears in the table designer window. 
Provide some Name and add some data to the table.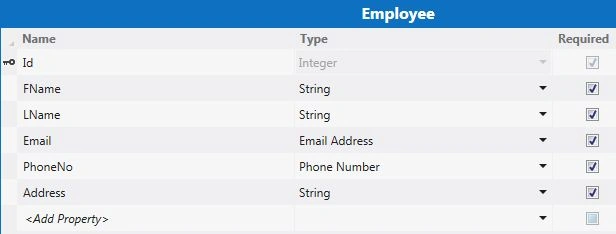
Step 2
Insert a New Property in a Table.
Right-click on a specific row of a table and choose "Insert New Property" to add a row.
A specific row is inserted into the Table "Property1" as shown in the figure.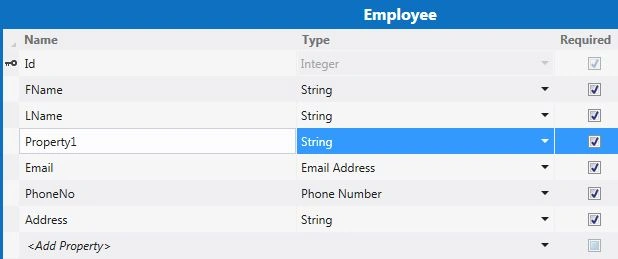
Provide some name (Gender) in place of Property1.
Step 3
Delete a row from the Table.
To delete a row, right-click on the specific row of a table and choose "Delete".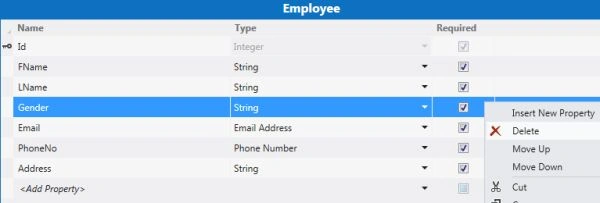
That specific row will be deleted.
Step 4
Moving up a specific row in the Table.
To move up a row, right-click on a specific row of a table and choose "Move up".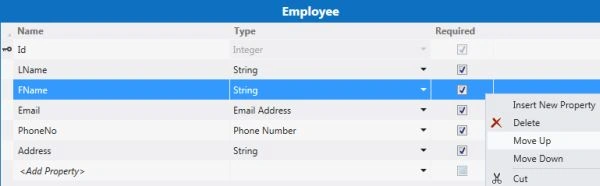
The result is that specific row will move up.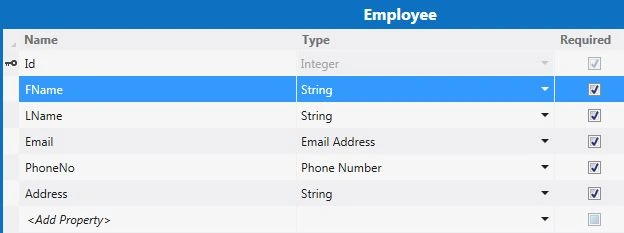
Step 5
Similarly you can move a specific row down in the Table.
In order to move a row down, right-click on the specific row of a table and choose "Move down".
The result is that the specific row will move down.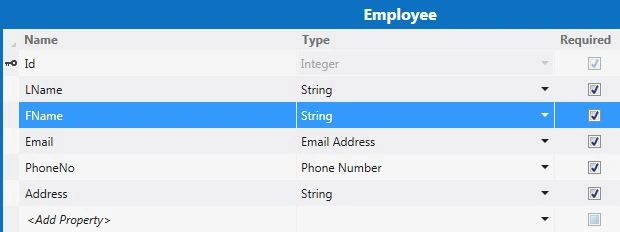
Step 6
You can also establish the relationship between two tables simply by right-clicking on the table and choosing "Add Relationship".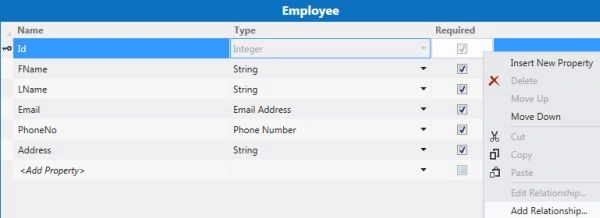

Join the conversation! Your thoughts help the community grow.