

Background
In this article we will learn how to show the Progress Bar when processing a request from a server. This is very important for when our application requires a long time to process the request and to prevent the start of a new request by the user while the current request is processing.
Use the following procedure to create a web application to demonstrate this requirement so beginners can also understand it.
- "Start" - "All Programs" - "Microsoft Visual Studio 2010".
- "File" - "New Project" - "C#" - "ASP.NET Empty Web Application" (to avoid adding a master page).
- Provide the web site a name such as "ProgressBAR" or another as you wish and specify the location.
- Then right-click on Solution Explorer - "Add New Item" - "Default.aspx page".
- Drag and drop one button, two text boxes, one Script Manager, Update Panal, Progress, Update Progress and one Lable to show the requested output.
- Add one folder named Image and add one image to be shown as the Progress Template.
Now the Solution Explorer will look such as follows.
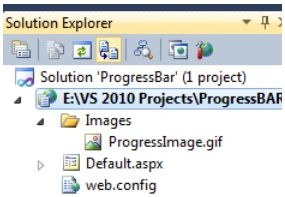
Then switch to the design view; the <form> section of the Default aspx page source will look as in the following:
- <form id="form1" runat="server">
- <asp:scriptmanager id="ScriptManager1" runat="server">
- </asp:scriptmanager>
- <asp:updateprogress id="UpdateProgress1" runat="server" associatedupdatepanelid="UpdatePanel1"
- clientidmode="Predictable" viewstatemode="Inherit">
- <ProgressTemplate>
- <div class="div1" style="margin-left: 160px">
- <img alt="" src="Images/ProgressImage.gif" />
- </div>
- </ProgressTemplate>
- </asp:updateprogress>
- <asp:updatepanel id="UpdatePanel1" runat="server">
- <ContentTemplate>
- <table style="color: white; margin-left: 100px; margin: 100px">
- <tr>
- <td> Name </td>
- <td> <asp:TextBox ID="txtName" runat="server"></asp:TextBox></td>
- </tr>
- <tr>
- <td>City</td>
- <td><asp:TextBox ID="txtcity" runat="server"></asp:TextBox></td>
- </tr>
- <tr>
- <td></td>
- <td>
- <br />
- <br />
- <asp:Button ID="Button1" runat="server" Text="Submit" OnClick="Button1_Click" /><br />
- <br/>
- <asp:Label ID="Label1" Style="color: white" runat="server" Visible="false" Text="Label"></asp:Label>
- </td>
- </tr>
- </table>
- </ContentTemplate>
- </asp:updatepanel>
- </form>
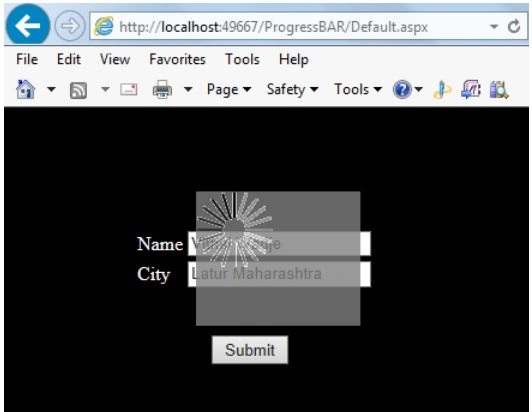
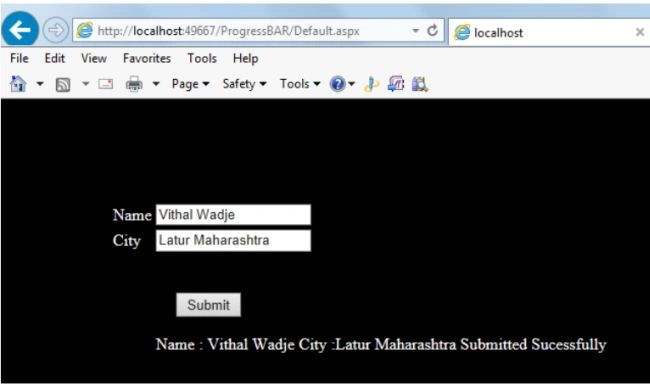
T.V. SivaPosted May 13, 2021, 2:30 AM
Thanks Vithal Wadje.
Vithal WadjePosted May 30, 2016, 10:49 PM
thanks
Munesh SharmaPosted May 30, 2016, 1:39 PM
good one
Vithal WadjePosted May 24, 2014, 1:08 AM
sure sir,thanks
Mahesh ChandPosted May 22, 2014, 3:47 PM
Great Vithal. Please use Code tag <> for code area in the article. Thanks!