
This article shows how to remove a Choice List in a table in LightSwitch using Visual Studio 2012.
The following is the procedure for removing a Choice List in LightSwitch.
Step 1
Open the Solution Explorer.
Step 2
Right-click on Data Source and choose "Add Table".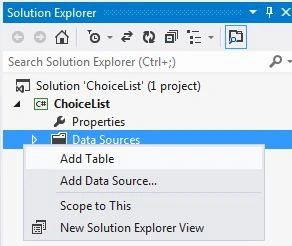
Step 3
The table appears in the table designer.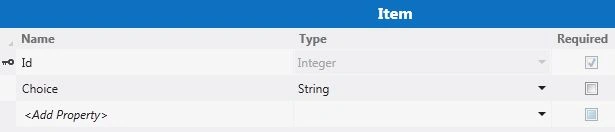
Adding a Choice List
Step 1
Select the field in the table and go to the property window and click on the "Choice List" link.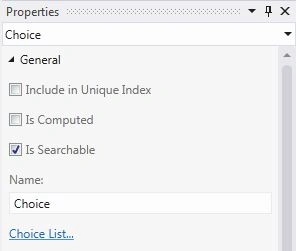
Step 2
The Choice List dialog box appears on the screen. Define the various choices and click the "OK" button.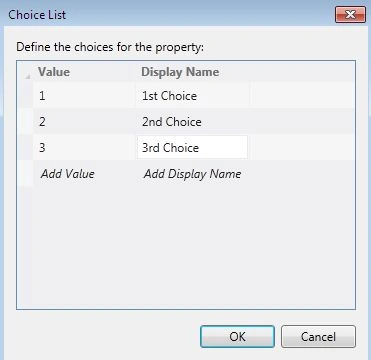
Removing a Choice List
Step 1
To remove a Choice List, click on the cross icon.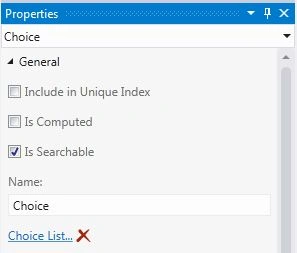
Step 2
The Microsoft Visual Studio dialog box appears.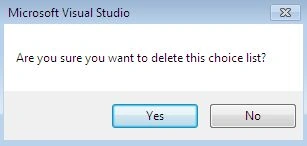
Step 3
Click "Yes" to remove the Choice List.
Click "No" if you do not want to remove it.
Adding a Screen
Step 1
Right-click on "Screens" and choose "Add Screen".
Step 2
The Add New Screen dialog box appears. From the screen template choose "New Data Screen", select the Screen Name and Select the Screen Data and click "OK".
Step 3
Press F5 to run the application.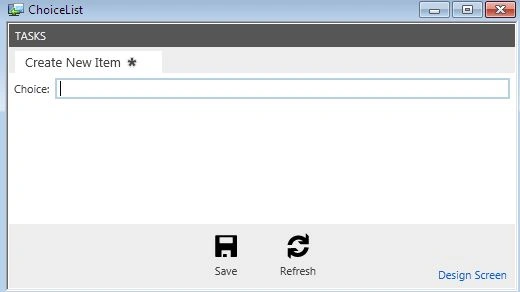

Join the conversation! Your thoughts help the community grow.