
Introduction
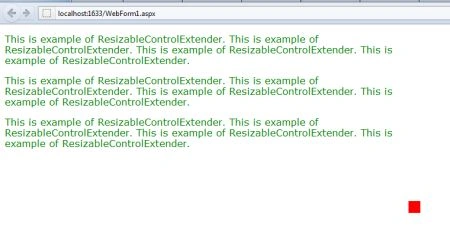
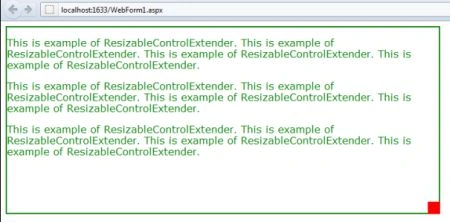
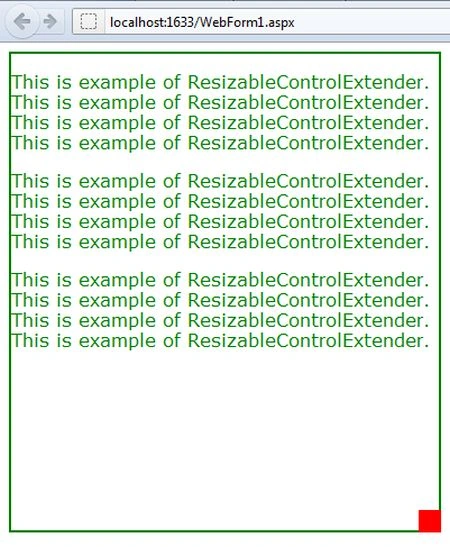
The ResizableControl allows the user to resize a control in form. A resizable handle is attached to the bottom left of the target control that allows the user to resize the dimensions of the control. The properties of the ResizableControlExtender is given below.
- TargetControlID : It is used to set the ID of control which is to be resizable.
- HandleCssClass : It sets the name of CSS class which is to be apply to resize handle.
- ResizableCssClass : It is used to set the name of the CSS class to apply with control when resizing
- MinimumWidth : It is used to set the minimum width of resizable element.
- MinimumHeight : It is used to set the minimum height of resizable element.
- MaximumWidth : It is used to set the maximum width of resizable element.
- MaximumHeight : It is used to set the maximum width of resizable element.
-
OnClientResizeBegin : Event fired when the element starts being resized.
-
OnClientResizing : Event fired as the element is being resized.
-
OnClientResize : Event fired when the element has been resized.
-
HandleOffsetX / HandleOffsetY : To set the location of resize handle.
Now we take a ASP.NET web application and then we use a ResizableControlExtender and we will use the properties of the ResizableControlExtender as we have discussed above. Follow the given steps.
Step 1 : Create an ASP.NET Web Application.
Step 2 : Go to the Toolbox and put a ScriptManager on the form.
Code on .aspx page
<asp:ScriptManager ID="ScriptManager1" runat="server">
</asp:ScriptManager>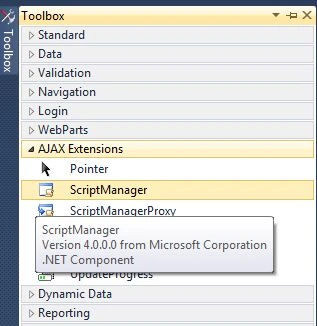
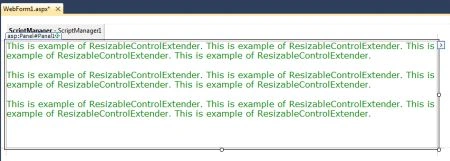
Step 3 : Take a Panel control and write a paragraph inside the Panel.
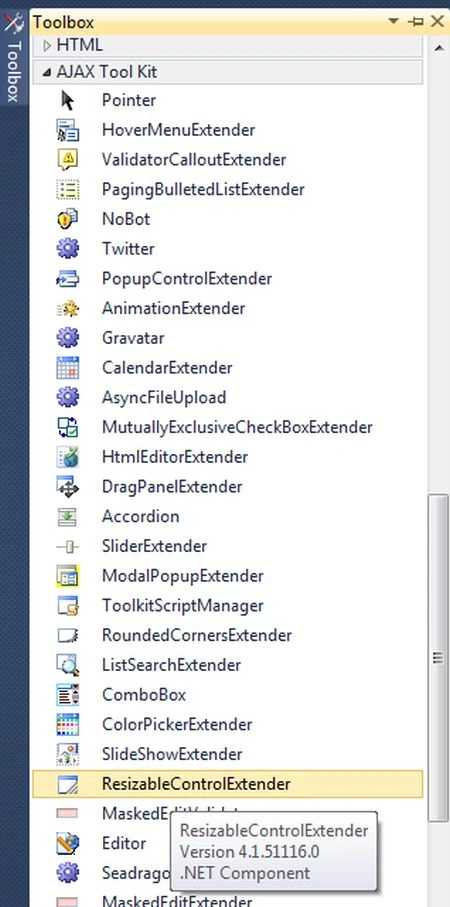
Step 4 : Go to Toolbar and take a ResizableControlExtender control.
Join the conversation! Your thoughts help the community grow.