

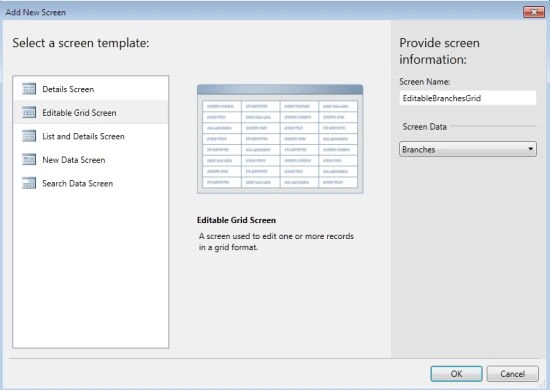
Here we will see how to create a table, add a relationship and add a screen in a LightSwitch Application (Visual C#) in Visual Studio 2012.
The following is the procedure for adding tables and screens in LightSwitch.
Step 1
Open the Solution Explorer.
Step 2
In the Solution Explorer, right-click on the Server and choose "Add Table". 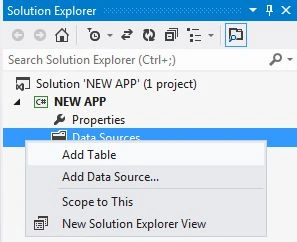
Step 3
In this way we will add two tables.
One is the Student Table.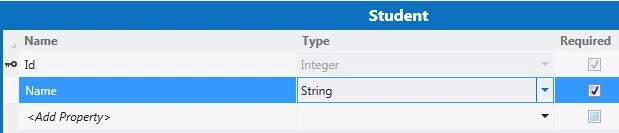
The other one is the Branch Table.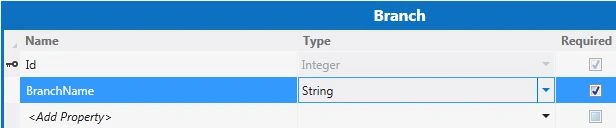
Step 4
Click on the "Add Relationship" button in the menu bar in order to add the relationship between the two tables.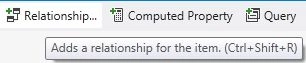
The relationship dialog box appears. From that dialog box select the tables and establish a one-to-many relationship between the Branch and Student table and click the "OK" button.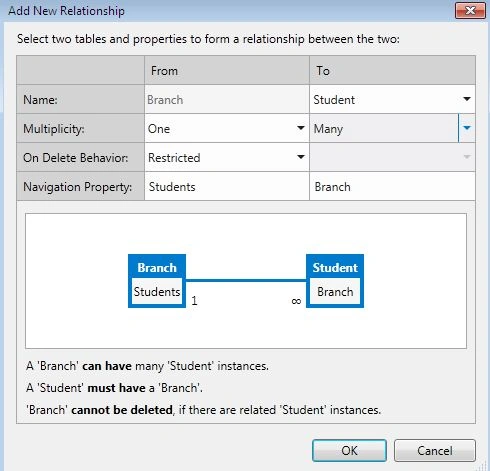
The relationship will be established between the two tables.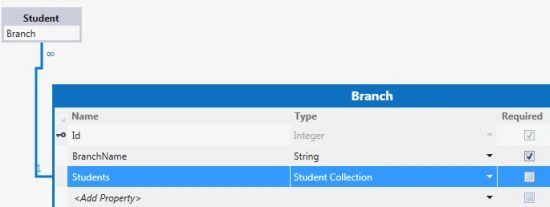


Join the conversation! Your thoughts help the community grow.