

I have a custom SharePoint list named “My Newsletter” that has the following columns.
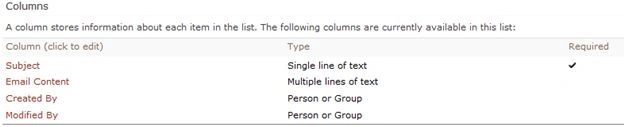
Once the user adds a new item an email should be triggered to a SharePoint group in which I have already added the users. But in the email the other users should not be shown, in other words personalized email or BCC using NINTEX workflow. In a SharePoint 2010 NINTEX workflow we don't have an option for BCC. In this article you will see how to send email to individual users using a NINTEX workflow.
Workflow Design
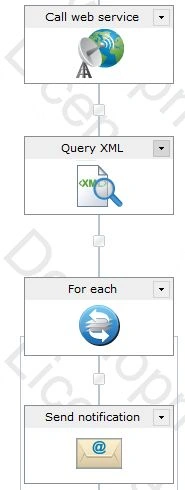
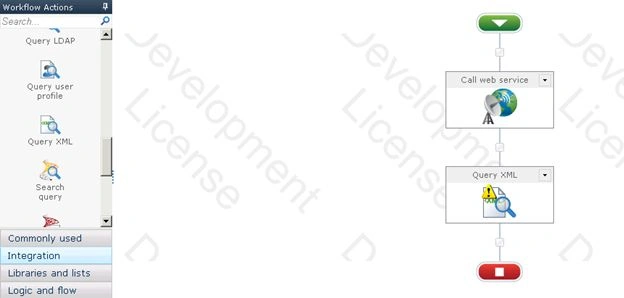
The Call web service action is used to get the user collection from a specified SharePoint group. The Query XML action is used to query the XML and get the email ID of the users. A For each action is used to loop using all the users from the collection. A Send notification action is used to send the email.
Newsletter workflow
-
Navigate to the My Newsletter list.
-
Click on the List tab and then click on Workflow Settings.
-
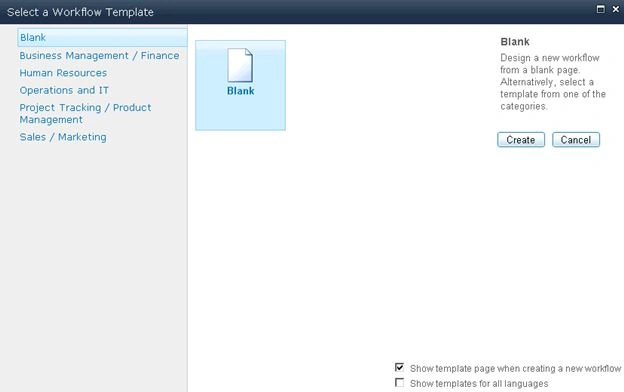
Click on Create a Workflow in Nintex Workflow.

-
Click on Cancel.
-
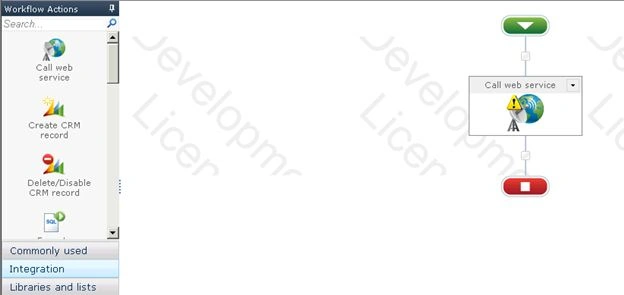
Drag and drop the Call web service action from the Integration section.
-
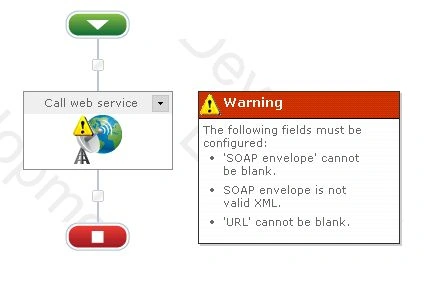
You will be able to see the warning symbol in the workflow action, click on that and you will be seeing the following warning message.
-
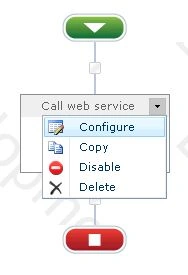
Click on Configure from the drop down list in the Call web service action.
-
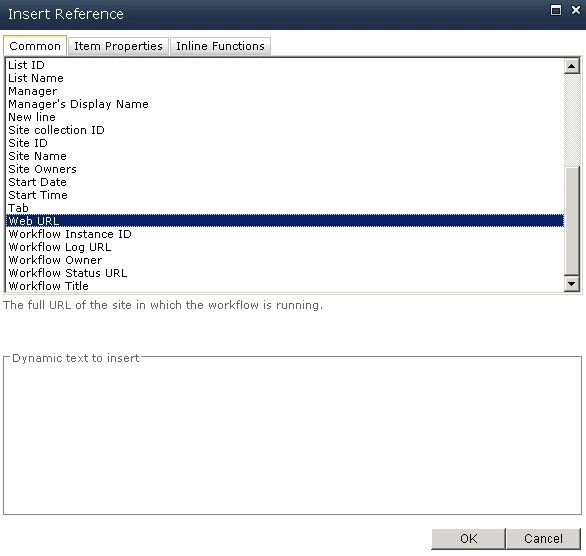
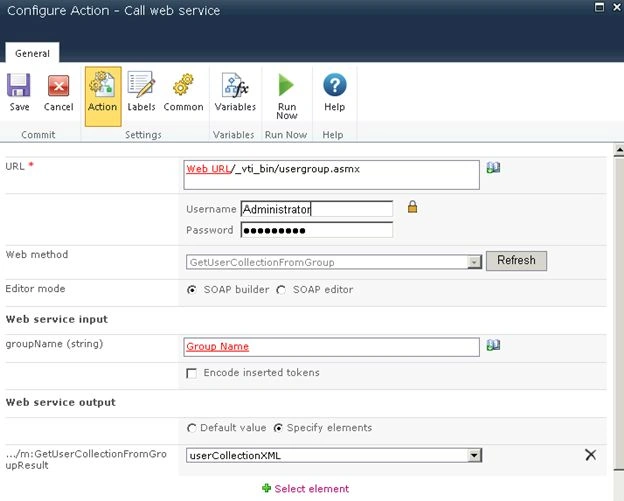
Click on the Insert Reference button for the URL column and then click on the Common tab. Select Web URL and then click on Ok.
-
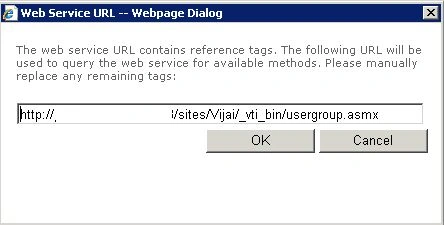
Append /_vti_bin/usergroup.asmx to the URL column.
-
Enter the User Name and Password to call the web service and then click on the Reference button.
-
Click on Ok.
-
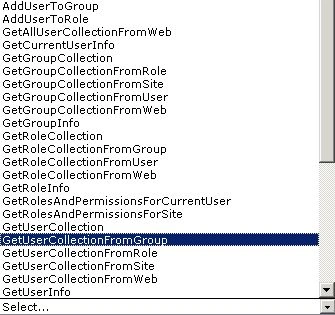
All the web service methods will be populated. Select GetUserCollectionFromGroup web method that will be used to get all the SharePoint groups from the website.
-
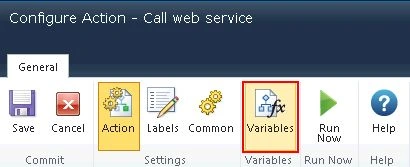
Click on the Variables button.
-
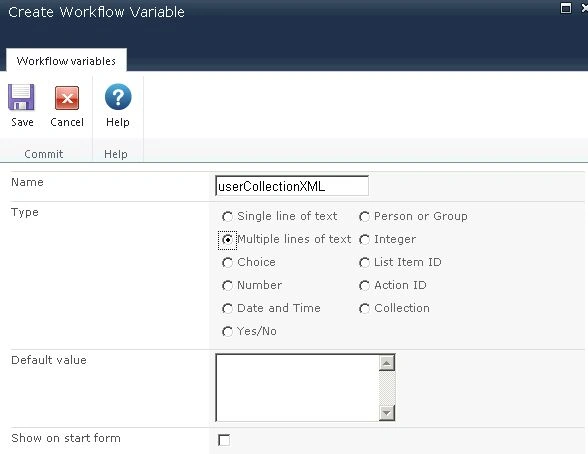
Enter the variable name and select the variable type.
-
Click on Save.
-
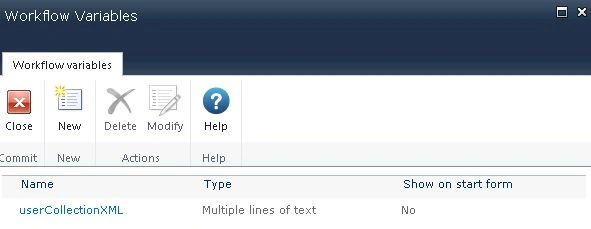
The variable is created successfully.
-
Enter the group Name string (SharePoint group).
-
Select Specify elements, click on m:GetUserCollectionFromGroupResult element and then click on the Apply button.

-
Select the userCollectionXML variable for “Store result in” drop down.
-
Click on Save.
-
Drag and drop the Query XML action from the Integration section.
-
Click on Configure from the drop down list in the Query XML action.
-
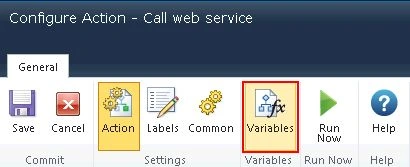
Click on the Variables button.
-
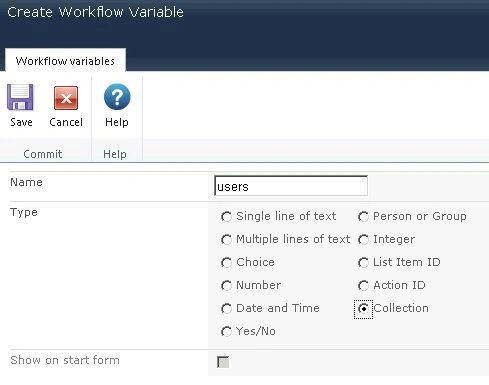
Enter the variable name and select the variable type.
-
Click on Save.
-
The variable is created successfully.

-
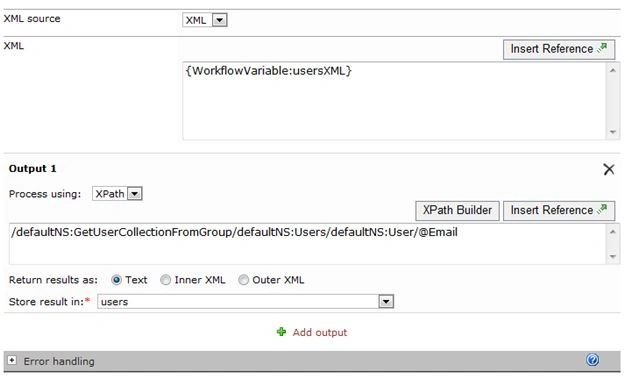
Select XML from the XML Source drop down list.
-
Click on the Insert Reference button for the XML column and then click on the Workflow Variable tab.
Select userCollectionXML and then click on Ok. -
Enter the XPath
/defaultNS:GetUserCollectionFromGroup/defaultNS:Users/defaultNS:User/@Email -
Select the users variable from the Store result in the drop down list.
-
Click on Save.
-
Drag and drop a for each action from the Logic and flow section.
-
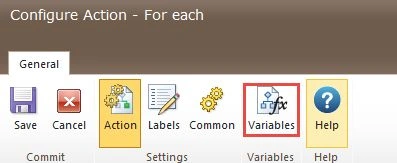
Click on the Variables button.
-
Enter the variable name and select the variable type.

-
Click on Save.
-
The variable is created successfully.
-
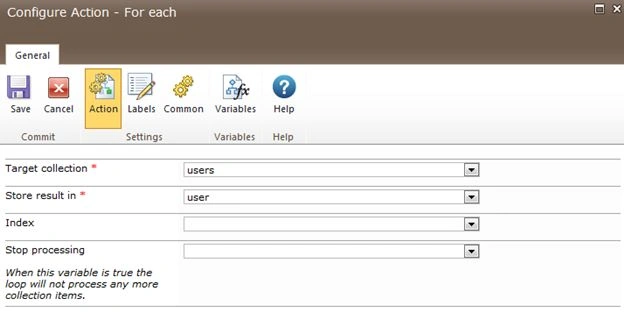
Configure a For each action as shown below.
-
Click on Save.
-
Drag and drop a Send notification action from the User interaction section inside the for each action.
-
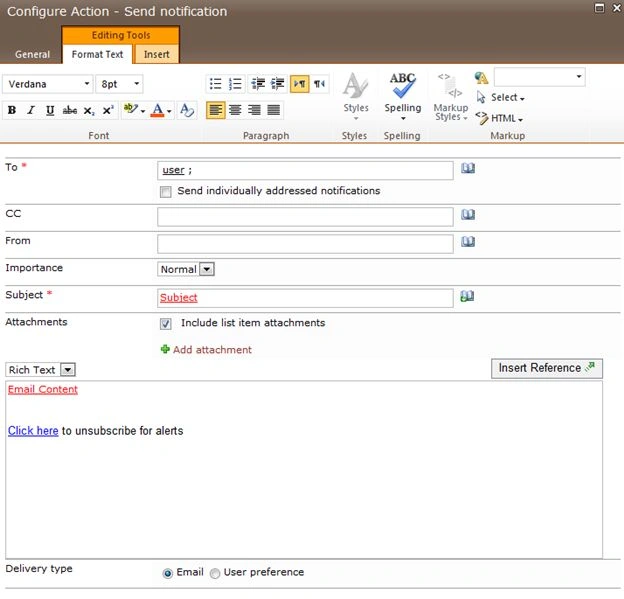
Configure a Send notification action as shown below.
-
Click on the Save button.
Publish the workflow
- Click on the Publish button in the ribbon interface.

- Be sure the Title is set; optionally you can set the values for Description and Change Comments.
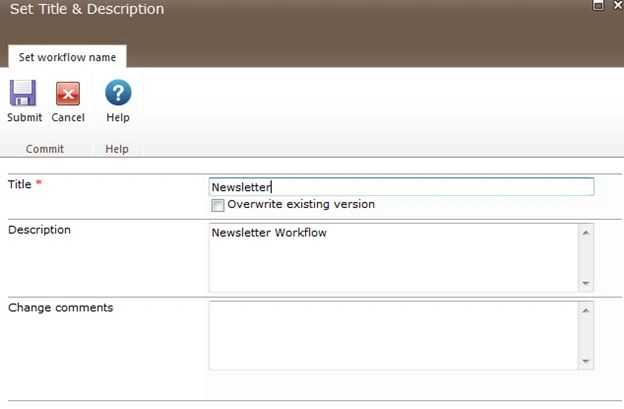
- Click on the Submit button.
- The workflow is published successfully.

Test the workflow
- Navigate to the My Newsletter list.
- Create a new item.
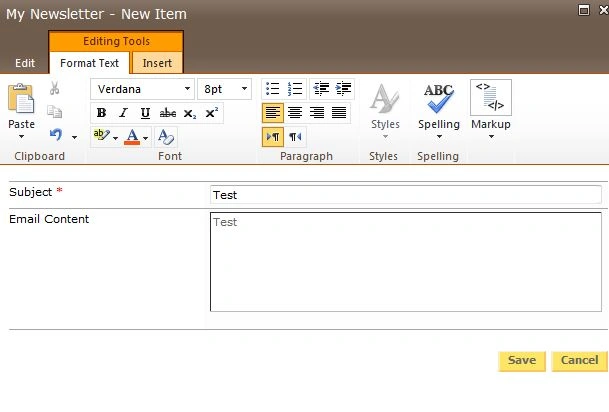
- Select the item and then click on Workflows in the ribbon interface.
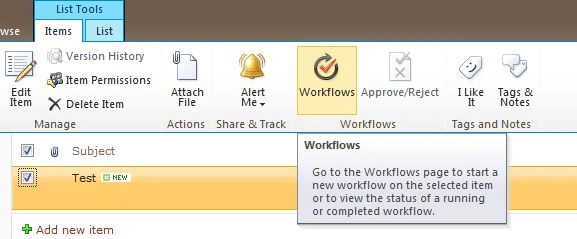
- Click on the Newsletter workflow and then click on the Start button.
- After a few minutes the workflow status will be changed to Completed.
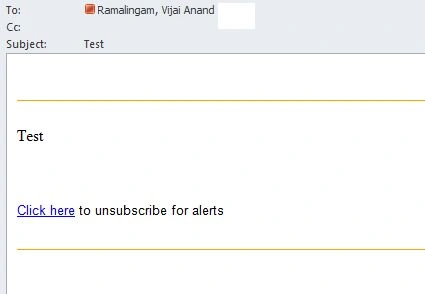
- An email will be sent to individual users as shown below.
Summary
Thus in this article you have seen how to send email to individual users using a NINTEX workflow.
Veena SardaPosted Jan 29, 2015, 12:30 AM
Good, quite detailed one.