

There are many SharePoint components like InfoPath Form Services, Visio, Search Service, Workflows and many more, which rely on SharePoint state service application to application sessions across related HTTP(S) requests in a SQL Server Database.
In this article, we will discuss the steps involved in configuring SharePoint State Service Application using PowerShell.
First, let us go to Central Administration Site to make sure that State Service Application is not available to be provisioned from the UI.
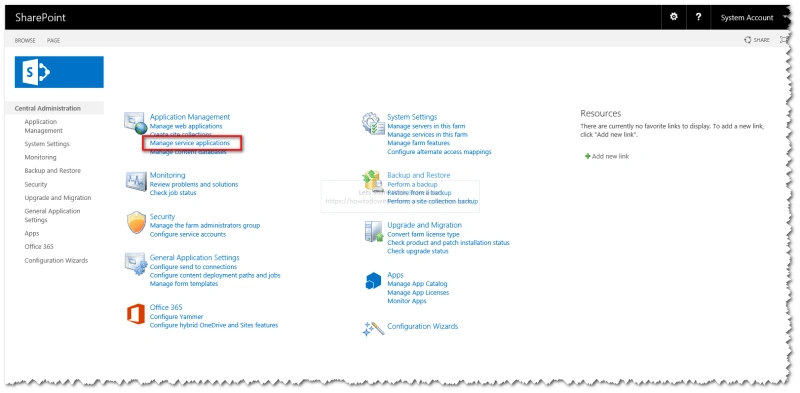
Go to “Central Administration” -> “Application Management” and click on “Manage Service Application”.
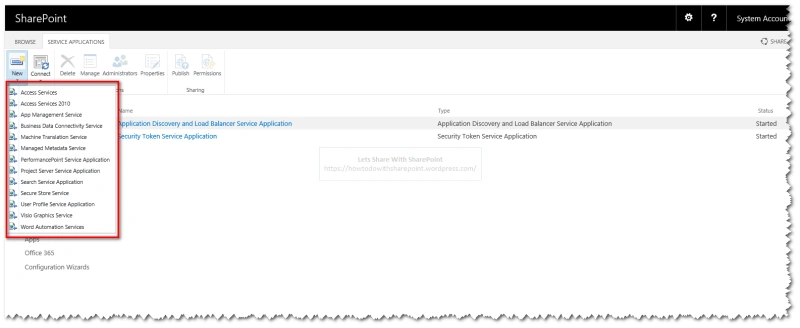
On Service Application page, click “New” menu in Ribbon Bar to see the list of Service Applications that we provision from this UI and we can see State Service Application is missing from this list.
That means we can provision this Service Application only using PowerShell and that is what we are going to do in this article.
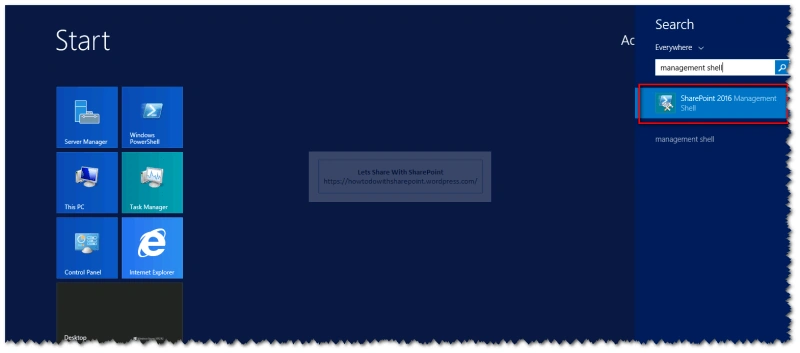
In order to provision the service application using PowerShell, launch “SharePoint 2016 Management Shell” and perform the following steps.
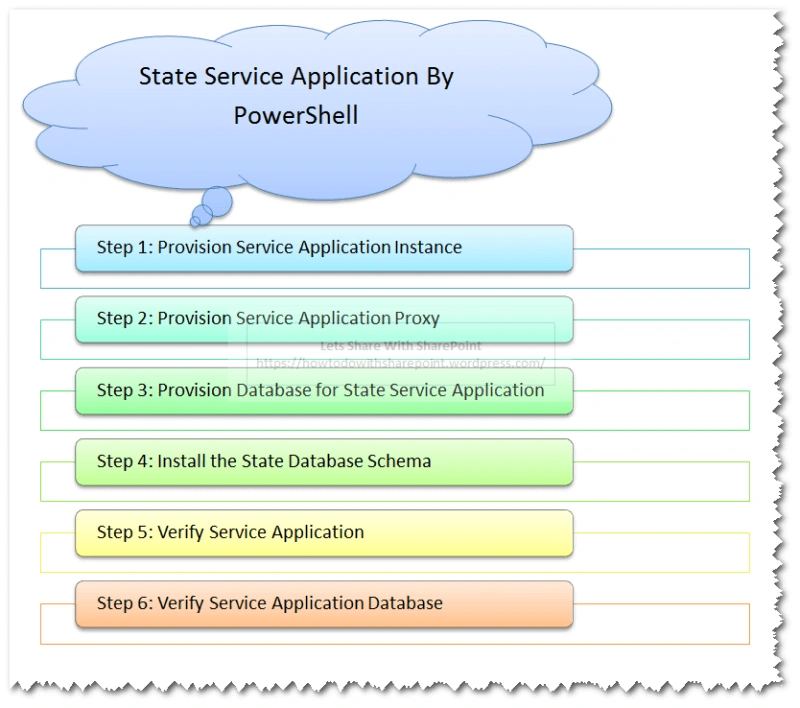
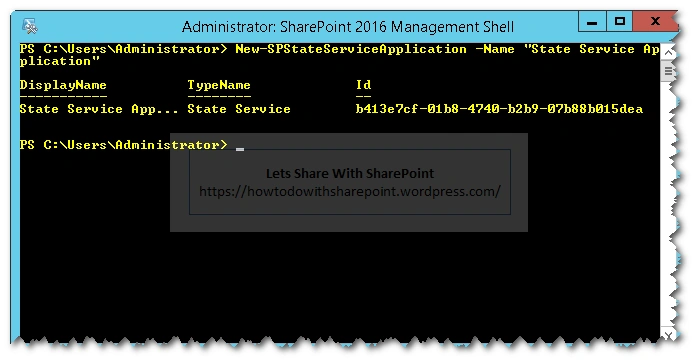
In this step, we will provision the State Service using “New-SPStateServiceApplication” cmdlet, as shown below.
New-SPStateServiceApplication -Name "State Service Application"
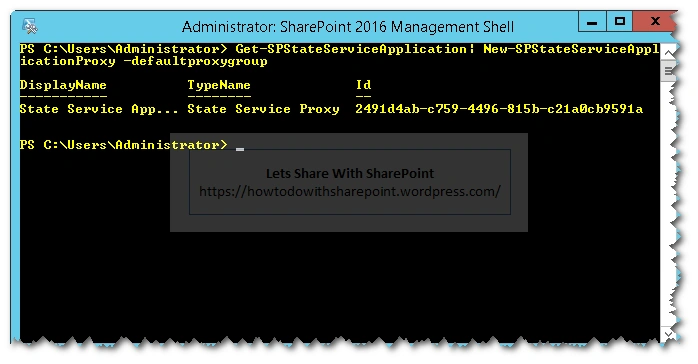
In this step, we will provision Service Application Proxy for State Service by using the following command.
Get-SPStateServiceApplication| New-SPStateServiceApplicationProxy –defaultproxygroup
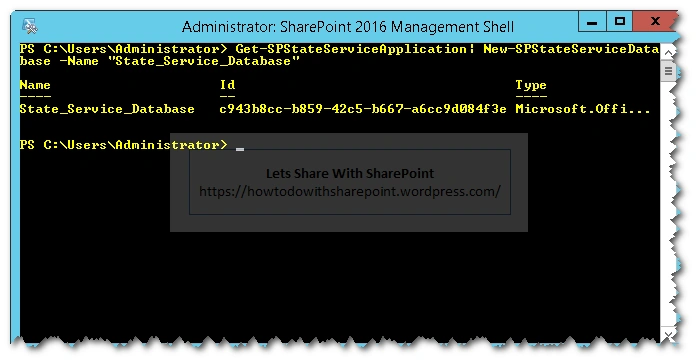
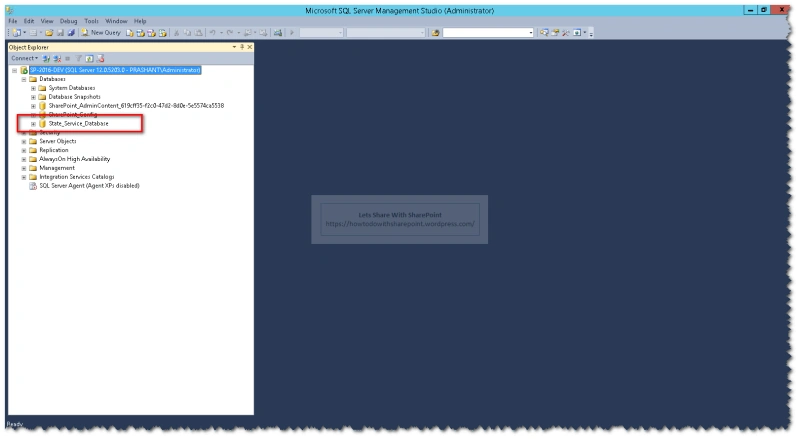
In this step, we will provision the database for State Service Application using the following command. We choose “State_Service_Database” as database name.
Get-SPStateServiceApplication| New-SPStateServiceDatabase -Name "State_Service_Database"
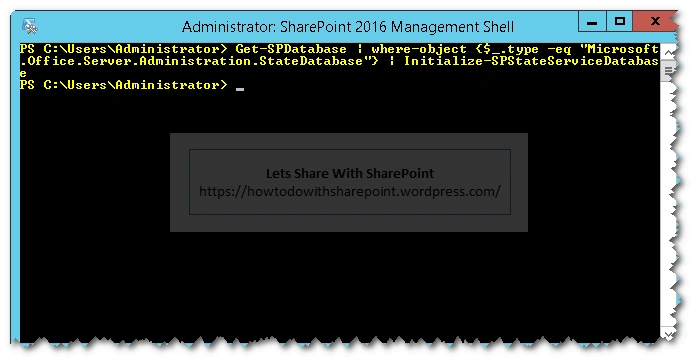
In this step, we will install the database schema into State Service Database by using the following command.
Get-SPDatabase | where-object {$_.type -eq "Microsoft.Office.Server.Administration.StateDatabase"} | Initialize-SPStateServiceDatabase
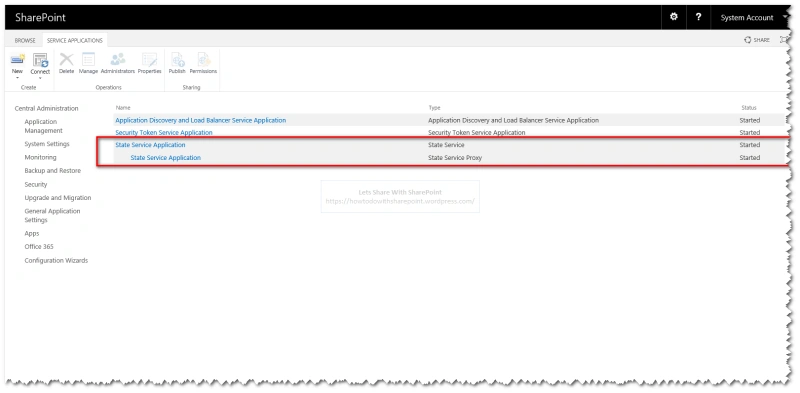
In this step, we will verify the provisioning of the service application by looking at the “Service Application” Page in “Central Administration”, as shown below.
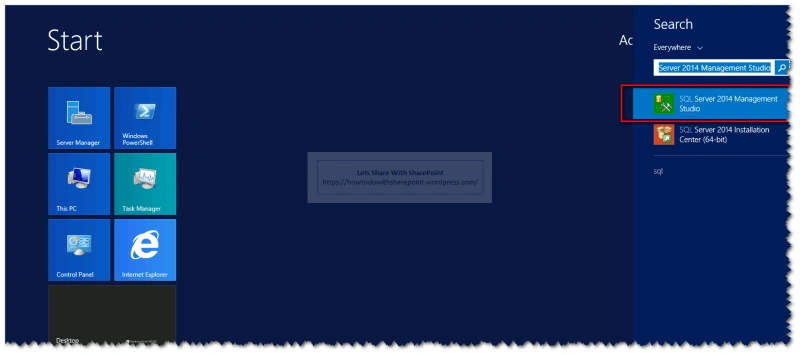
In this step, we will verify the provisioning of service application database by logging into “SQL Server Management Studio”, as shown below.
This concludes the Service Application Provisioning Process using PowerShell.
Hope you find it helpful.
Shubham SawantPosted Sep 11, 2018, 1:22 AM
Nice article !!