

Continuous Integration and Delivery are the foundations of modern software development. Continuous Integration and Delivery process is going to help your team in the following areas.
- Revision Control
- Build Automation
- Automated Deployment
- Reduced Overhead
- Consistent Build Process
- Confidence and Team Communication
- Risk Mitigation
In this article, I am going to show you how to set up Continuous Integration and Delivery for SharePoint Framework Web Part.
Tools Needed
- Visual Studio Team Service – Source Control System
- Visual Studio Code – Code Editor
- SharePoint Framework Development Environment – Refer
- Git Repository Project in Visual Studio Team Service(VSTS)
- Git Commands
- A SharePoint Document Library that acts as a CDN
- SharePoint App Catalog Site
- A SharePoint Site to test the app
SharePoint Framework(SPFx) Git Project Configuration
The first step is to create an SPFx Git Repository Project in VSTS.
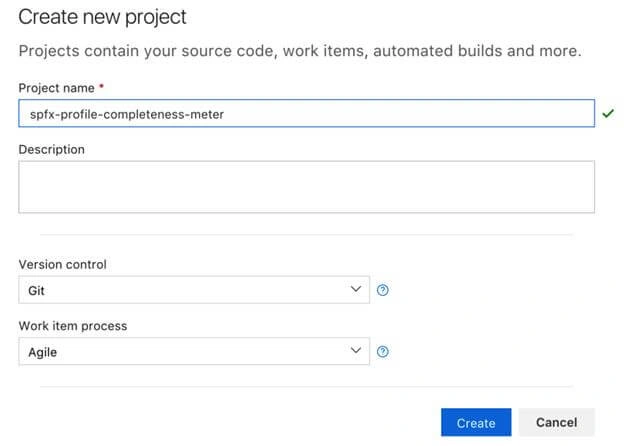
Example:
Let us clone the newly created Git project into our favorite local folder using the following git command.
git clone -b master repopath
SharePoint Framework(SPFx) Web Part Setup
Go to the project directory using command prompt/ terminal and set up your SPFx Web Part project as explained here. I am going to use my sample code here but feel free to write your own logic in your SPFx Web Part.
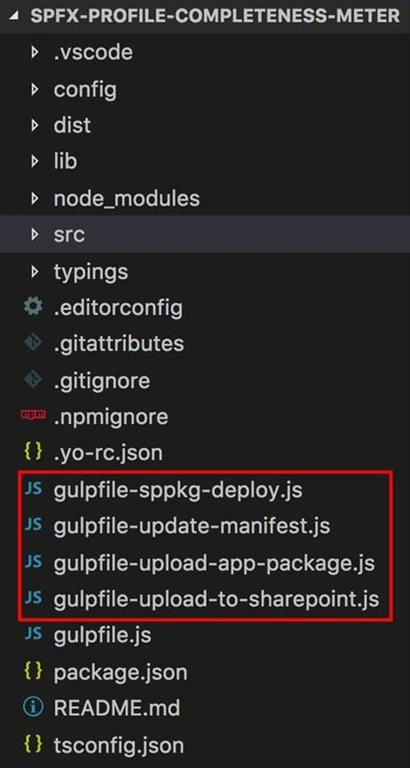
This is my project folder structure.
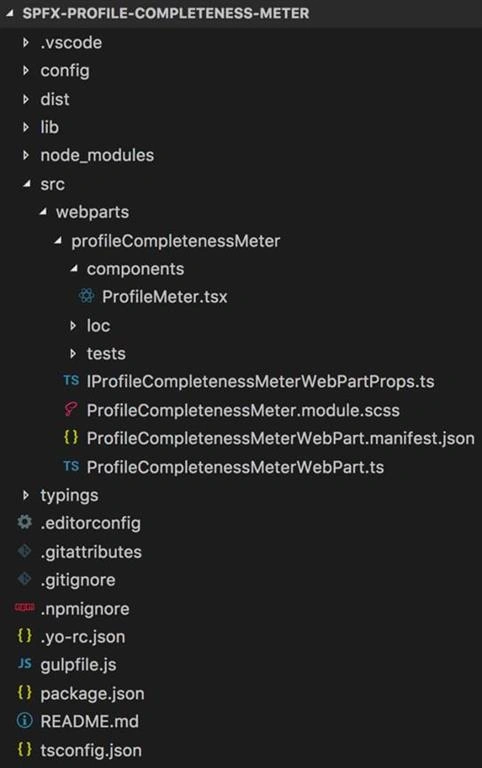
One Time Activity
Let us package artifacts and upload the files in the app catalog site and CDN library.
Open the write-manifests.json file under the config folder and update the cdnBasePath parameter with your CDN SharePoint Document Library path.

Make sure you are still in the project directory you used to set up your web part project. In the console window, execute the following gulp task:

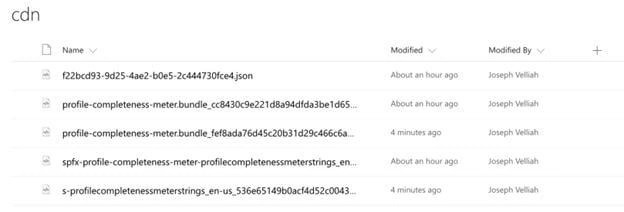
This will build the minified assets required to upload to the CDN library in temp\deploy directory. Go to your CDN SharePoint Library and upload the generated files.

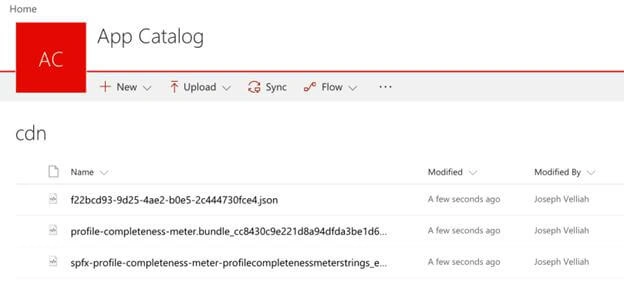
In the console window, execute the following gulp task to package your client-side solution that contains the web part:

The command will create the .sppkg package file in the sharepoint/solution.
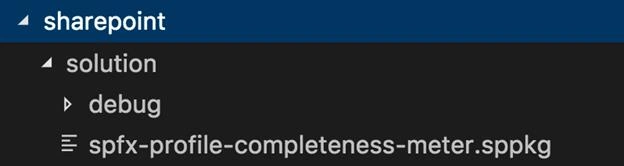
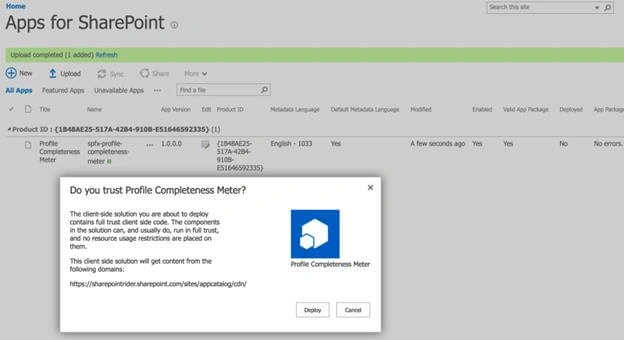
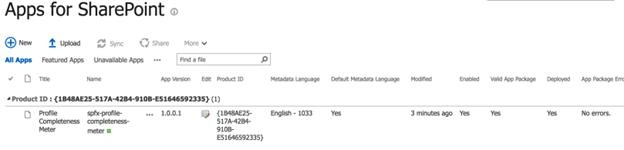
Go to your App Catalog site and upload the generated .sppkg file to the app catalog. This will deploy the client-side solution package. SharePoint will display a dialog and ask you to trust the client-side solution to deploy. Click "Deploy".
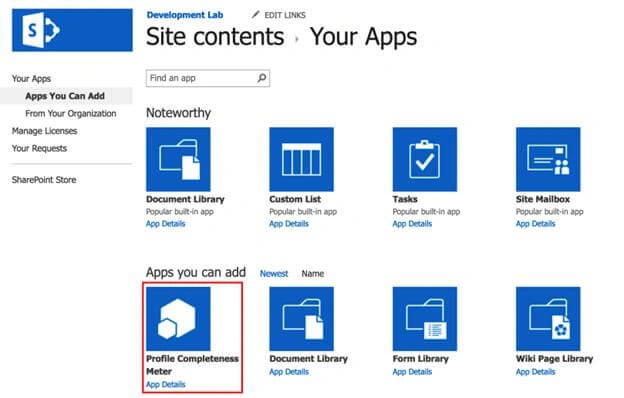
At this point, the web part is ready to be used on a page. Open a site where you want to test the web part and go the Site contents page of the site. Choose Add – App from the toolbar and choose your app to be installed on the site.
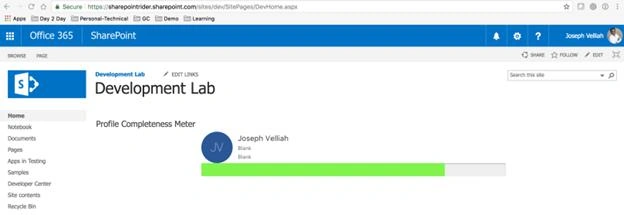
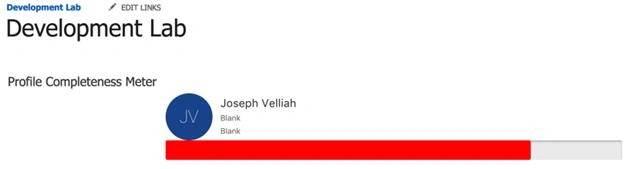
After the app has been installed, add the web part in a page.
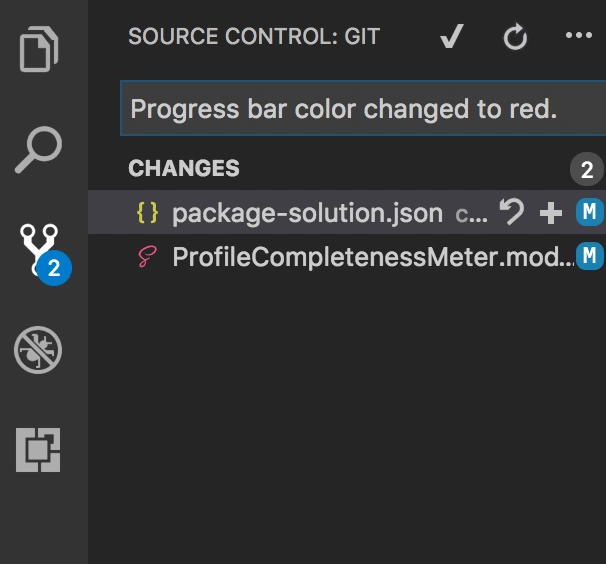
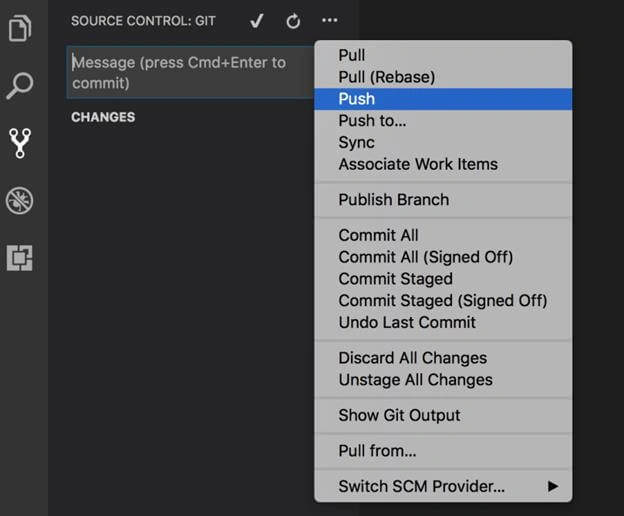
Check-in the code and push the same to the master branch via Visual Studio Code editor.
Climax
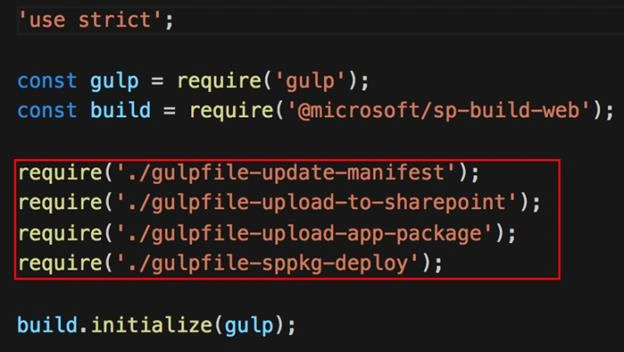
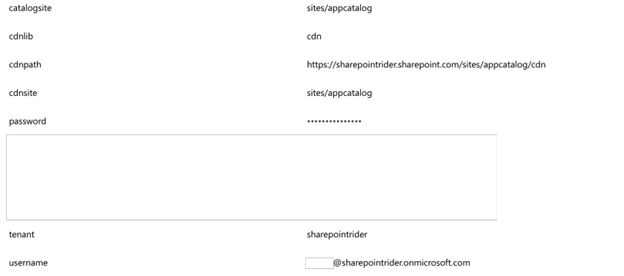
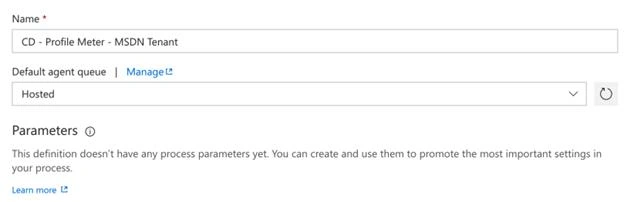
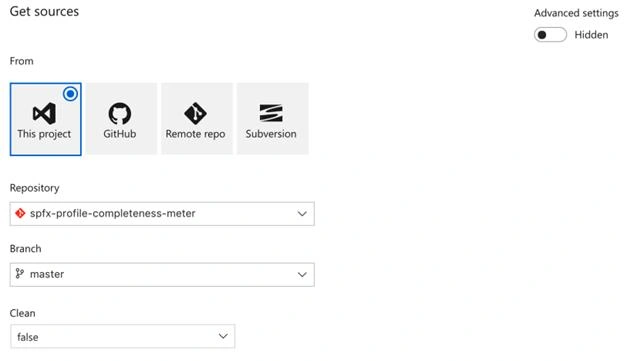
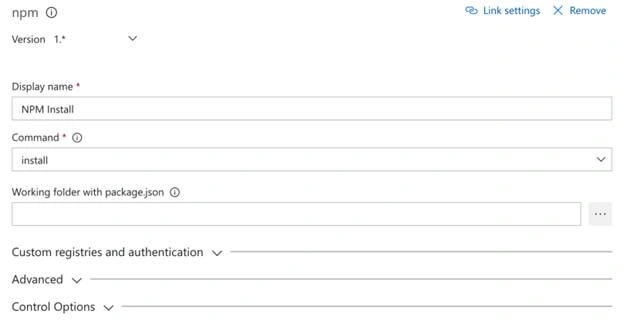
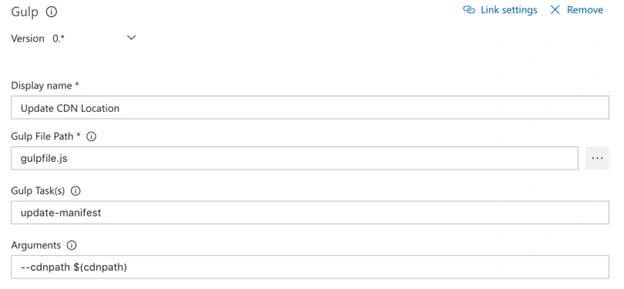
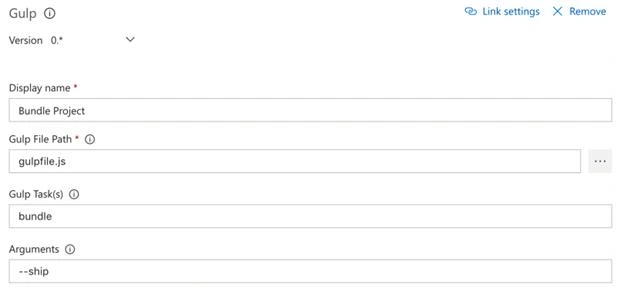
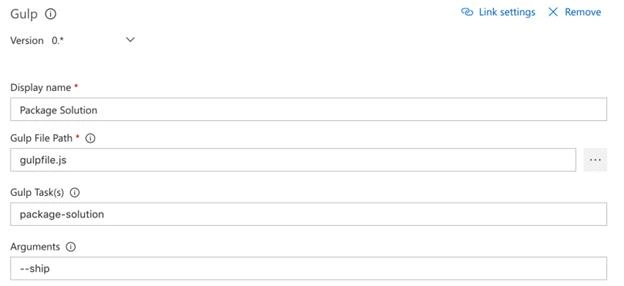
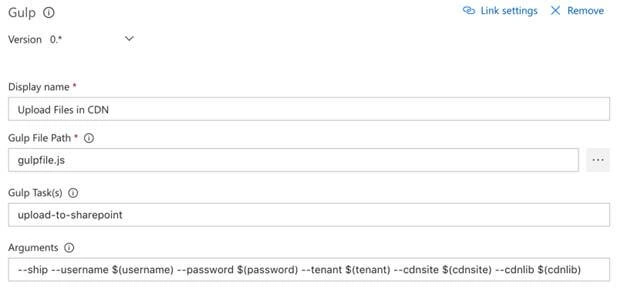
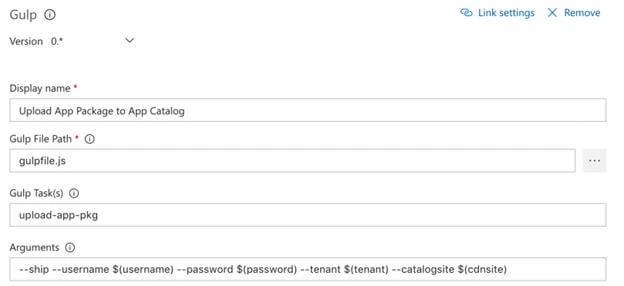
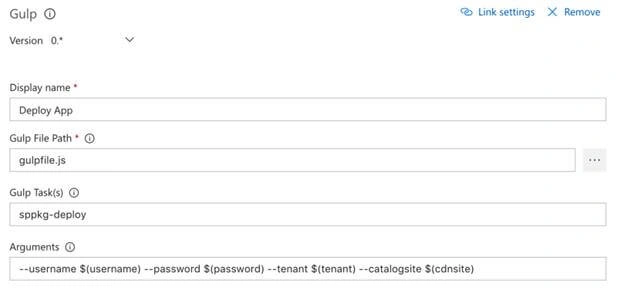
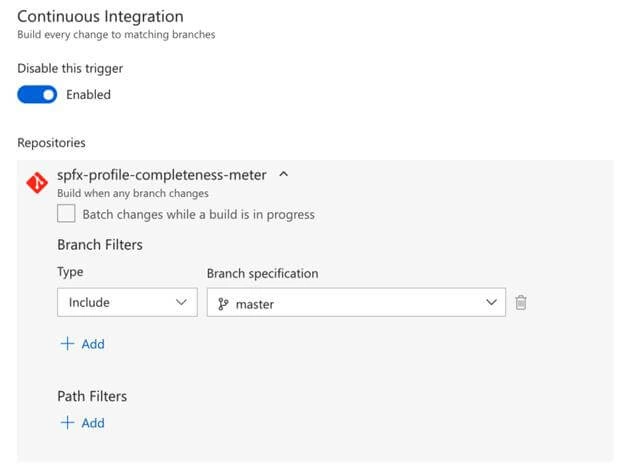
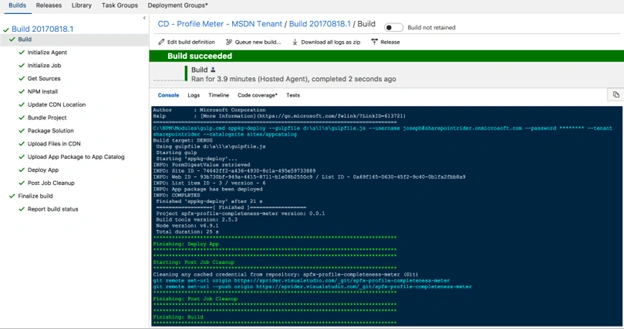
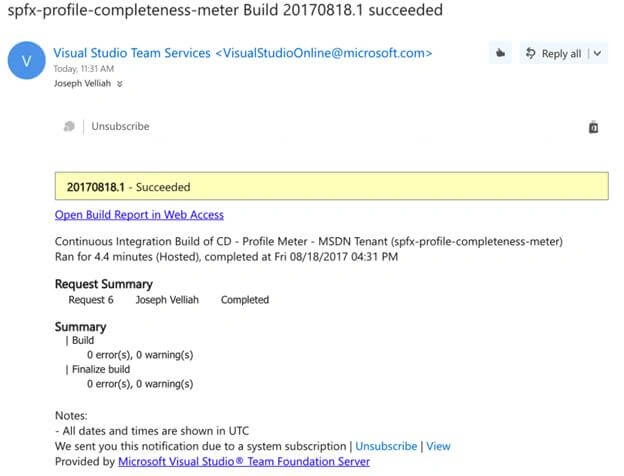
At this point, we are ready to integrate our SPFx web part project repository with VSTS continuous build and release process.


Vinay AyinapurapuPosted Apr 8, 2022, 2:14 PM
Excellent article.
Praveen KanamarlapudiPosted Feb 6, 2020, 12:30 AM
Hi, thanks for the article, all steps are successful but the app is not taking the latest version in catalog, any idea
Andrei PetrukovichPosted May 23, 2019, 5:41 AM
Joseph Velliah Thank you. What about the last step: installation/upgrade the solution on the site?
Muthu KumarPosted Feb 8, 2019, 11:46 PM
Nice Article Joseph. Thanks for sharing..
Ano MepaniPosted Feb 8, 2019, 10:02 PM
Very well explained for CI/CD pipelines with sharepoint