

Introduction
This article shows Form Authentication in ASP.NET MVC applications. There are many web applications that restrict access to specific resources; those resources are only accessible by the authenticated users. Form Authentication authenticates the user for accessing the resources when the user is logged onto the site.
We create a web application project template for the ASP.NET MVC application that provides the controller, model class and views for adding the ASP.NET Form Authentication to the application. There are many functions, they are Logon, Logoff and Change Password.
Now create the MVC application..
Step 1
Open Visual Studio 2010 then use the following procedure:
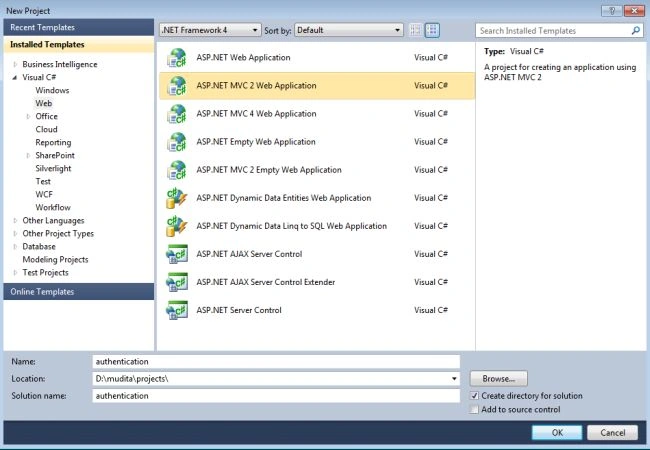
- From the start page select "New Project".
- Select "Visual C#" -> "Web".
- Select "MVC2 Web application".
- Change the name of the application and click on the "OK" button.
After creating this project the Solution Explorer looks like this:
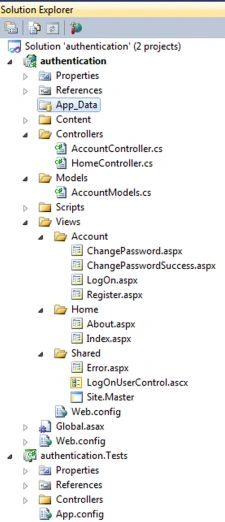
The Controllers folder has the "AccountController" that contains the "Action" method that can register the new user login and logout of the user of the application. We can change the password of the existing user. the the "view folder" contains the "Account folder" that has the views for supporting these actions. The "Model Folder" contains the "AccountModels.cs " class, this class defines the data objects, services and validation that supports Form Authentication.
Step 2
Now we register the user.
- Execute the application by pressing F5.
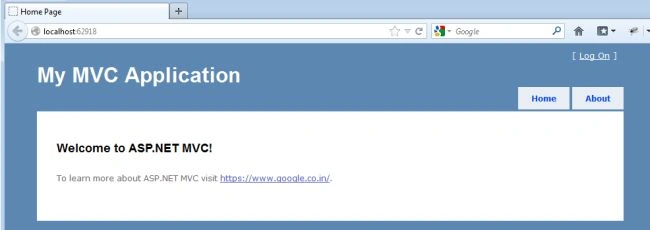
- At the top right corner click on "Log On".
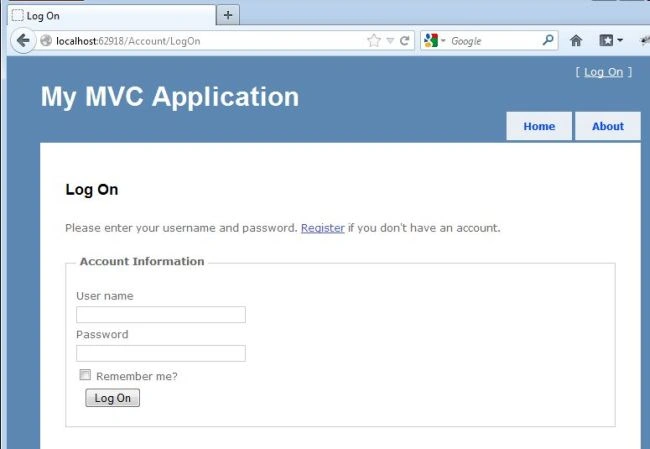
- Now click on "Register".
- Enter the Username, Email address, Password and Confirm Password.
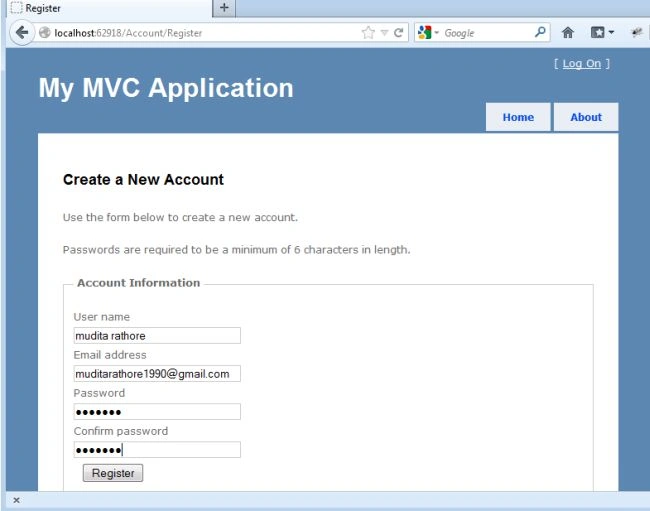
- Now click on "Register" button.
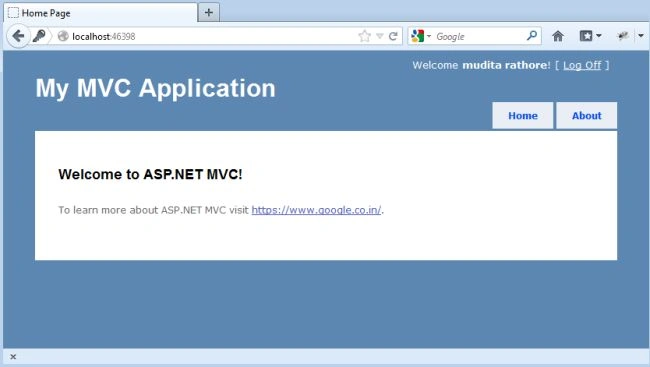
- You are successfully registered.
- When we click on the link "http://www.google.com" it opens the Google page.
Step 3
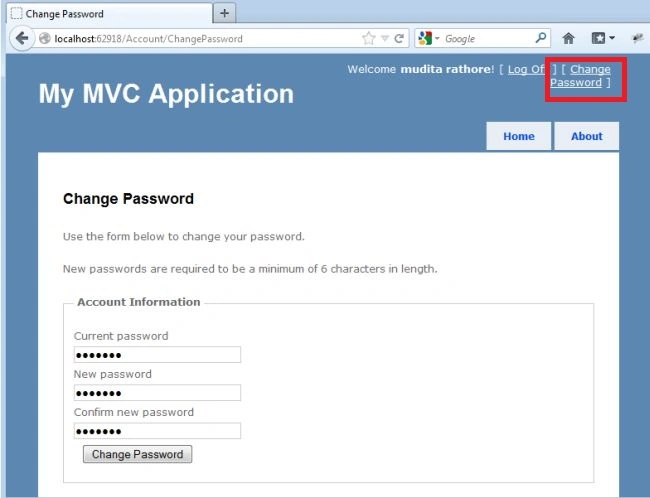
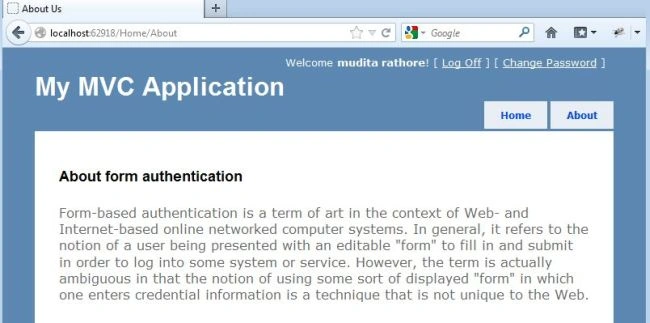
For changing the password, we apply some changes to the application.
Join the conversation! Your thoughts help the community grow.