

If you want to learn how to update from .NET Core 1 to .NET Core 2 then read this blog.
To get started, follow these steps:
Step 1
Start Visual Studio 2017
Step 2
Click on Create New Project
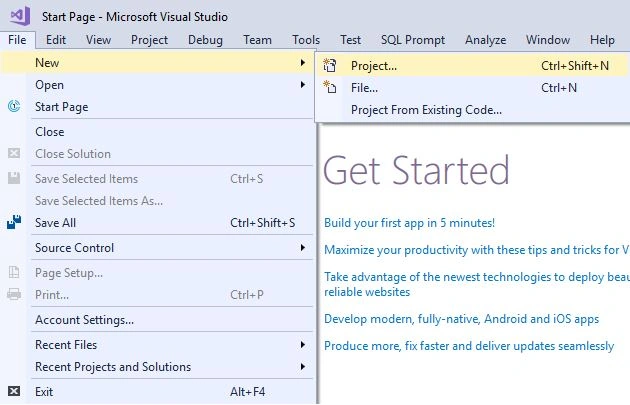
Image 1.
Step 3
Select .NET Core from Web template and select ASP.NET Core Web Application and choose project name and browse location to save and click OK.
Select .NET Core from Web template and select ASP.NET Core Web Application and choose project name and browse location to save and click OK.
 Image 2.
Step 4
Check the version and select Angular from the template and click OK.
Check the version and select Angular from the template and click OK.
 Image 3.
Step 5
As you can see, a new Angular project is created and all required files are added with some default components, router, and navigation and with some sample data.
As you can see, a new Angular project is created and all required files are added with some default components, router, and navigation and with some sample data.

Image 4.
Step 6
Let’s try to run the project without changing anything to see the default output.
Let’s try to run the project without changing anything to see the default output.

Image 5.
Go ahead and start building your work in .NET Core with Angular.
Gajendra JangidPosted Mar 28, 2018, 6:51 AM
Nice blog..................
Amit Kumar SinghPosted Mar 25, 2018, 9:47 AM
Thanks for sharing ...