

In this blog you will understand how to host your existing website into azure.To host your website into Azure, you need to have an azure account with a subscription. In case you don’t have you can always create by going to the Azure Portal ( www.portal.azure.com )
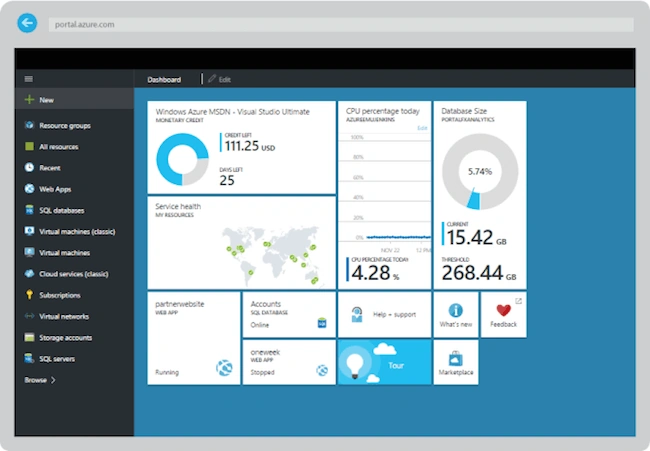
Microsoft Azure makes the hosting of website much easier with a few single clicks. Once your account is ready you will go to Azure Portal. Here is how it looks like.
Requirements
- Azure Account with a Subscription( Dreamspark, free trial,etc..)
- Existing Website
- Any Editor ( say Notepad)
Step 1 - Create a Web app using Azure Portal.
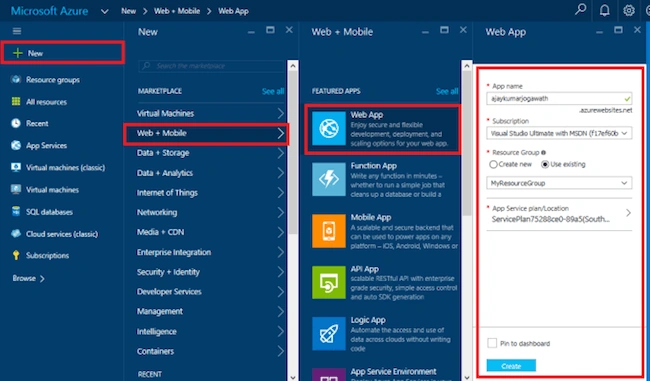
Now click on New, select Web + Mobile and then Web App. Fill out the details to create a web app.
Step 2 - Connect to Azure using FTP
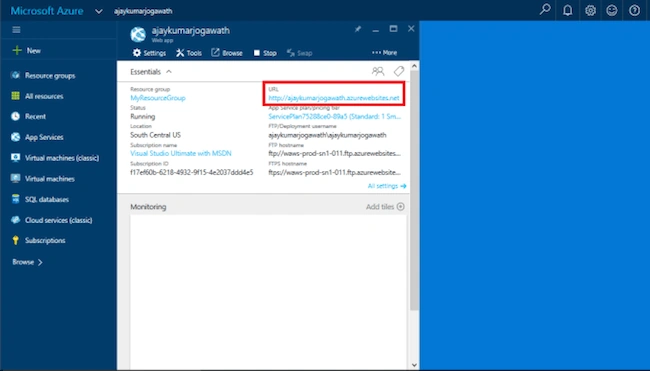
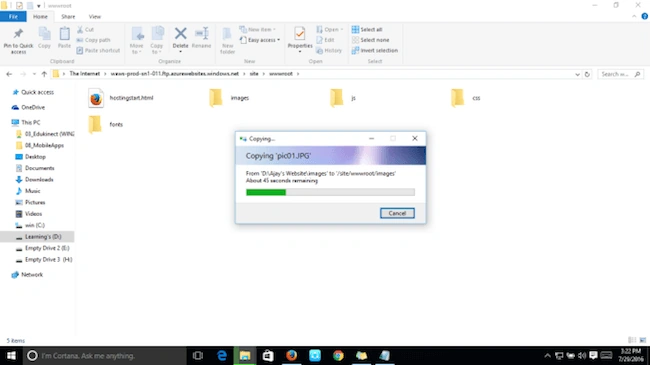
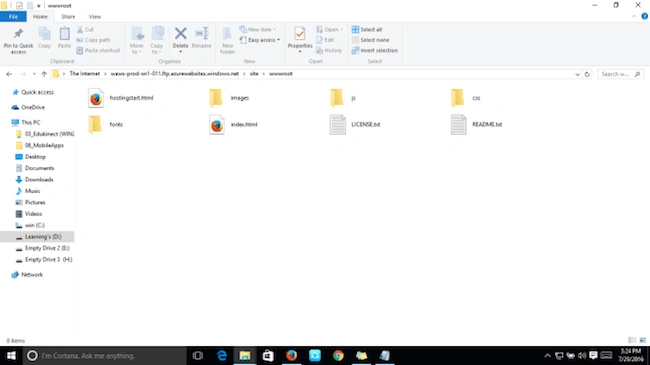
If you click on that URL, it will open your currently created web app. We want our website to be displayed when it is hosted. So, now we will be try to host our website using FTP by uploading our files.
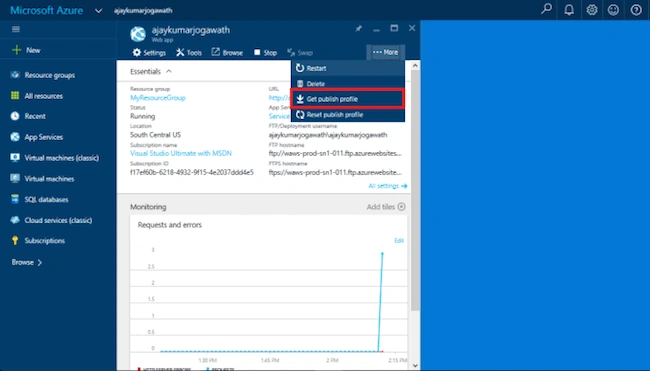
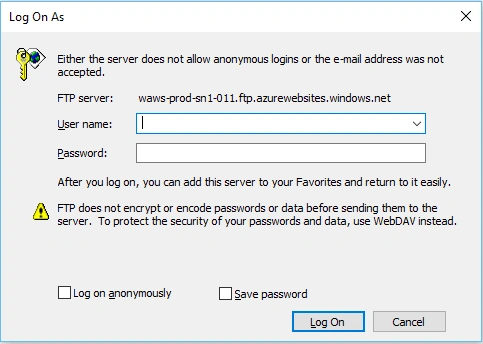
When you click on Get Publish Profile it will download a file with an extension PublishSettings. Open that file using a notepad and you will be able to see all the details related to FTP Settings,
Publish URL, username, password. These will be used to connect using ftp to the Azure.
So, open the file and you will be able to see publish URL as above
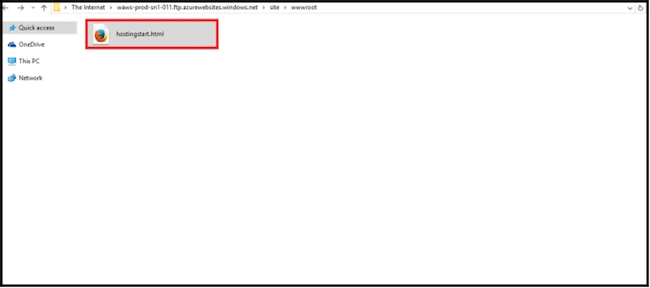
Publish URL = ftp://waws-prod-sn1-011.ftp.azurewebsites.windows.net/site/wwwroot
Now copy the same URL and open it in the File Explorer.

Join the conversation! Your thoughts help the community grow.