

Step 1
Add new website.
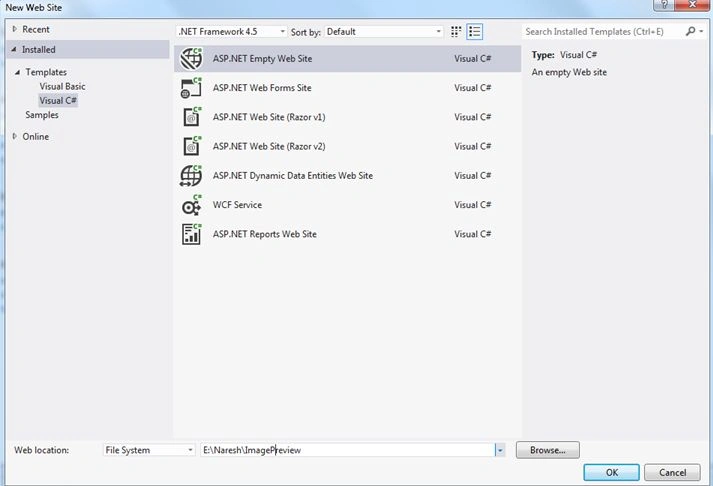
Step 2
Add new WebForm to the website.
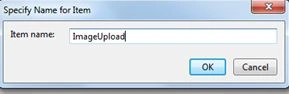
Step 3
Add JQuery Script File to the Project.
Step 4
With in the <body> use <input> tag for file control and <div> section to display preview image.
- <body>
- <form id="form1" runat="server">
- <div>
- <input type="file" id="preview" accept="image/png,image/jpeg,image/gif" />
- <br/>
- <br/>
- <div id="dvPreview">
- <imgid="blah" src="http://i.imgur.com/zAyt4lX.jpg" alt="your image" height="100" />
- </div>
- </div>
- </form>
- </body>
Within the <script> use file upload “change” event for file upload control like.
- $("#preview").change(function () {}
Check whether the file is defined,
- Define a regular expression for imagetype.
- var regex= /^([a-zA-Z0-9\s_\\.\-:])+(.jpg|.jpeg|.gif|.png|.bmp)$/;
- Condition to check the file: if (typeof (FileReader) != "undefined") {}
- If the image is in valid format the following code can be followed to preview an image within the selected
- <div> section.
- $($(this)[0].files).each(function () {
- var file = $(this);
- if (regex.test(file[0].name.toLowerCase())) {
- var reader = newFileReader();
- reader.onload = function (e) {
- varimg = $("<img />");
- img.attr("style", "height:110px;width: 110px; border: 1px solid #ddd;border-radius: 4px;padding: 5px;");
- img.attr("src", e.target.result);
- dvPreview.append(img);
- }
- reader.readAsDataURL(file[0]);
- }
- else {
- alert("Invalid format.");
- }
- }
- });
Here in the above code style attributes are also defined for image.
Before selecting the Image.
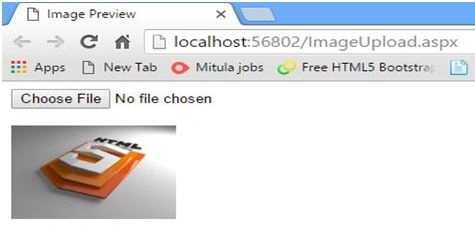
After selecting the Image.
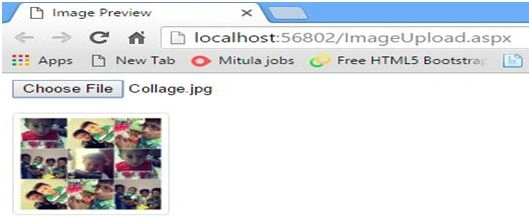
Here is the total code,
VENKATESH POTTABATHINIPosted Jun 19, 2016, 1:16 PM
Thank you very much its really helped me a lot