

Microsoft Azure provides a cloud-based SQL Server. It can quickly scale the database up or down depending on your business needs.
In this blog, we will understand how to create a SQL Server in Microsoft Azure portal and use it with Visual Studio code.
Let’s get started.
Create Azure SQL Server:
Log in to your Azure portal, then click on create a resource in the left side menu.

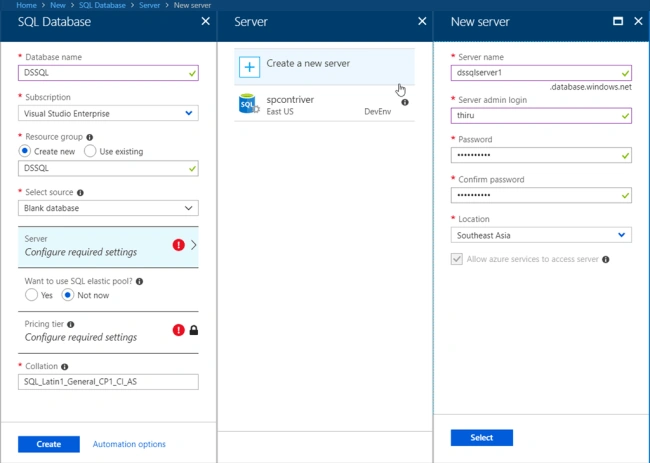
You want to enter a valid database name, subscription, and resource group. I am selecting a blank database. We must configure server name & login credentials so that we can access it over any of the tools and sources.

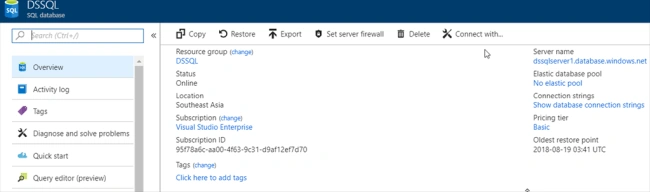
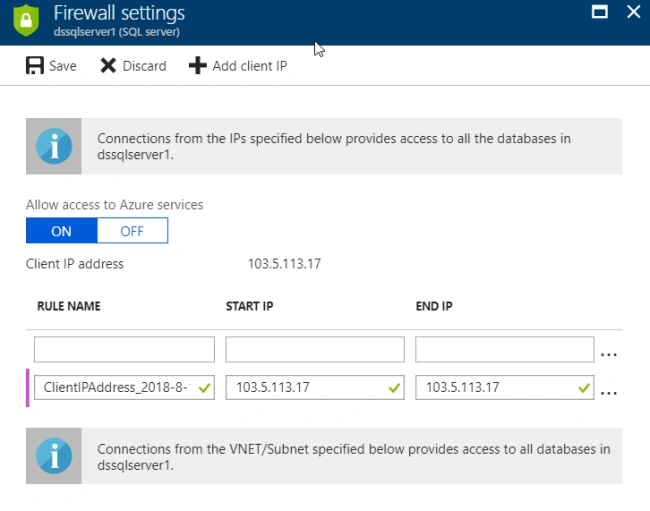
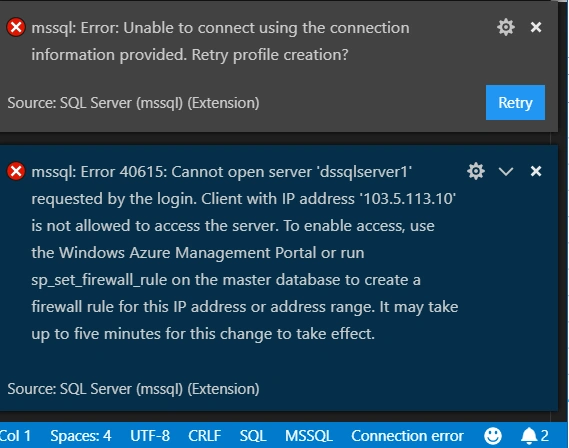
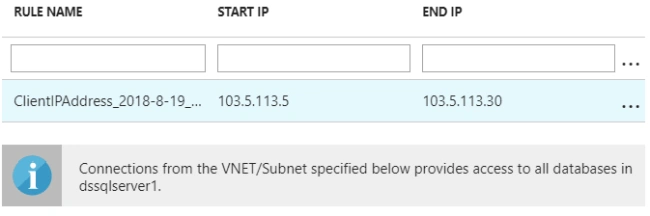
Now it will show the current IP Address. You can grant access permission to an IP address.
Use with Visual Studio Code
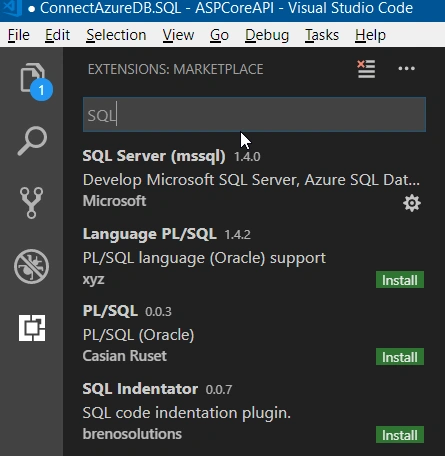
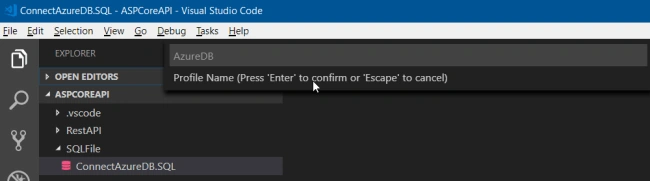
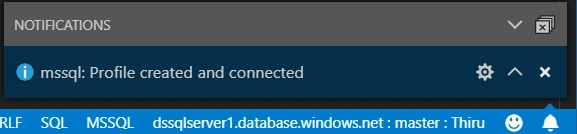
You will download VS Code from here. Open VS code Editor. Then go to Extensions tab, find the SQL and install the one with SQL Server (mssql)

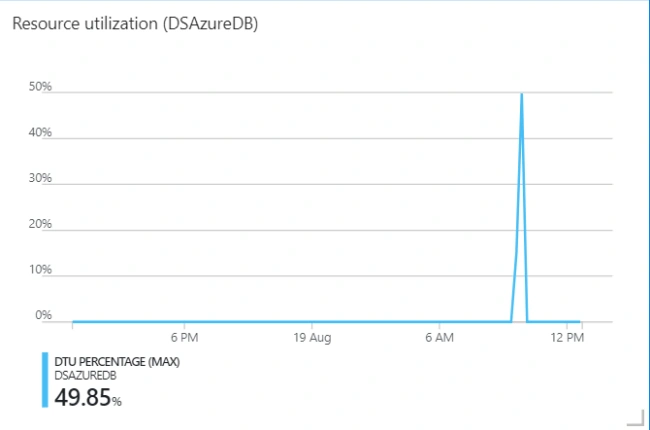
Also, we can monitor our resource utilization.
Join the conversation! Your thoughts help the community grow.