
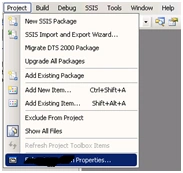
Step 1: In Visual Studio, Select Project à Properties as shown below.
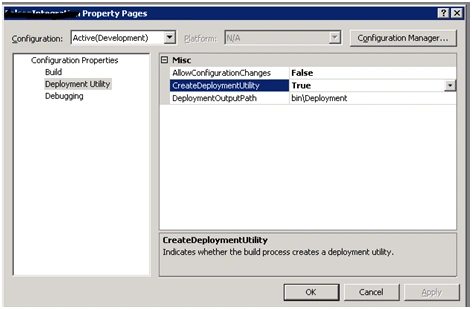
Step 2: Click Deployment Utility (from Left side) and change Create Deployment Utility value to True.
Step 3: Build the project.
Step 4: Open the <Project>\bin\Deployment folder and double click the ProjectName.SSISDeploymentManifest file.

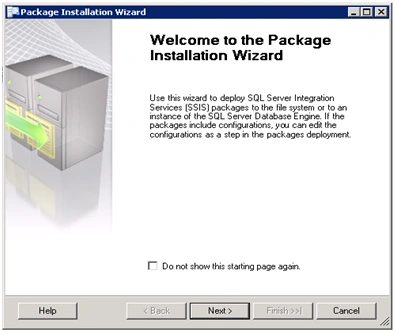
Step 5: Click next in the Welcome wizard page.
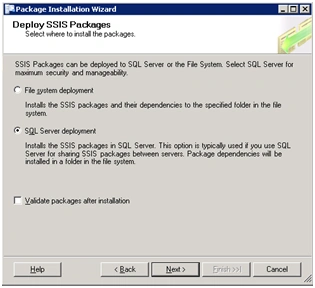
Step 6: Select SQL Server deployment option.
Step 7 : In the server name textbox, specify the SQL Server name and use SQL Server authentication. Use sa username(User having deployment permissions) and related password.
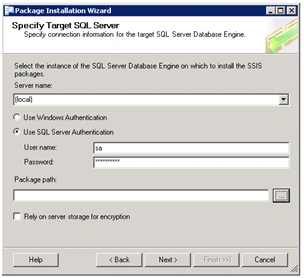
Step 8: Click the Package path option and select “Maintenance Plans” folder.
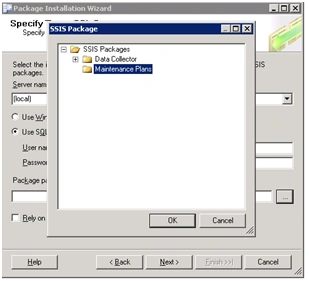
Step 9: Click Next.
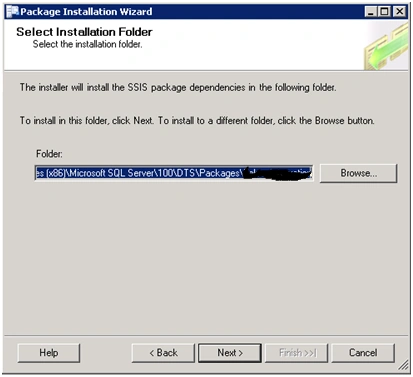
Step 10: Click next.
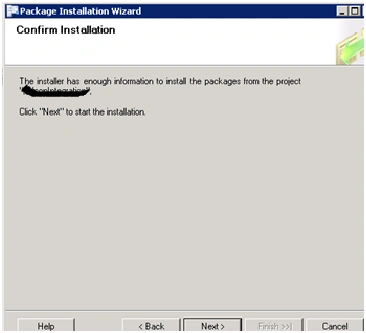
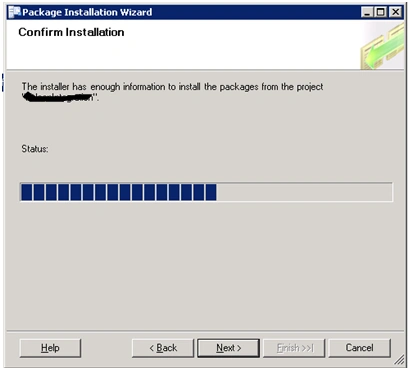
Step 11: In the confirmation installation window, click Next.
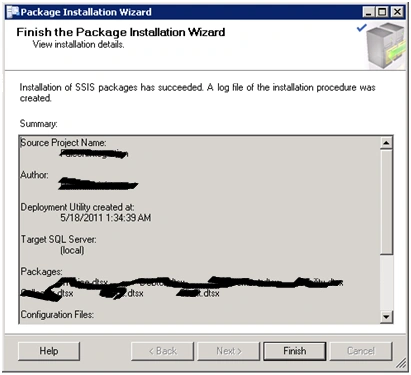
Step 12: From this window shoes the list of deployed packages. The Deployment is successful and the packages are ready for execution. The packages can be scheduled as per the requirement but the execution sequence should be in the specified order as per Package Execution Sequence to avoid dependency issues.
Join the conversation! Your thoughts help the community grow.