Prologue:
Microsoft Visual Studio LightSwitch 2011 is a flexible, business application development tool that gives a chance to become an end-user as a developer. LightSwitch provides the way to create Desktop and Web applications within a minute. You may wonder how it is possible to create a business application within a minute.
Yes, you can create a business application within a minute using LightSwitch. For that you need to do the following.
Visual Studio LightSwitch 2011 Released:
Microsoft Visual Studio LightSwitch 2011 has been released on 26th July 2011 as the first version of the product. You may already know about this but those who are new to LightSwitch, this article will help to know about LightSwitch 2011.
This is a new tool for building [CRUD] business Application using Visual Studio IDE. If you feed a database to LightSwitch, LightSwitch will give you the application for you with a great UI.
For more information on Visual Studio LightSwitch 2011 visit LightSwitch Official Site.
How to Install Visual Studio LightSwitch 2011:
You can download the trail version of LightSwitch 2011 here,
For a MSDN Subscriber, Microsoft allows them to download it from the Subscriber's download page for FREE.
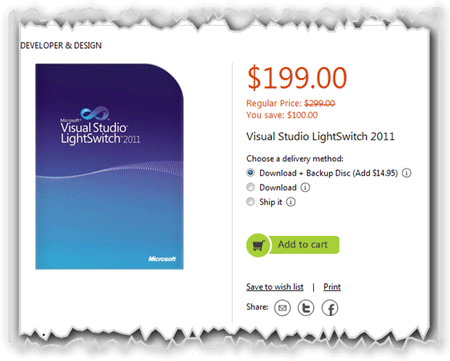
Planning to buy?
If you are planning to buy LightSwitch 2011, this is the right time to buy. Yes, Microsoft provides offers on product.
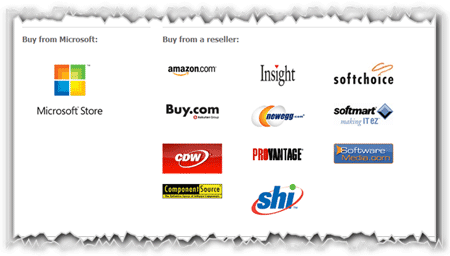
You can buy the product from,
Instructions to install LightSwitch 2011:
- Any Beta versions of LightSwitch is installed on your machine must be uninstalled before installing the RTM version of this product.
- If you have already installed Visual Studio 2010 Professional or higher version, LightSwitch will automatically integrate with that IDE else it will install new Visual Studio 2011 LightSwitch IDE.
- You must install the Visual Studio 2010 SP1 before installing LightSwitch.
If you are running the Visual Studio LightSwitch 2011 Web Installer, then you have met this step,
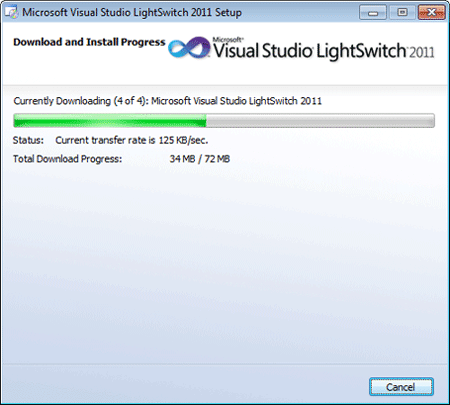
Just click on Install Now to start LightSwitch installation.
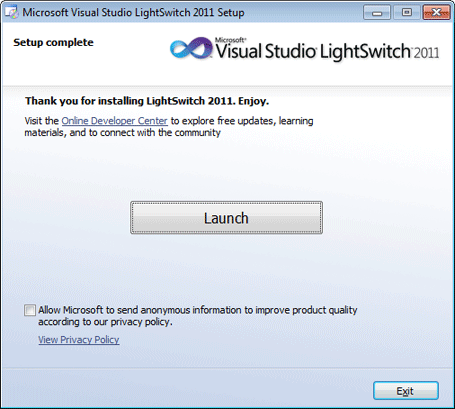
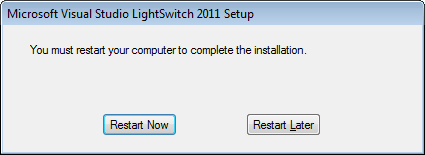
You need to restart your system.
So we are ready to start with LightSwitch.
Let me see you with a new LightSwitch article saying that how to create LightSwitch Applications.
Summary:
In this article, we have seen about how to get started with LightSwitch 2011.
Thanks for spending your precious time here. Please provide your valuable feedbacks and comments, which make me to give a better article next time.
Thanks.