

- Open a new document in Microsoft Expression Design 4.
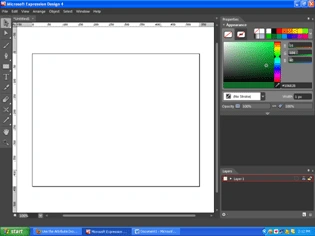
Figure 1.
- Select a Rectangle from the tools and draw it with height and width fit to your screen. Fill the Rectangle with black color.
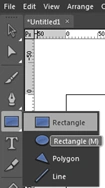
Figure 2.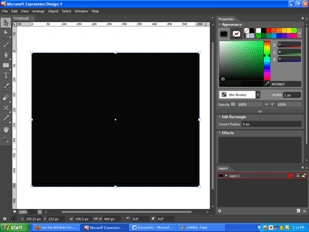
Figure 3.
- Import an Existing Image, i.e. File -> ImportImage :
And choose the image that you want on your design Screen.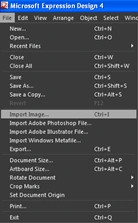
Figure 4.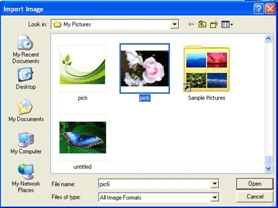
Figure 5.
Your window should be like this:
Figure 6.
- Now Crop the Image:
Select the image and under the Object menu is a pop out menu called "Image". Here you will get "Create Image Object" option: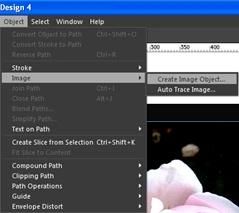
Figure 7.
- Drag a rectangle around the area you wish to Crop; a pop-up "Rasterise Area" appears showing dpi =96 (which is default) if you want to change than you can, and click OK:

Figure 8.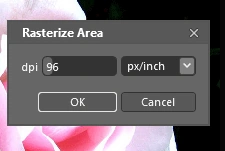
Figure 9.
- You will see a rectangle on the image outlining the new Image. Save the new image:
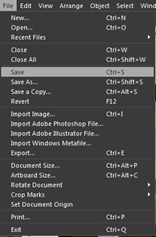
Figure 10.
- If you want to see your cropped image on your artboard then drag it to another part of the artboard you will see two images :-- one original and one cropped:
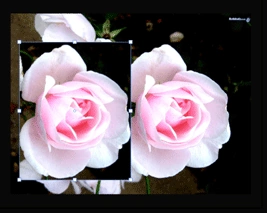
Figure 11.
For Tracing the Image
- Open another Document in "Microsoft Expression Design 4" and repeat the same procedure up to Importing the Image.
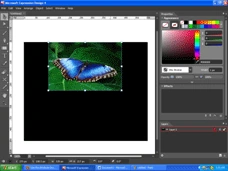
Figure 1.
- Select the Image and under the Object menu click "Image". Here you will get "Auto Trace Image" option, after clicking on this you get a pop-up box "Auto Trace Image" click OK:
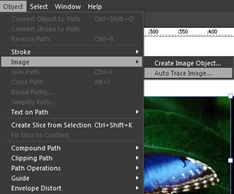
Figure 2.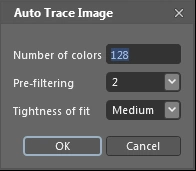
Figure 3.
Now your Image Should be like this: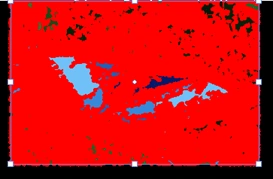
Figure 4.
- Drag the image downwards and wait for response.
- And after few seconds you will get your Traced Image. To see it clearly click somewhere else on the window:
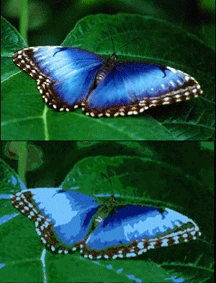
Figure 5.
Manish TewatiaPosted Feb 3, 2011, 11:36 PM
Very nice article thank you for sharing...