

The Battery Class provides information about a battery controller that is currently connected to the device,
Step 1: Open a blank app and add a Button and a TextBlock either from the toolbox or by copying the following XAML code into your grid.
- <StackPanel>
- <TextBlock Text="Battery Status" Margin="10" FontSize="20"></TextBlock>
- <StackPanel Margin="10,20,0,0">
- <Button Name="getBatteryStatus" Height="40" Width="140" Content="Get Battery Status" Click="getBatteryStatus_Click"></Button>
- <TextBlock Name="batteryStatus" Margin="10,20,0,0" Height="50" FontSize="20"></TextBlock>
- </StackPanel>
- </StackPanel>
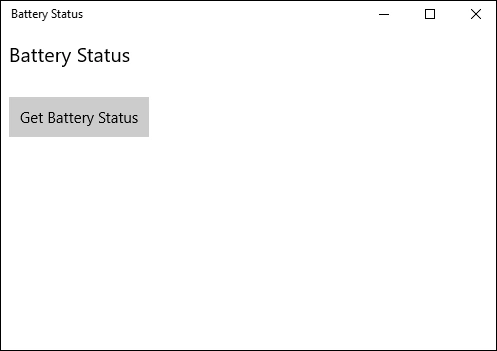
Step 2: Add the following namespaces to your project which is needed in further C# code.
- using Windows.Devices.Enumeration;
- using Windows.Devices.Power;
Step 3: Copy and paste the following code to the cs page which will be called on button click event and the battery status in the TextBlock.
- private async void getBatteryStatus_Click(object sender, RoutedEventArgs e)
- {
- var deviceInfo = await DeviceInformation.FindAllAsync(Battery.GetDeviceSelector());
- foreach (DeviceInformation device in deviceInfo)
- {
- var battery = await Battery.FromIdAsync(device.Id);
- var report = battery.GetReport();
- double maximum = Convert.ToDouble(report.FullChargeCapacityInMilliwattHours);
- double remaining = Convert.ToDouble(report.RemainingCapacityInMilliwattHours);
- double percentage = ((remaining / maximum) * 100);
- int per = Convert.ToInt32(percentage);
- batteryStatus.Text = "You have " + per.ToString() + "% battery remaining" ;
- }
- }
Here we are calculating the percentage by using the FullChargeCapacity and RemainingCapacity values.
Step 4: Run your application and test yourself.

Sainul AbidPosted Dec 11, 2016, 8:14 PM
Good it's so helpfull great work
Ankit BansalPosted Jan 18, 2016, 12:35 AM
Really helpful..
Santhakumar MunuswamyPosted Jan 17, 2016, 2:05 PM
Thanks for nice share
Gowtham KPosted Jan 16, 2016, 11:15 PM
Good One