

Model-Driven Form(Reactive Form)
In a model-driven approach, the model-driven form which is created in the .ts file is responsible for handling all the user interactions/validations. First, we need to create a model using Angular in-built classes like form group and form controls and then we need to bind a model in the HTML form.
Model-driven forms are more powerful and flexible.
These are some things that we can't do with template-driven forms, but with the model-driven form, we can perform those things. If we want to detect if any changes are occurring in any variable we can do that with model-driven form. We can easily use two-way data binding in model-driven forms.
Reactive form in angular technique to manage your form in a reactive manner it means that you can manage your form and validation in our component.
These forms are the best option when we need a complex form.
It is easy to implement like using a model in control, with forms controls. These forms are called model-driven forms because of the model act as a mediator between the component and template. we need to import ReactiveFormsModule in our appModule.ts file.
In the .ts file, we need to import 3 more libraries (FormGroup, FormBuilder, and FormControl ).
- FormControl:- it tracks the value of the controls and validates the invalid controls in the form. in the reactive form, we need to initialize FormControl object to use the functionality in our components, which engaged with Html component
- FormGroup:- Tracks the validity and the state of the group of form control instance or moreover, we can say the FormGroup to be a collection of FormControls.
- FormBuilder:- this helps us to the forms along with their initial value and their validations.
Features of reactive forms or model-driven forms
There are few features of reactive form,
- More flexible
- no data binding is done
- More Component code and less Html markup
- reactive transformation is possible such as
- Handling an event based on debounce time
- handling event when the components are distinct until changed
- adding element dynamically
- Handles any complex scenarios
- Easler unit testing
Validation of the template-driven form
The most important part of any form is to add the validations in the application. when we do the fname: new FormControl(), the first arguments in the FormControl is the initial value and the second value is the validation that we can add there.
validations are performed their works the same with both type form(template-driven form and model-driven form).
Following are the classes,
- ng-touched:- controls have been visited
- ng-untouched:- controls have not to be visited
- ng-dirty:- controls value have been changed
- ng-pristine:- controls value have been changed
- ng-valid:- controls value are valid
- ng-invalid:- controls value are invalid
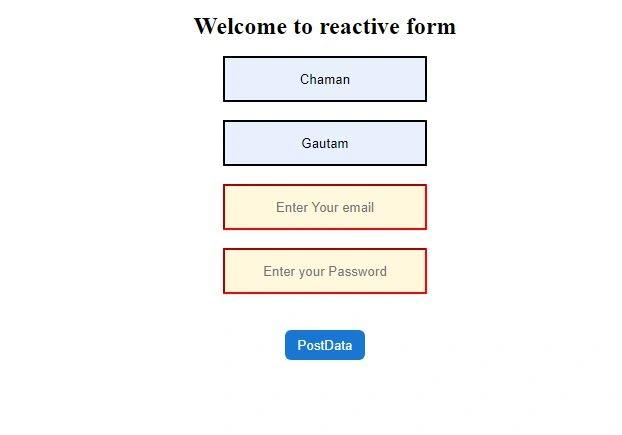
So in order to draw a border around the first name whenever the user visite any fields and don't add any value we need to add these classes.
Code of Model-driven Form
reactivecomponent.css
- .form-control{
- text-align: center;
- width: 200px;
- height: 40px;
- color: black;
- border-color: black;
- background-color: cornsilk;
- border-radius: 1px;
- border-style: 0.5px;
- }
- .btn-primary{
- text-align: center;
- border-radius: 6px;
- background-color: #1976d2;
- width: 80px;
- height:30px;
- border-style: hidden;
- color: white;
- }
- input.ng-invalid.ng-touched{
- border-color: red;
- }
- .text{
- text-align: center;
- font-size: x-large;
- }
- .container{
- text-align: center;
- }
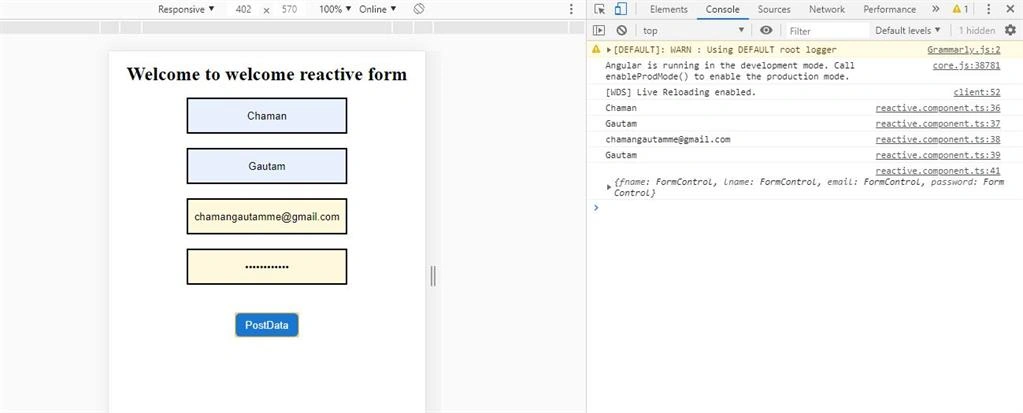
reactivecomponent.html
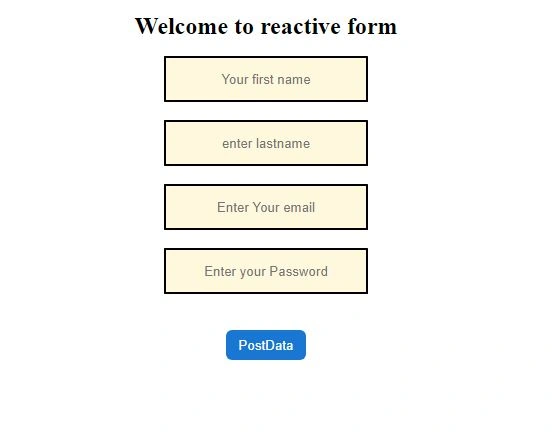
- <h1 class="text">Welcome to {{title}}</h1>
- <div class="container">
- <div class="row">
- <div class="form-bg">
- <form [formGroup]='signupForm' (ngSubmit)='PostData(signupForm)'>
- <div class="form-group">
- <input type="text" class="form-control" formControlName='fname' placeholder="Your first name" >
- </div>
- <br>
- <div class="form-group" >
- <input type="text" class="form-control" formControlName="lname" placeholder="enter lastname" >
- </div>
- <br>
- <div class="form-group">
- <input type="email" class="form-control" formControlName="email" placeholder="Enter Your email" >
- </div>
- <br>
- <div class="form-group">
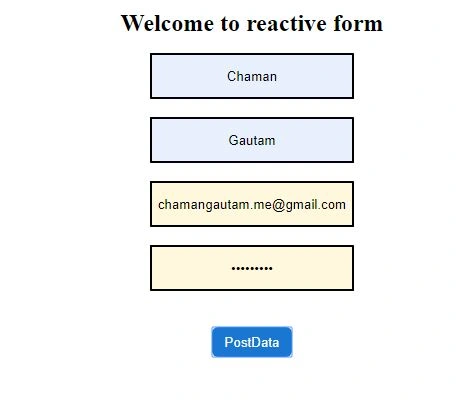
- <input type="password" class="form-control" formControlName="password" placeholder="Enter your Password">
- </div>
- <br>
- <br>
- <div>
- <input type="submit" class="btn-primary" value="PostData" [disabled]='!signupForm.valid'>
- </div>
- </form>
- </div>
- </div>
- </div>
Deepak NagarPosted Feb 29, 2020, 8:16 AM
Nice article thanks for sharing it's helpful