

Introduction
Hello friends, today I am going to explain how to create an XUnit framework and how to automate Swagger endpoints by taking the online available swagger endpoint.
Let's get started. First, we need Visual Studio 2019, 2017. In this article, I am creating the Xunit framework in VisualStudio 2019.
About xunit - https://xunit.net/docs/why-did-we-build-xunit-1.0
Open the VS2019 and Create Xunitframework using c#.
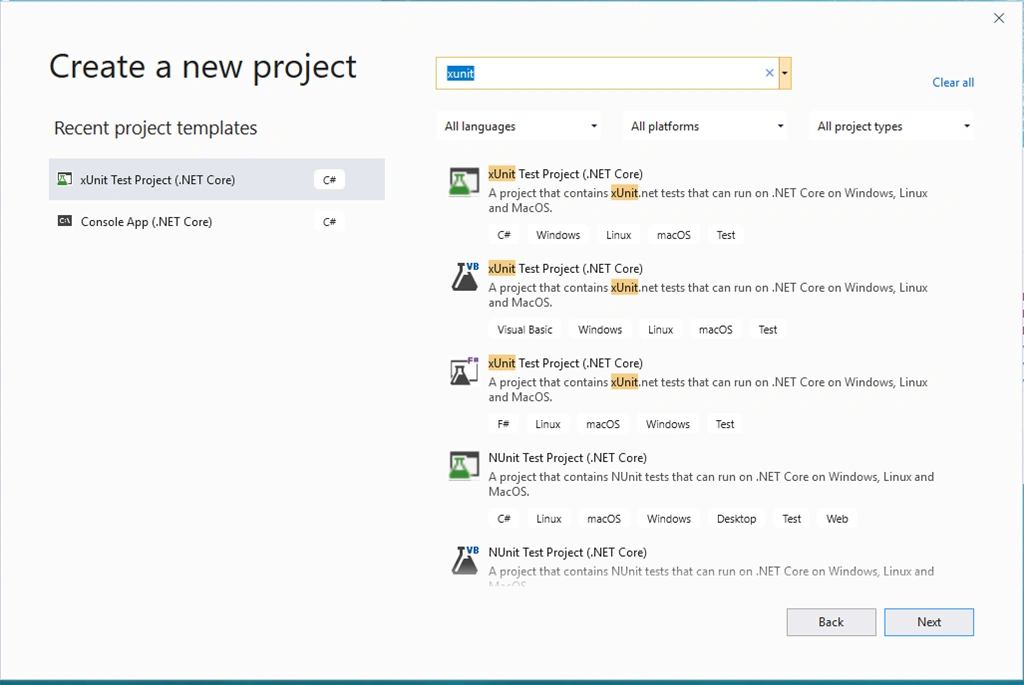
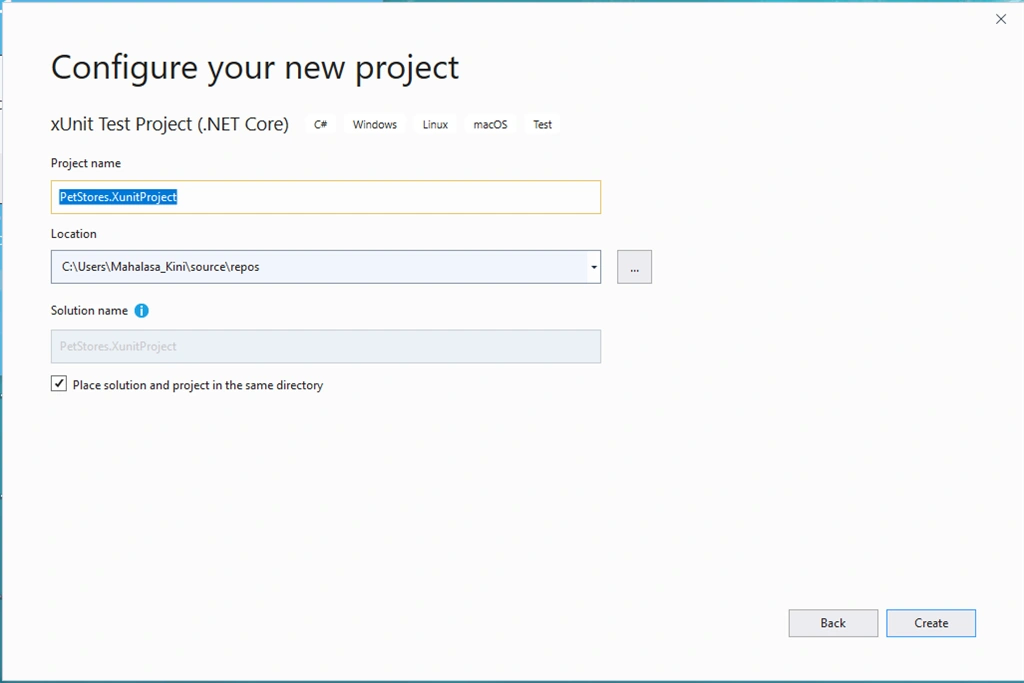
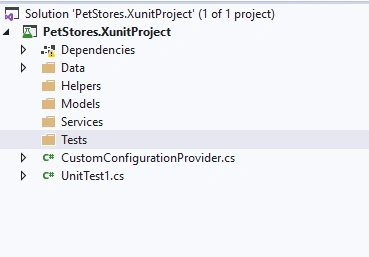
Create a Project and Create the folders inside the project as shown in above screenshots.
Now let's add the necessary Nuget packages. Please add the necessary packages as mentioned in the screenshot below:
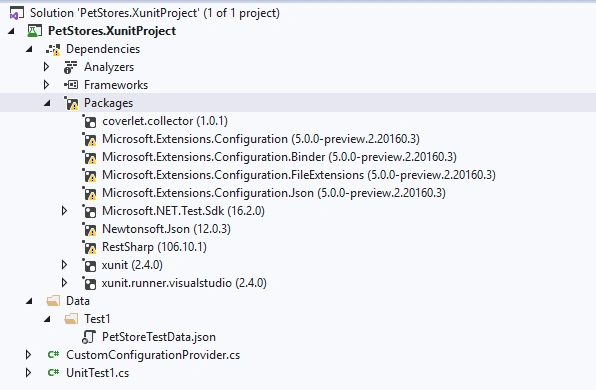
Add the above Nuget Packages and "PetStoreTestData.json" file.
The next step is to create Request urls in "Helpers" folder. Please add "PetStoreAPIMethods.cs" file. Add the request URLs as mentioned below:
- public static string AddNewPet
- {
- get
- {
- return $"{CustomConfigurationProvider.GetKey("petStoreService-baseUrl")}" + "pet";
- }
- }
"petStoreService-baseUrl" is nothing but the swagger URL: https://petstore.swagger.io/. The appended string "pet is the end point name. Below is the swagger end point:
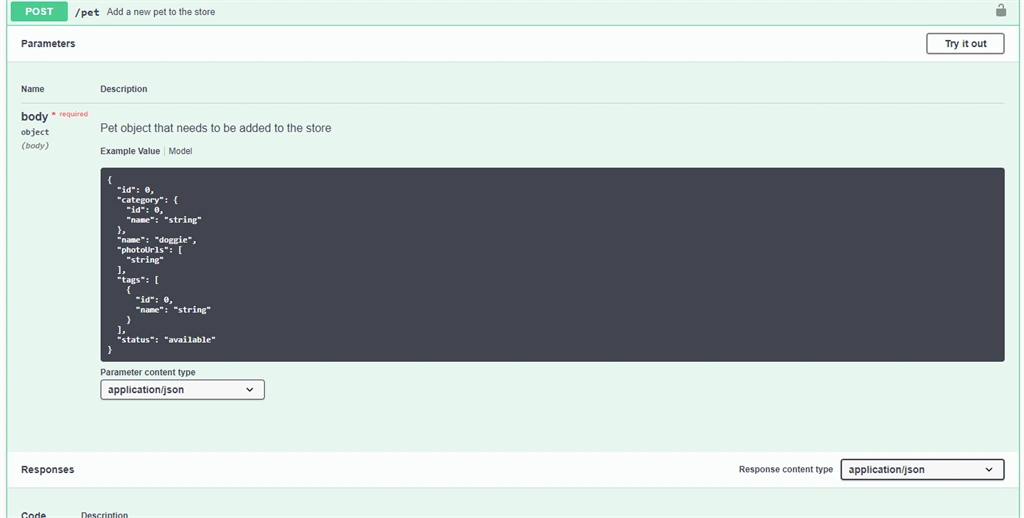
As mentioned, the above request URL has been created. Now let's add the test data to create a pet in the .json file.
- "Add new PET": {
- "id": 121,
- "category": {
- "id": 2,
- "name": "Sheen"
- },
- "name": "doggie",
- "photoUrls": [
- "string"
- ],
- "tags": [
- {
- "id": 0,
- "name": "string"
- }
- ],
- "status": "available"
- }
Action methods need to be written in "Action class" so we need to create "PetStoreAPIActions.cs" in "Helpers" folder
Post Method for adding a pet.
- public CreatePet_Response Validate_AddPet(CreatePet_Request createPetRequest) {
- //Creating a RestClient
- RestClient restClient = new RestClient();
- RestRequest restRequest = new RestRequest(Method.POST); // Since this is a post method Method.post
- IRestResponse restResponse;
- //We need to create request base url
- restClient.BaseUrl = new Uri(PetStoreAPIMethods.AddNewPet);
- //serializing and sending the data
- var request = JsonConvert.SerializeObject(createPetRequest.createPetRequestObjectProperty);
- restRequest.AddJsonBody(request);
- //now execute the above request
- restResponse = restClient.Execute(restRequest);
- //Now validate the staus of the response
- if (restResponse.StatusCode == System.Net.HttpStatusCode.OK) {
- //Deserialize the response from json and return the response object
- return JsonConvert.DeserializeObject < CreatePet_Response > (restResponse.Content);
- } else {
- LoggerOutput.WriteLine("Not a valid input" + restResponse.StatusCode);
- return null;
- }
- }
ServiceWorkflow.cs code
- public void ValidateCreatePetHasAdded(object jsonInput) {
- var data = JObject.Parse(jsonInput.ToString()); // parsing the json in to request object property
- var requests = new CreatePet_Request();
- CreatePet_RequestObject objectRequest = new CreatePet_RequestObject();
- objectRequest = JsonConvert.DeserializeObject < CreatePet_RequestObject > (jsonInput.ToString());
- objectRequest.id = int.Parse(data["id"].ToString()); // since id is in Integer we need to parse json string to integer
- objectRequest.name = data["name"].ToString();
- //To add Category. Category is of object type so we need to add them like this
- Category category = new Category();
- category.id = int.Parse(data["category"]["id"].ToString());
- category.name = data["category"]["name"].ToString();
- objectRequest.category = category;
- //Photo urls is of type array
- for (int i = 0; i < objectRequest.photoUrls.Count; i++) {
- var photeUrls = objectRequest.photoUrls[i].ToString();
- }
- for (int i = 0; i < objectRequest.tags.Count; i++) {
- var tagID = objectRequest.tags[i].id.ToString();
- var tagName = objectRequest.tags[i].name.ToString();
- }
- objectRequest.status = data["status"].ToString();
- //Assigning all the data from objectRequest to request object property
- requests.createPetRequestObjectProperty = objectRequest;
- //send the request to API post method to execute and get the response back from the request API
- var responseObject = new PetStoreAPIActions(LoggerOutput).Validate_AddPet(requests);
- if (responseObject != null) {
- //Validate response data
- Assert.True(responseObject.Id == objectRequest.id, "Id is matching");
- Assert.True(responseObject.Name == objectRequest.name, "Name is matching");
- Assert.True(responseObject.Status == objectRequest.status, "status is matching");
- //Tags response comparision
- for (int i = 0; i < responseObject.Tags.Length; i++) {
- Assert.True(responseObject.Tags[i].id == objectRequest.tags[i].id, "Tag ID is matching");
- Assert.True(responseObject.Tags[i].name == objectRequest.tags[i].name, "tag Name is matching");
- }
- //photourls
- for (int i = 0; i < responseObject.PhotoUrls.Length; i++) {
- Assert.True(responseObject.PhotoUrls[i].ToString() == objectRequest.photoUrls[i].ToString(), "Photo urls is matching");
- }
- }
- }
Now the final step is to write the test cases. For that, we need to create tests.cs file in the "Tests" folder. Try to run the above test case using XUnit.
- public class PetStoreTests {
- private readonly ITestOutputHelper output;
- public PetStoreTests(ITestOutputHelper output) {
- this.output = output;
- }
- [Fact]
- [Trait("Category", "petStore")]
- public void CreatePet_PostMethod() {
- new ServiceWorkFlow(output).ValidateCreatePetHasAdded(CustomConfigurationProvider.GetSection($ "AddPETAPI"));
- }
- }
Run the abve test cases in Test Explorer,
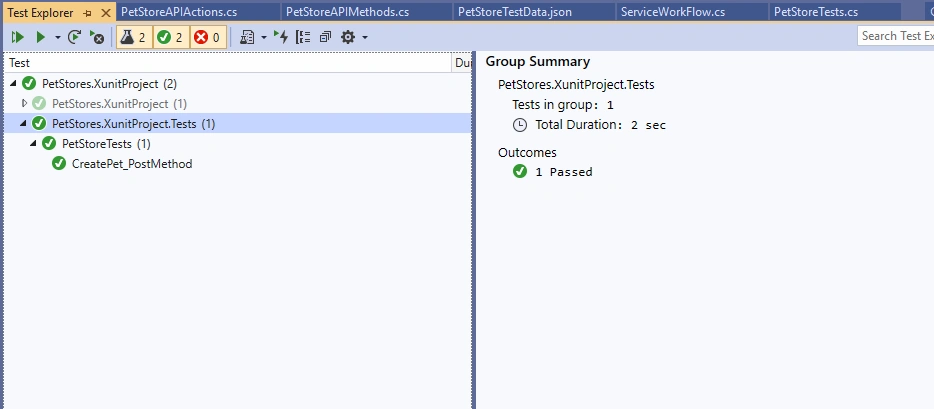
Get Method API
In the above test case, we have added the PET using Post. Let us now automate the GET method and verify we can able to fetch the pet we added in the POST method.
Here, I am validating the status code. If we pass the pet Id, what we added in the POST method, our response code will be a success.
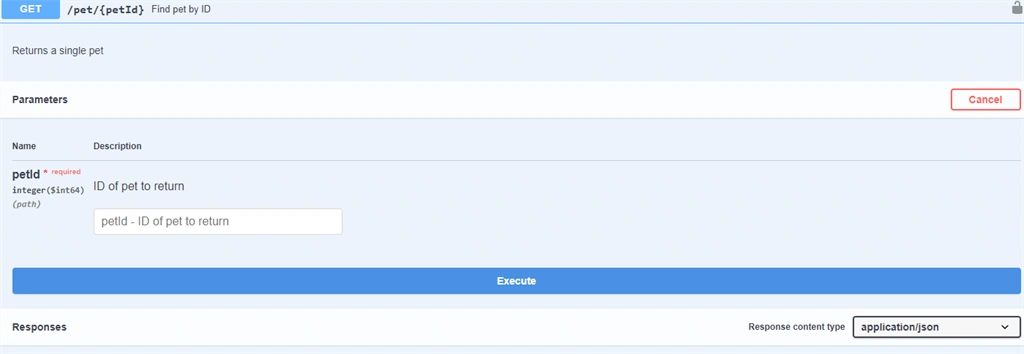
Let's see the code for the get method in an API action class.
- public string Get_PetDetails_ByPetID(string id) {
- //Creating a RestClient
- RestClient restClient = new RestClient();
- RestRequest restRequest = new RestRequest(Method.POST); // Since this is a post method Method.post
- IRestResponse restResponse;
- //We need to create request base url, we need to pass pet id here
- var url = PetStoreAPIMethods.GetPetByID.Replace("{id}", id);
- restClient.BaseUrl = new Uri(url);
- restResponse = restClient.Execute(restRequest);
- //Validate the response
- if (restResponse.StatusCode == System.Net.HttpStatusCode.OK) {
- //Returning the request object, When we execute the Get method we get Pet Created response.
- return "Pet has been created";
- } else
- return null;
- }
Now let us see the serviceWorkflow methods and Tests
- public bool Validate_GetPetResponse(string id, object jsonInput) {
- var data = JObject.Parse(jsonInput.ToString());
- var response = new PetStoreAPIActions(LoggerOutput).Get_PetDetails_ByPetID(id);
- if (response.Equals("Pet has been created"))
- return true;
- else
- return false;
- }
- [Fact]
- [Trait("Category", "petStore")]
- public void Validate_GetPetById()
- {
- var result = new ServiceWorkFlow(output).Validate_GetPetResponse(CustomConfigurationProvider.GetSection($"AddPETAPI.id"), CustomConfigurationProvider.GetSection($"AddPETAPI"));
- if (!result)
- output.WriteLine("Pet Has not been created"+ result);
- else
- output.WriteLine("Pet has been created");
- }
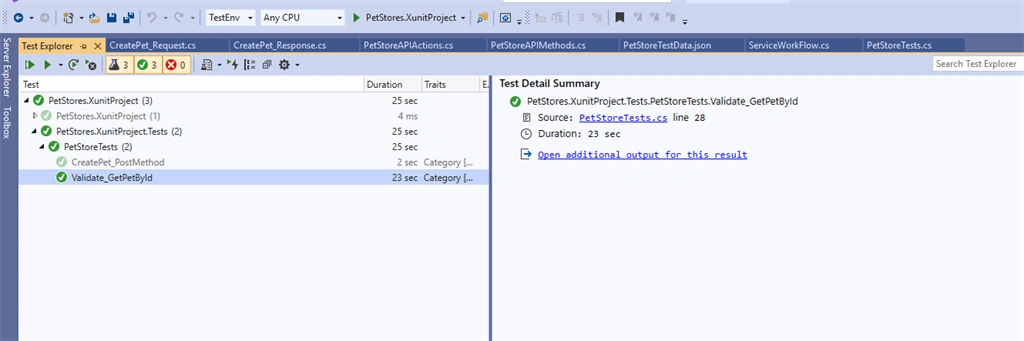
This is how you can automate Swagger endpoints in API automation. I am uploading the project for your reference. The rest of the API methods in swagger I haven't automated. I want you guys to try it! Let me know if you have any doubts understanding this framework, and if so, please comment below. Surely, I will reply to you.
I hope you enjoyed this article :-)
Long CanPosted Dec 15, 2021, 11:17 AM
Thank you. Love it.
Ekrem TapanPosted May 6, 2020, 11:45 PM
Love it. appreciate.
Mahalasa KiniPosted May 4, 2020, 12:03 PM
Thank you Rikam
Rikam PalkarPosted May 4, 2020, 11:57 AM
Wise. for REST api swagger is must. Appreciate the blog.