

Scope
This article is part of a series of 4 articles on getting an ASP.NET web app live on Azure App Services using Azure Repos and Azure Pipelines. The previous articles described how to create your Azure DevOps account, create a project, and push your code to Azure Repos using Git.
- Azure DevOps For Web Development - Part One
- Azure DevOps For Web Development - Part Two: Azure Repos
- Azure DevOps For Web Development - CI And Build Pipelines - Part Three
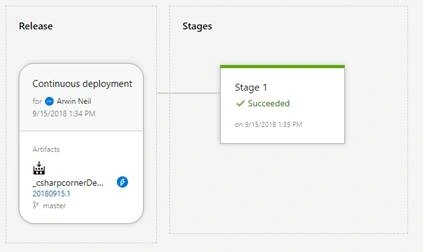
This fourth & last article of the series will walk you through automating deployments each time a new build is available.
Continuous Delivery (CD)
Continuous Delivery (CD) is the process of configuring and deploying from a build to a production environment. By automation, CD minimizes the time to deploy and time to remediate production incidents.
Azure Pipelines is the Continuous Integration / Continuous Delivery service in Azure DevOps that can build any language targeting any platform and deploy it to any cloud provider.
Release Pipeline
The final part of this article is about taking the artifact from the build pipeline each time a build is completed and automatically deploying it to Azure App Service. Go to ‘Releases’ under ‘Pipelines’ in the navigation bar.
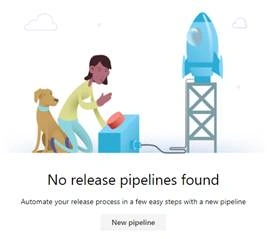
Click on ‘New Pipeline’.
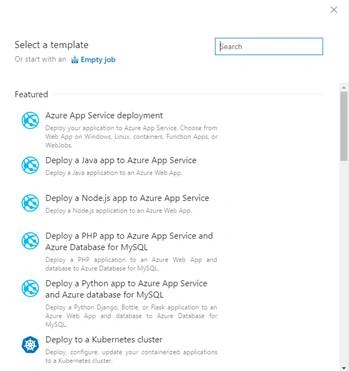
You will be presented with a variety of readymade deployment templates. Choose Azure App Service Deployment for this example.
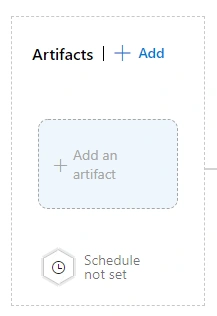
On the next screen, click on ‘Add an Artifact’
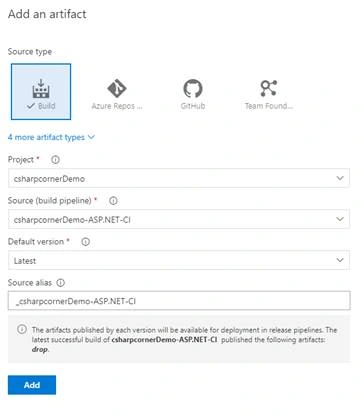
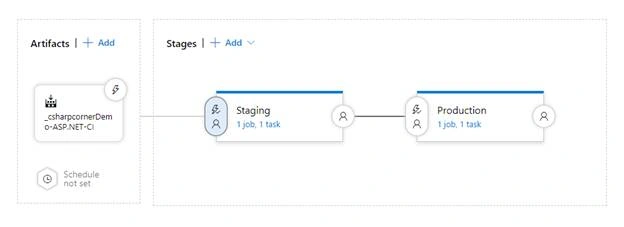
Choose the project then the build pipeline you previously made. The artifact is automatically detected.
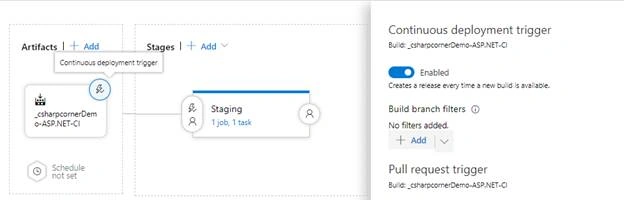
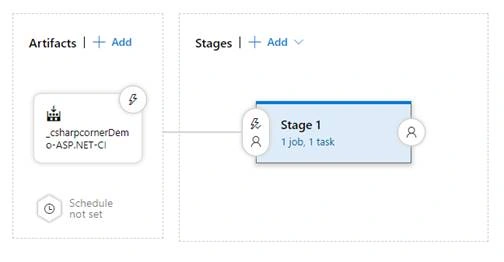
After choosing the artifact, click on the little lighting icon and enable Continuous Deployment for a release to be created each time a new build is available.
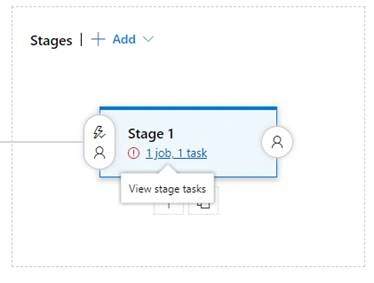
Next, configure the task for the deployment stage. Click on the stage.
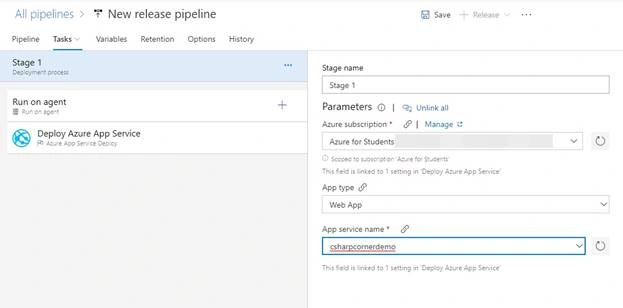
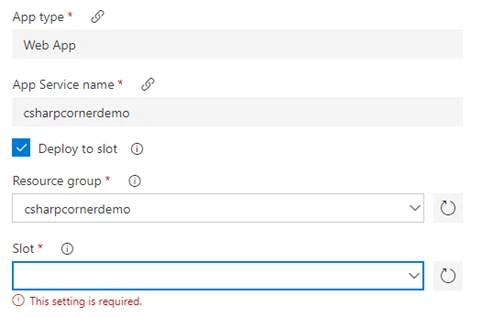
On the task configuration page, authorize your Azure subscription, then select which resource we want to deploy the web app and click save.

Join the conversation! Your thoughts help the community grow.