
Introduction
In this lesson, you will learn how to control an Android-controlled car using Bluetooth.
Hardware requirements
- The Arduino Uno
- Bluetooth sensor
- Motor driver
- DC motor
- Jumper wire
- Chassis board
Steps to follow,
Step 1
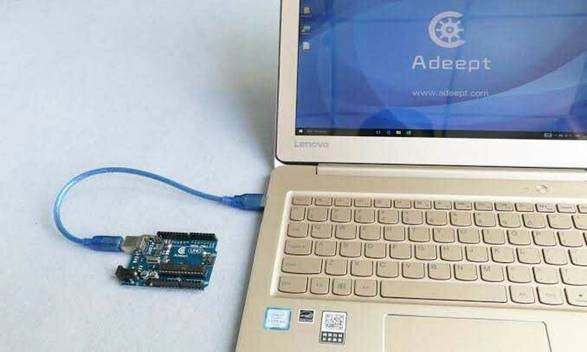
Connect the Arduino board to the laptop(or)computer.
Step 2
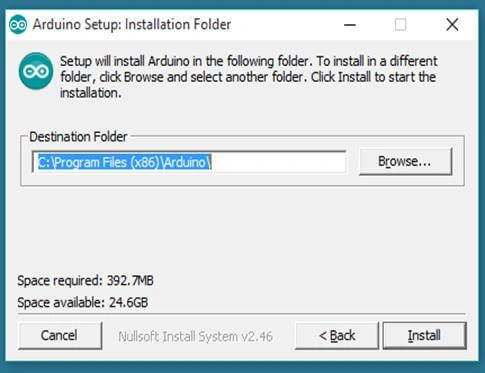
Installation of Arduino software on the laptop.
Step 3
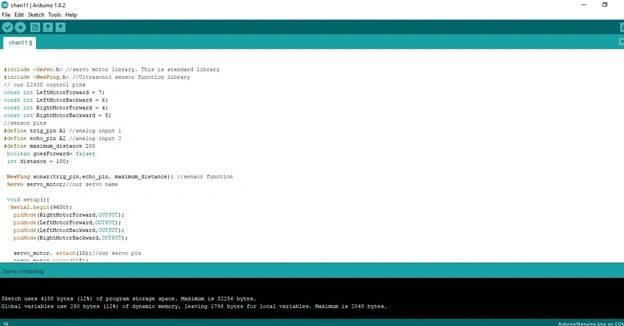
Open the Arduino software on a computer.

Step 4
You can see the main page of the Arduino software.
Step 5
Then open a new page in the software.
select File→ New
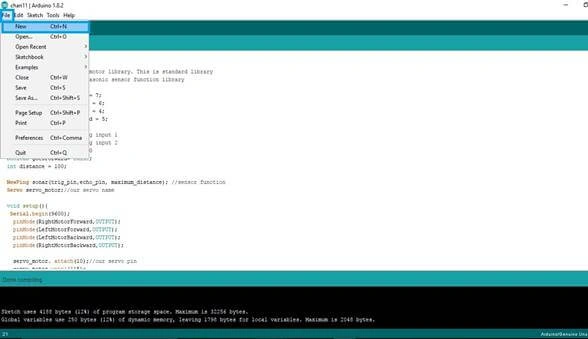
A new page will open in the software.
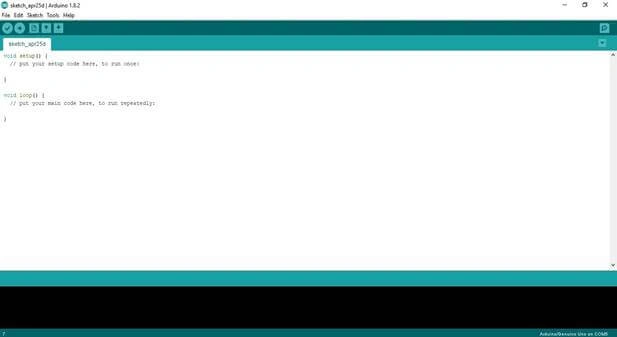
Step 6
Then Click TOOL→ Select BOARD → then press ARDUINO/GENUINO UNO R3
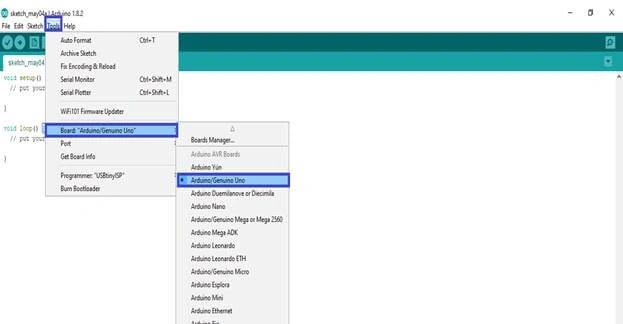
Set to the board, Arduino Uno.
Step 7
Again Select TOOL → Select a PORT→ COM3 ARDUINO UNO
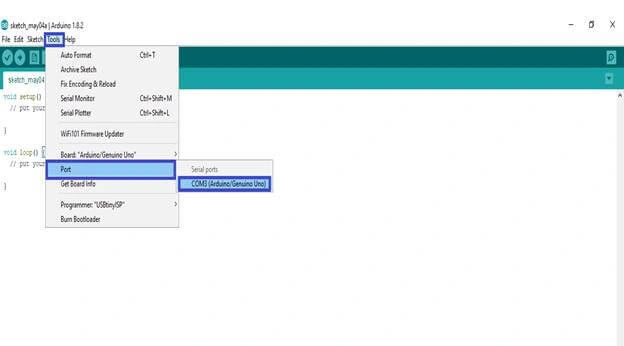
Port set the COM3
Step 8
I have given a source code that you can use or you can use own source code
Then select File → open → select written program →open the program
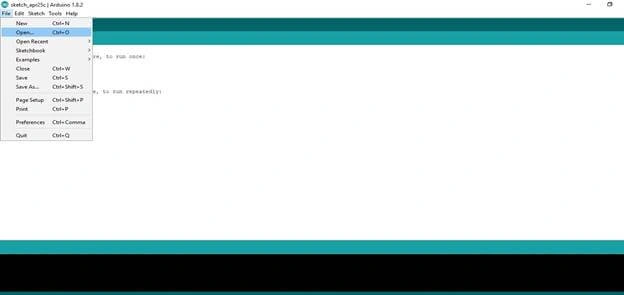
You have to select a code that is on this folder.
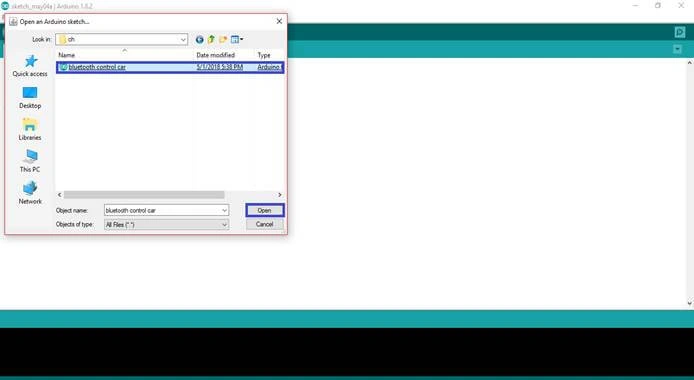
Select the program and open it.
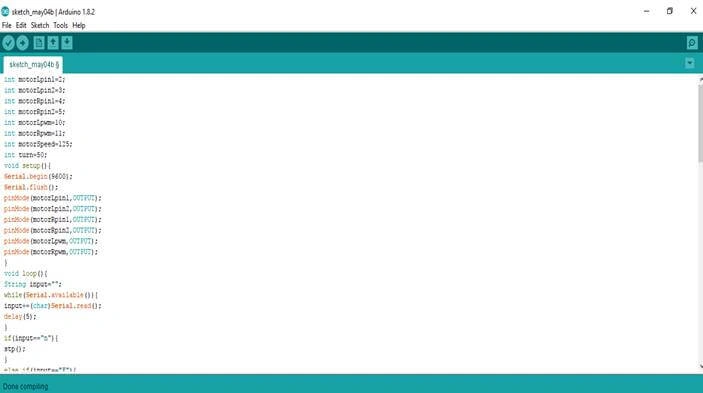
Source code
I have given the program code.
- int motorLpin1 = 2;
- int motorLpin2 = 3;
- int motorRpin1 = 4;
- int motorRpin2 = 5;
- int motorLpwm = 10;
- int motorRpwm = 11;
- int motorSpeed = 125;
- int turn = 45;
- void setup() {
- Serial.begin(9600);
- Serial.flush();
- pinMode(motorLpin1, OUTPUT);
- pinMode(motorLpin2, OUTPUT);
- pinMode(motorRpin1, OUTPUT);
- pinMode(motorRpin2, OUTPUT);
- pinMode(motorLpwm, OUTPUT);
- pinMode(motorRpwm, OUTPUT);
- }
- void loop() {
- String input = "";
- while (Serial.available()) {
- input += (char) Serial.read();
- delay(5);
- }
- if (input == "n") {
- stp();
- } else if (input == "F") {
- fwd();
- } else if (input == "R") {
- rev();
- } else if (input.indexOf("TL") > -1) {
- lft();
- } else if (input.indexOf("TR") > -1) {
- rght();
- } else if (input != "") {
- motorSpeed = input.toInt();
- }
- }
- void fwd() {
- analogWrite(motorLpwm, motorSpeed);
- analogWrite(motorRpwm, motorSpeed);
- digitalWrite(motorLpin1, 1);
- digitalWrite(motorLpin2, 0);
- digitalWrite(motorRpin1, 1);
- digitalWrite(motorRpin2, 0);
- }
- void rev() {
- analogWrite(motorLpwm, motorSpeed);
- analogWrite(motorRpwm, motorSpeed);
- digitalWrite(motorLpin1, 0);
- digitalWrite(motorLpin2, 1);
- digitalWrite(motorRpin1, 0);
- digitalWrite(motorRpin2, 1);
- }
- void lft() {
- analogWrite(motorLpwm, motorSpeed - turn);
- analogWrite(motorRpwm, motorSpeed + turn);
- digitalWrite(motorLpin1, 0);
- digitalWrite(motorLpin2, 1);
- digitalWrite(motorRpin1, 1);
- digitalWrite(motorRpin2, 0);
- }
- void rght() {
- analogWrite(motorLpwm, motorSpeed + turn);
- analogWrite(motorRpwm, motorSpeed - turn);
- digitalWrite(motorLpin1, 1);
- digitalWrite(motorLpin2, 0);
- digitalWrite(motorRpin1, 0);
- digitalWrite(motorRpin2, 1);
- }
- void stp() {
- analogWrite(motorLpwm, 0);
- analogWrite(motorRpwm, 0);
- digitalWrite(motorLpin1, 1);
- digitalWrite(motorLpin2, 1);
- digitalWrite(motorRpin1, 1);
- digitalWrite(motorRpin2, 1);
- }
Step 9
Verify the program or compiler.
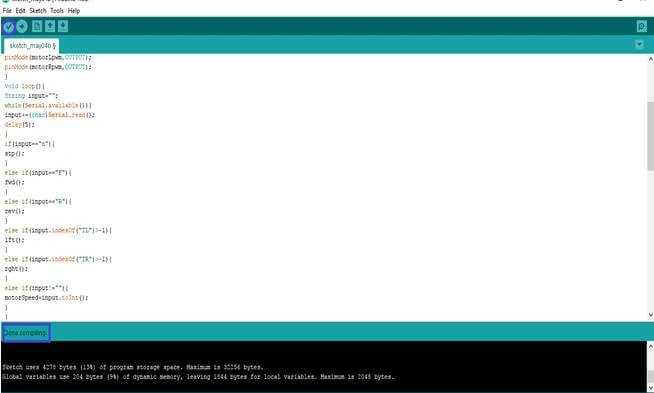
Step 10
Upload the code on the Arduino board.
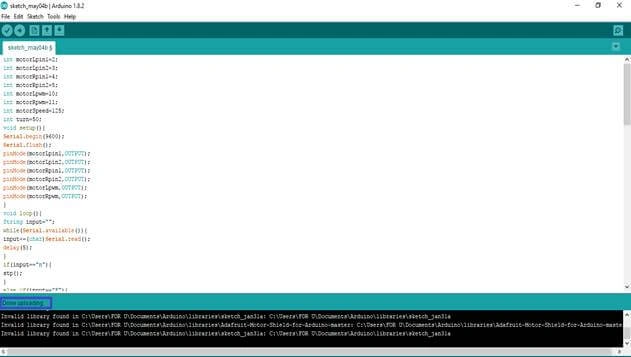
Step 11
Then connect the hardware components as per the connection diagram given in the figure.
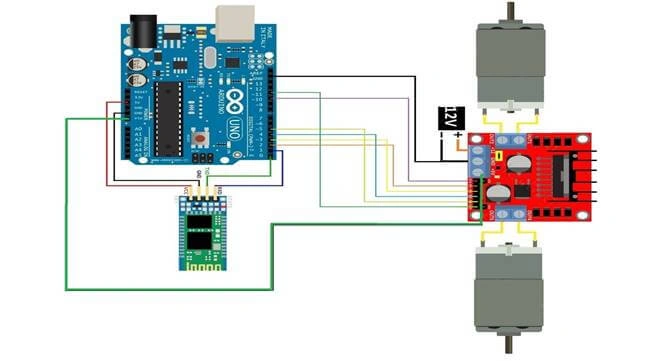
Complete the connection as per the diagram.
Step 12
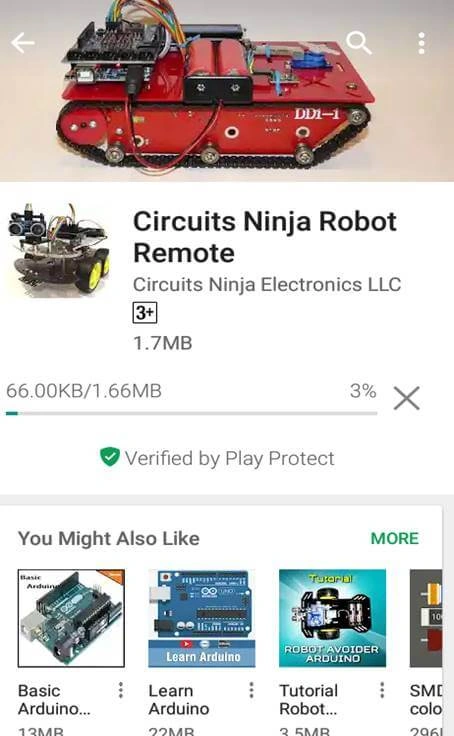
Install the Bluetooth control robot application using the Playstore on your android phone.
Step 13
Open the Bluetooth control application on your phone.
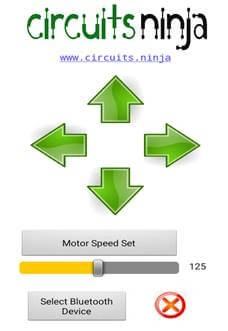
Then select Bluetooth device in the application
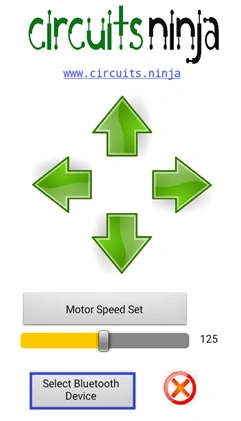
Connect the HC05 Bluetooth module with the Android phone application.[password=1234 (or) 0000, from Bluetooth module]
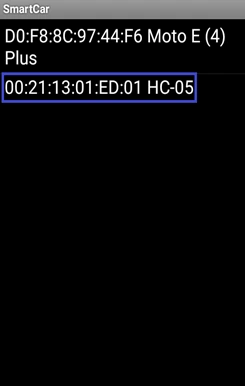
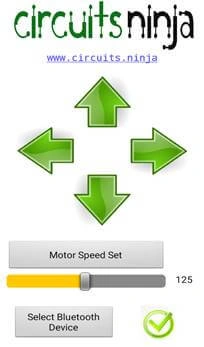
We can now operate the Arduino car using your android application.
Step 14
The Arduino car will be working successfully.
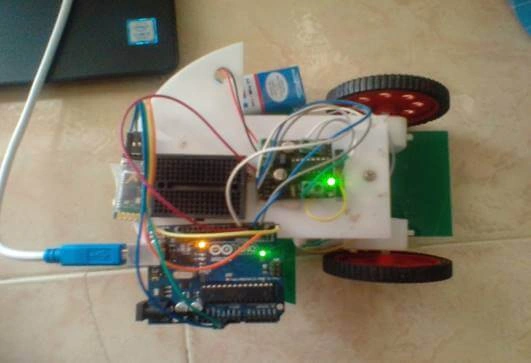
Move the Arduino car to the right, left, forward, back and side using the Android application.
Now you completely learned to control the Bluetooth Arduino car using your Android phone.
Summary
The Arduino project using an Android Bluetooth application to control the Arduino Uno car by connecting to the Bluetooth has been created and executed.
More exciting articles are coming up next.
Satyaprakash SamantarayPosted May 7, 2018, 12:51 PM
Nice description...................... keep writing on IOTs