

Introduction
This article explains how to create a Class Library and how to use a Class Library (Calculator.dll) in a Console Application.
- We can create a class library (in other words DLL file ) of code containing classes and methods.
- One DLL file can be used in many applications in .Net like Console Application, Windows Application and Web Application and so on.
- To use a DLL file in an application we need to add a reference to the DLL file.
- DLL is not a self-executable file instead it is to be shared by many applications for code reusability purposes.
Procedure to Create a Class Library
- Start a new project in Visual Studio from the New Project dialogue box, select Class Library Template from the Project Template Window.
- In the Name box, type a name for your Class Library, say Calculator. Then click OK.
- When you click OK, it will create a namespace with the name we gave for the Library and you will see the following in the code window
See the file Class1.cs in the Solution Explorer.using System; using System.Collections.Generic; using System.Linq; using System.Text; namespace calculator { public class Class1 { // Class content would go here if needed } }
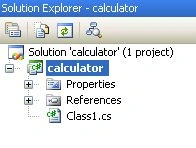
- Now add the following methods to the Class1 to do four arithmetic operations (Addition, Substraction, Multiplication and so on).
using System; using System.Collections.Generic; using System.Linq; using System.Text; namespace calculator { public class Class1 { public int Sum(int n1, int n2) { return n1 + n2; } public int Sub(int n1, int n2) { return n1 - n2; } public int Mul(int n1, int n2) { return n1 * n2; } } } - In the preceding code, we've added three simple methods, one for addition, the second for substraction and the third one for multiplication. Similarly we can add more methods to class1 for other operations.
- Now press F5 from the keyboard to start debugging. If everything is okay then a DLL will be created with the name Calculator.dll in the debug folder under the bin folder.
Sample Usage of Calculator.dll in a Console Application
Use the following procedure to create a sample use of the preceding class library (Calculator.dll) in a Console Application.
- Create a new Console Application in Visual Studio.
- Add a reference to the calculator.dll as follows to access the classes and methods of the DLL in the application as follows.
- Go to Solution Explorer.
- Right-click on the References Node.
- Select the Option Add Reference.
- It will display a dialog box with a few tabs on it. Click the Browse tab. Browse to where you saved your Class Library. Then locate the Bin > Debug folder from above. Your DLL will be in there.
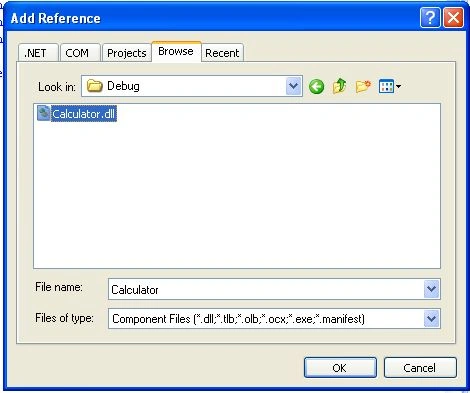
Click OK to add the reference to your DLL. To call the methods from the preceding Library, include the namespace, calculator.
Create the object of the class Class1 that contains the methods and call them as follows.using System; using System.Collections.Generic; using System.Linq; using System.Text; using Calculator;
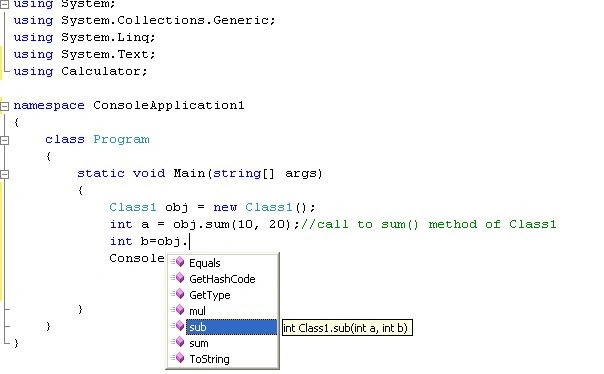
Run your programme. This is an easy way to create your own class libraries and reuse it in any .Net application and in any .Net Language.
Akhil MittalPosted Jul 9, 2014, 6:54 AM
all the methods return sum??? Moreover I was expecting some details over namespaces, dll's in this post, but all that is missing.I think this post should be marked as a blog and not as an article.
Akhil MittalPosted Jul 9, 2014, 6:52 AM
public int sub(int n1, int n2) { return (n1 + n2); } public int mul(int n1, int n2) { return (n1 + n2); }
Ashish SrivastavaPosted Jul 8, 2014, 4:44 PM
you are returning sum of integer passed in all the method (even in sub, mul). i think you should return n1-n2 and n1*n2 respectively.