

Introduction
This article explains how to create a Client App Webpart in SharePoint 2013.
Prerequisites
- Ensure you have access to the Office 365 online.
- Ensure that the Napa tool is available in your site.
Use the following procedure
- Create an app for SharePoint using Office 365 Tools. If you have missed out on how to create an app in SharePoint 2013, then see How to Create an app for SharePoint using Office 365 Tools.
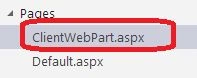
- Click on Pages then select ClientWebpart.
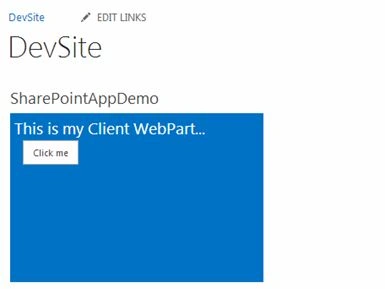
- Here in this example we are creating a button and for the onclick event of that button we will display the text contents.
- Now add the following code snippet inside the div tag. In this code snippet we are adding a button “btnAppPart”and div tag “AppPartmessage” so that on the click of the button some text is displayed on the screen.
<div id="AppPartmessage"></div>
<button id="btnAppPart" onclick="helloAppPart();">Click me</button>
- Before adding the onclick function in the App.js we need to refer to this js file in the ClientWebPart.
<!-- Add your JavaScript to the following file -->
<script type="text/javascript" src="../Scripts/App.js"></script>
- Click on the App.js file.
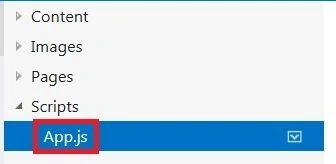
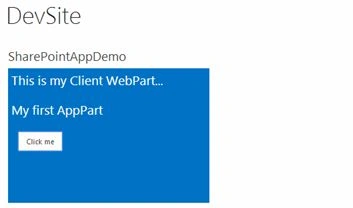
- Add a function named helloAppPart and display the text contents by accessing the div id “AppPartmessage”.
function helloAppPart() {document.getElementById("AppPartmessage").innerHTML ="<p> My first AppPart </p>";
}
- That's it.
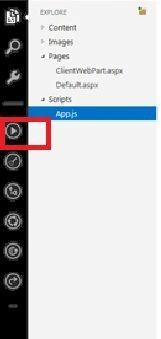
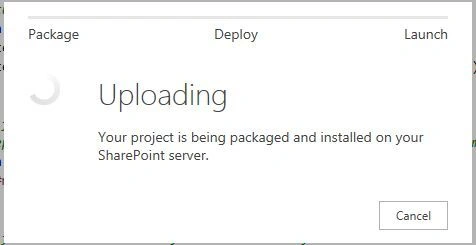
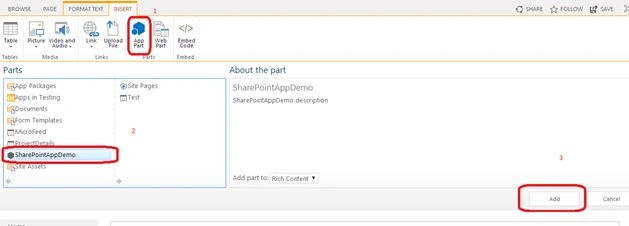
- Now let's go and test the app webpart.
Lakshmanan Sethu SankaranarayanPosted Mar 24, 2014, 6:04 AM
Very good article !!