
This article explains how to create a new search service application in SharePoint Central Administration. See following procedure.
Step 1
Click the Start menu then click Microsoft SharePoint 2013 Products then click SharePoint 2013 Central Administration.
Step 2
The following Central Administration page will appear.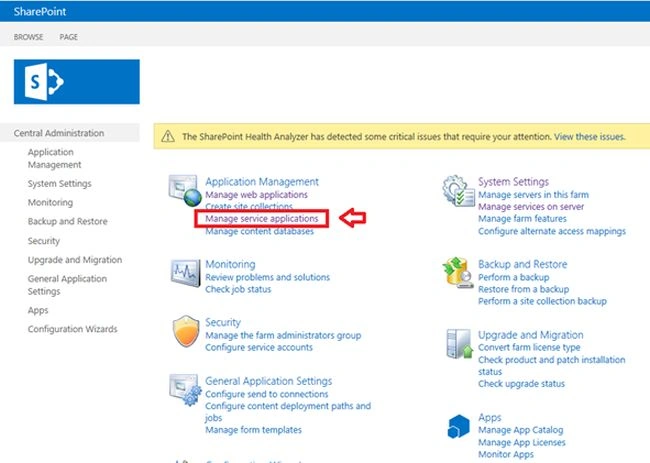
Step 3
Click Manage Service application under Application Management. The following screen will appear. Click the New button from the Service Applications selection.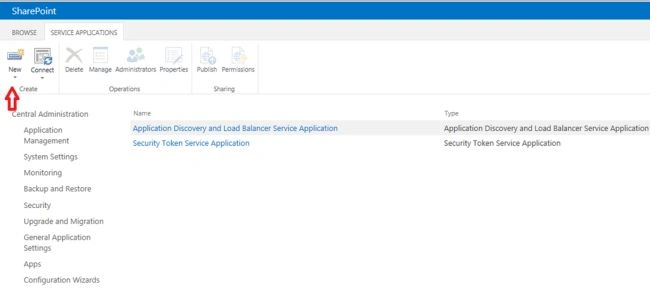
Step 4
Click Search Service Application.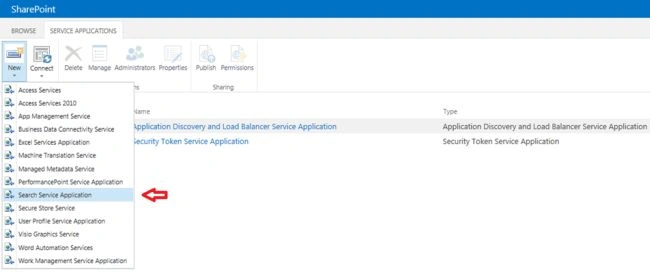
Step 5
Enter the Service Application name.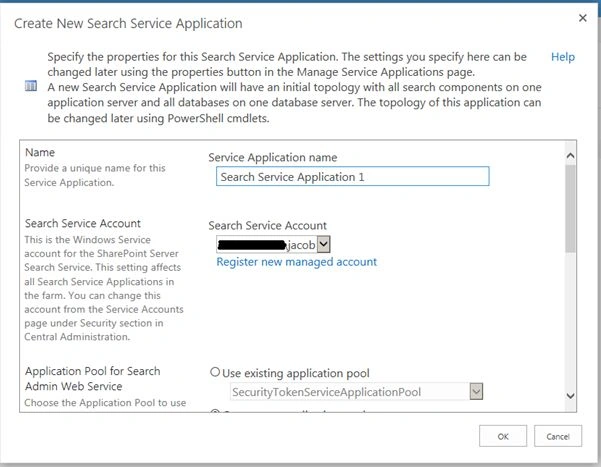
Step 6
Select SharePoint Web Services System from Use existing application pool.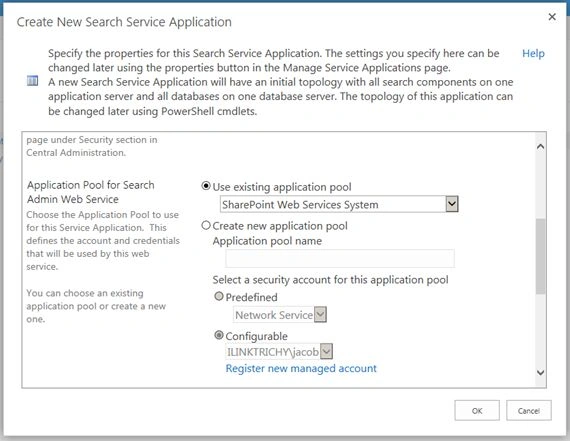
Step 7
Select the same option in the application pool for the search query and the site settings web service.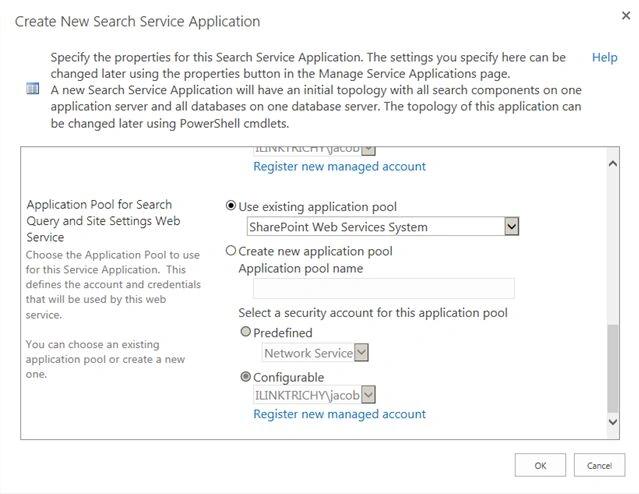
Step 8
Click the OK button.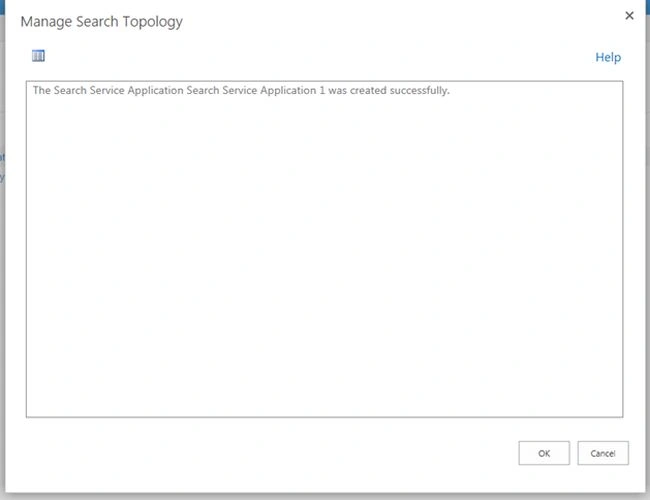
Finally the search service application is created successfully.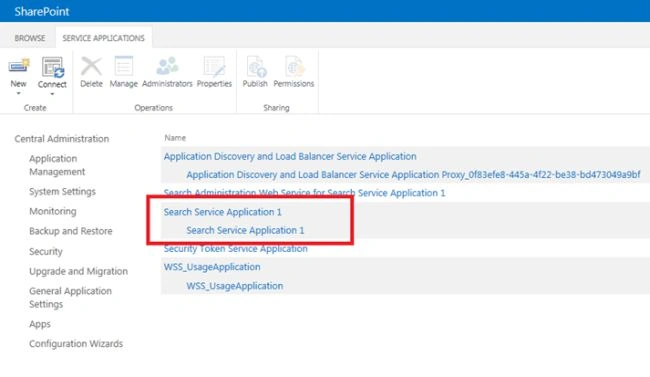
Summary
In this article we saw how to create a new search service application in SharePoint Central Administration.

Create a Search Service Application in SharePoint Central Administration
Join the conversation! Your thoughts help the community grow.
Sign in to leave a comment
It is the same account you read, post and publish with — and you will come straight back to this page.
Jacob RobinsonPosted Jul 24, 2015, 12:22 AM
Thanks Santhakumar sir..
Jacob RobinsonPosted Jul 24, 2015, 12:22 AM
Thanks Nipesh..
Santhakumar MunuswamyPosted Jul 23, 2015, 2:45 PM
Thanks for nice article:)
Nipesh JanghelPosted Jul 23, 2015, 9:53 AM
Nice Article!!
Jacob RobinsonPosted Jul 23, 2015, 3:39 AM
Thanks Sibeesh..
Sibeesh VenuPosted Jul 23, 2015, 2:01 AM
Good Information