

Overview
Azure functions allow us to run the code in a server-less manner. That means we do not have to create the VM to host the running code nor do we have to create a web application and publish code to the web application to run continuously.
In this article, we will create a simple azure function that responds to incoming requests.
To follow this article, we should take care of the below prerequisites
- Microsoft Azure subscription
If you do not have one, you may go for the Azure Free Tier program: https://azure.microsoft.com/en-us/free/
This will give you an access to Azure for 12 months for free!
- Visual Studio 2017 (version 15.3)
Include the Azure development workload.
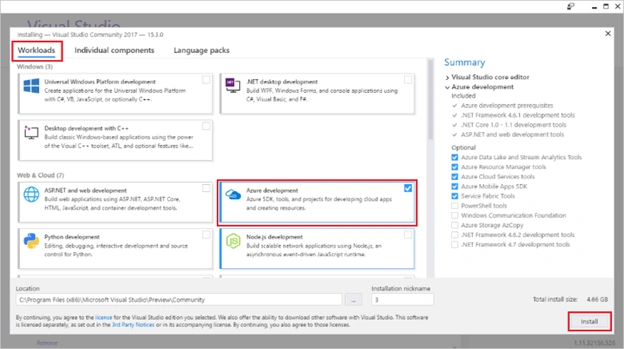
Post the installation or upgrade of Visual Studio 2017 to version 15.3, manually update the Visual Studio 2017 tools for Azure Functions.
- Open Visual Studio 2017
- Select Tools menu
- Under Extensions and Updates > Updates > Visual Studio Marketplace > Azure Functions and Web Jobs Tools
- Click Update
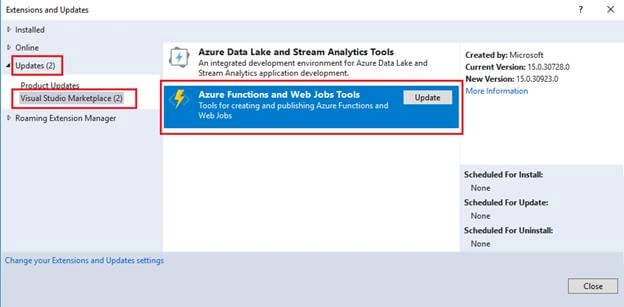
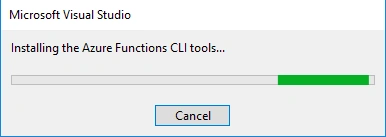
The VSIX installer will run to install the updates.
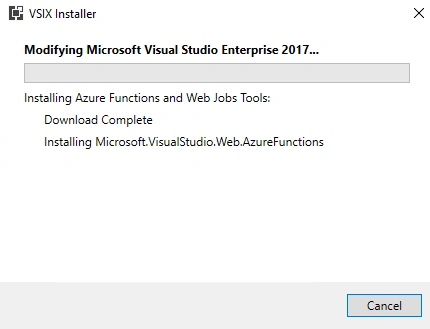
Preferably, close the Visual Studio during the update.
Azure Functions Project Creation in Visual Studio 2017
After we update “Azure Functions and Web Jobs Tools”, we should see Azure Functions project template in Visual Studio. This project can be published to function app in Azure from Visual Studio.
A function app hosts execution of our custom developed azure functions.
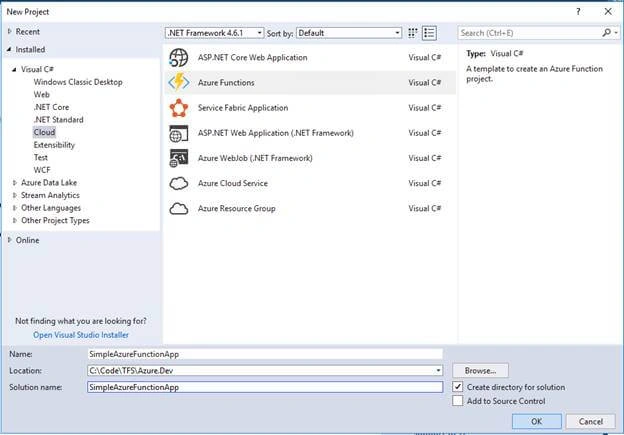
- Open Visual Studio
- Click New Project
- Select Visual C# > Cloud > Azure Functions
Note
Function app name must be a valid namespace. Do not use special characters, hyphens, underscores, or non-alphanumeric characters.
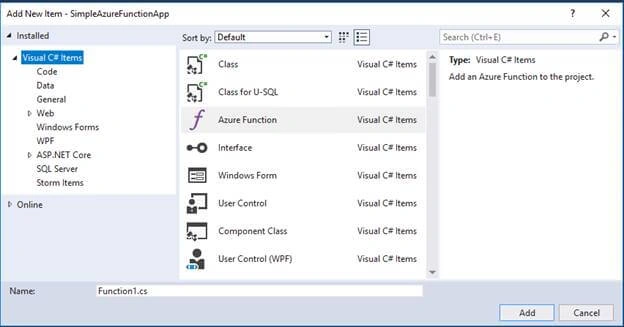
- Right-click the project name and select Add > New Item.
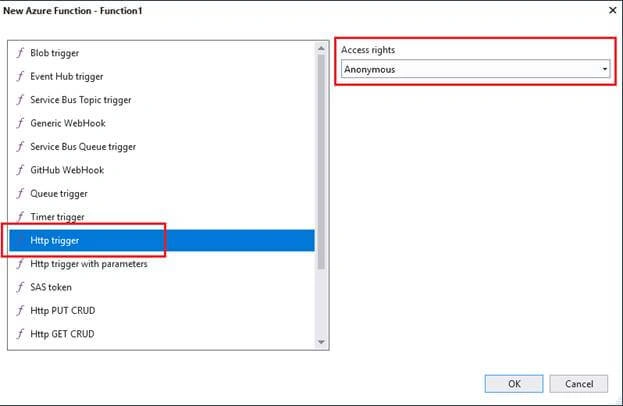
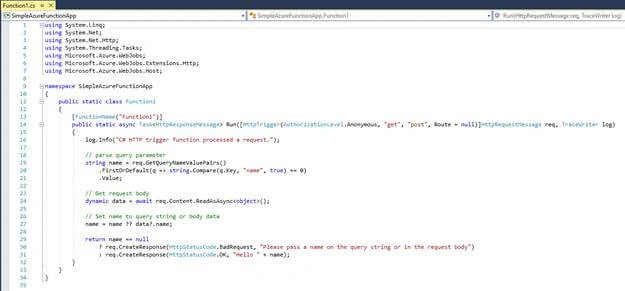
- Select Azure Function and click Add.


Siva KumarPosted Oct 7, 2017, 7:55 AM
Nice one, easy to start with.